Chaotica: Transform Chains
Knowledge Check
This tutorial is written with the expectation that you have already read through most of the basics tutorials on my site. If you haven’t already done so, please do so now to avoid confusion. Just click on Tutorials on the upper right corner of the site.
What is a transform chain?
A transform chain is a series of transforms that get executed in top down order instead of the normal way. I’m going to give some background here so everyone can be on the same page.
Normal Transform Behavior
A normal iterator has pre and post transforms as well as the normal transform nodes. The normal behavior is to have your transform nodes and the transforms will kind of bounce around between all the iterators based on the weights. This isn’t exactly what happens, but it’s the mental image that I choose to assign to how this process happens. It will start with iterator 1 and the weight says how likely it is to bounce to the next iterator and so forth and so on. You can use weights to control how the iterators interact, and even choose for two iterators not to interact with each other. That however is another tutorial. The scope of this one is to teach how pre and post transforms behave and how to use this to your advantage.
Pre and Post Transform Behavior.
Pre and Post Transform nodes only effect the current iterator and not the rest of the world. A Pre Transform will act on the iterator before it moves on and a Post Transform will act on it after it moves on. To understand this, you need to understand the flow. Lets say you have two iterators. The first one will bounce to the second and then back over and over as long as they have normal weights. If you apply a pre transform to the first iterator, it will execute it’s change to the first iterator before anything else and then make the change from it’s transform node. The same applies to post transforms, but those will take place after the normal transform node is applied. This is a confusing subject and that’s ok. The rest of this tutorial will be designed to demonstrate how this can be used and how you can take advantage of it.
What we’re going to create
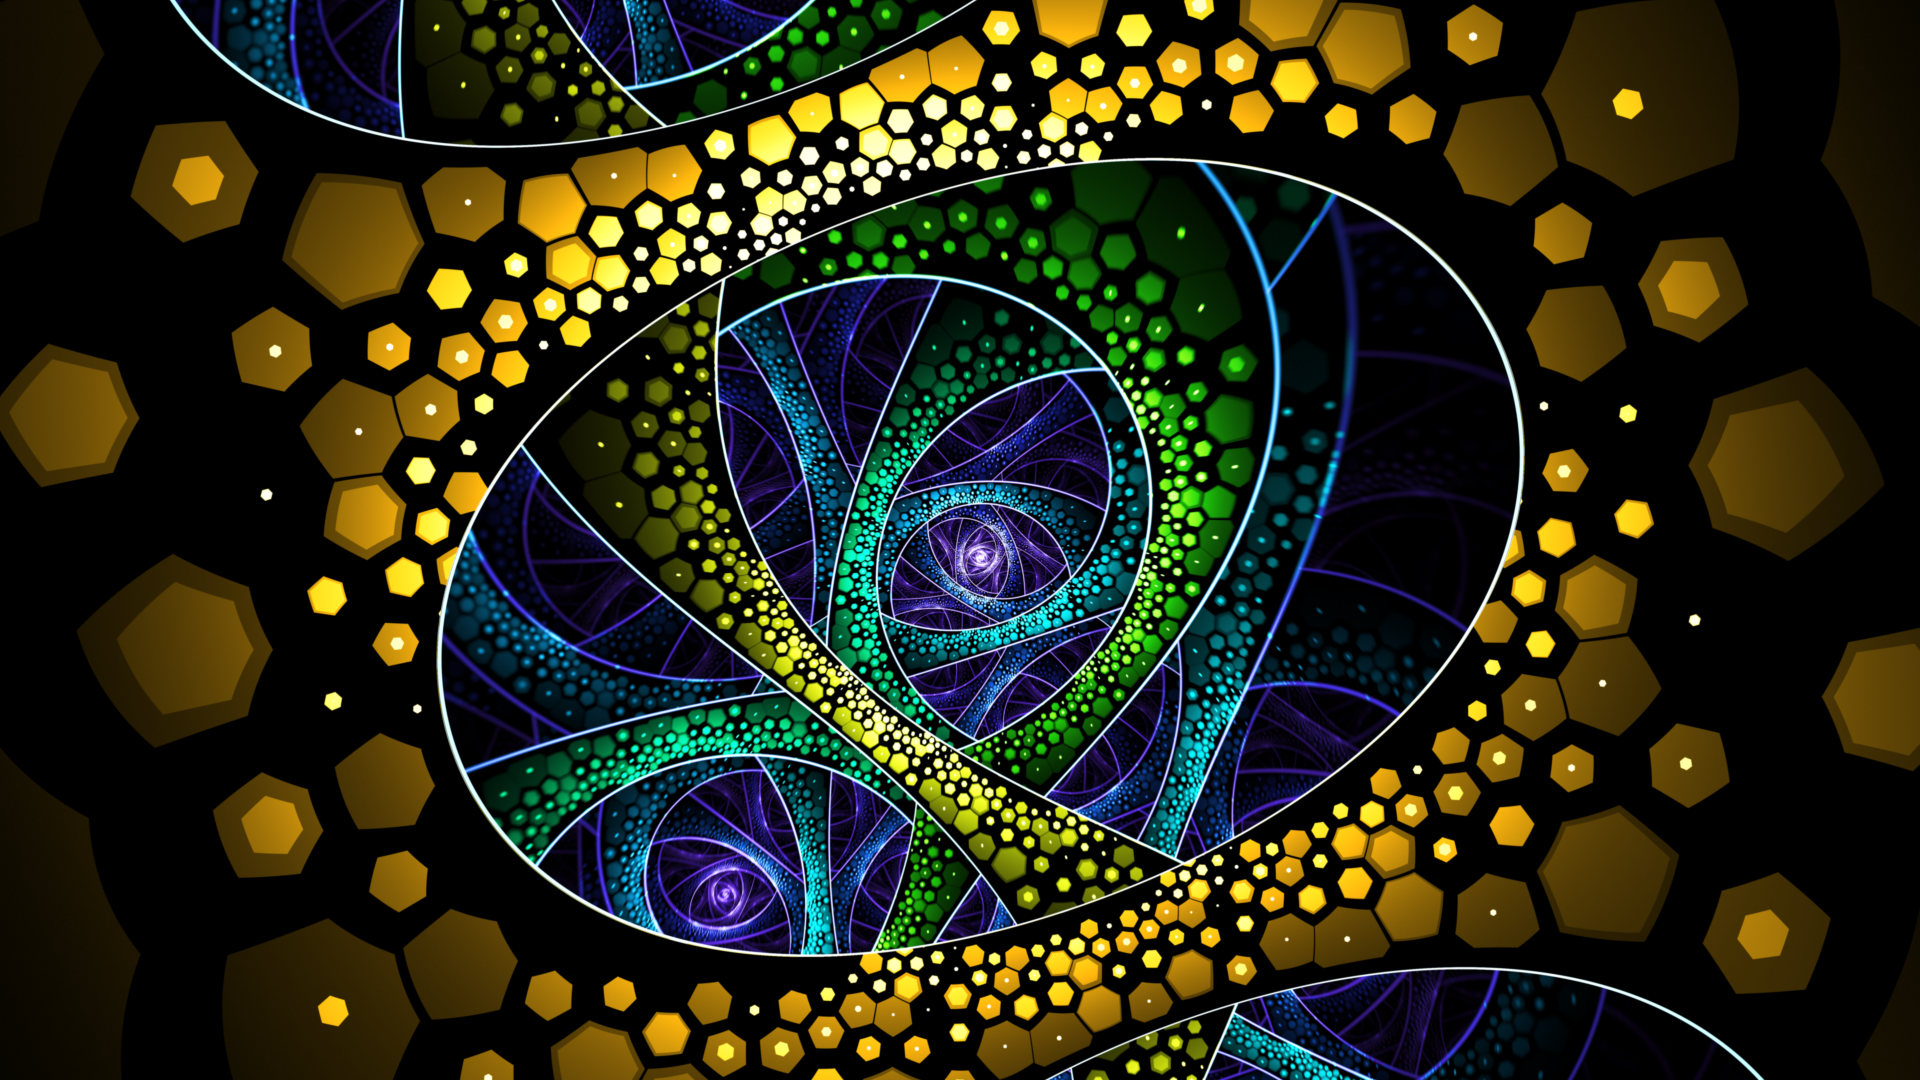
This tutorial will show you how to create this type of image.
Initial Setup
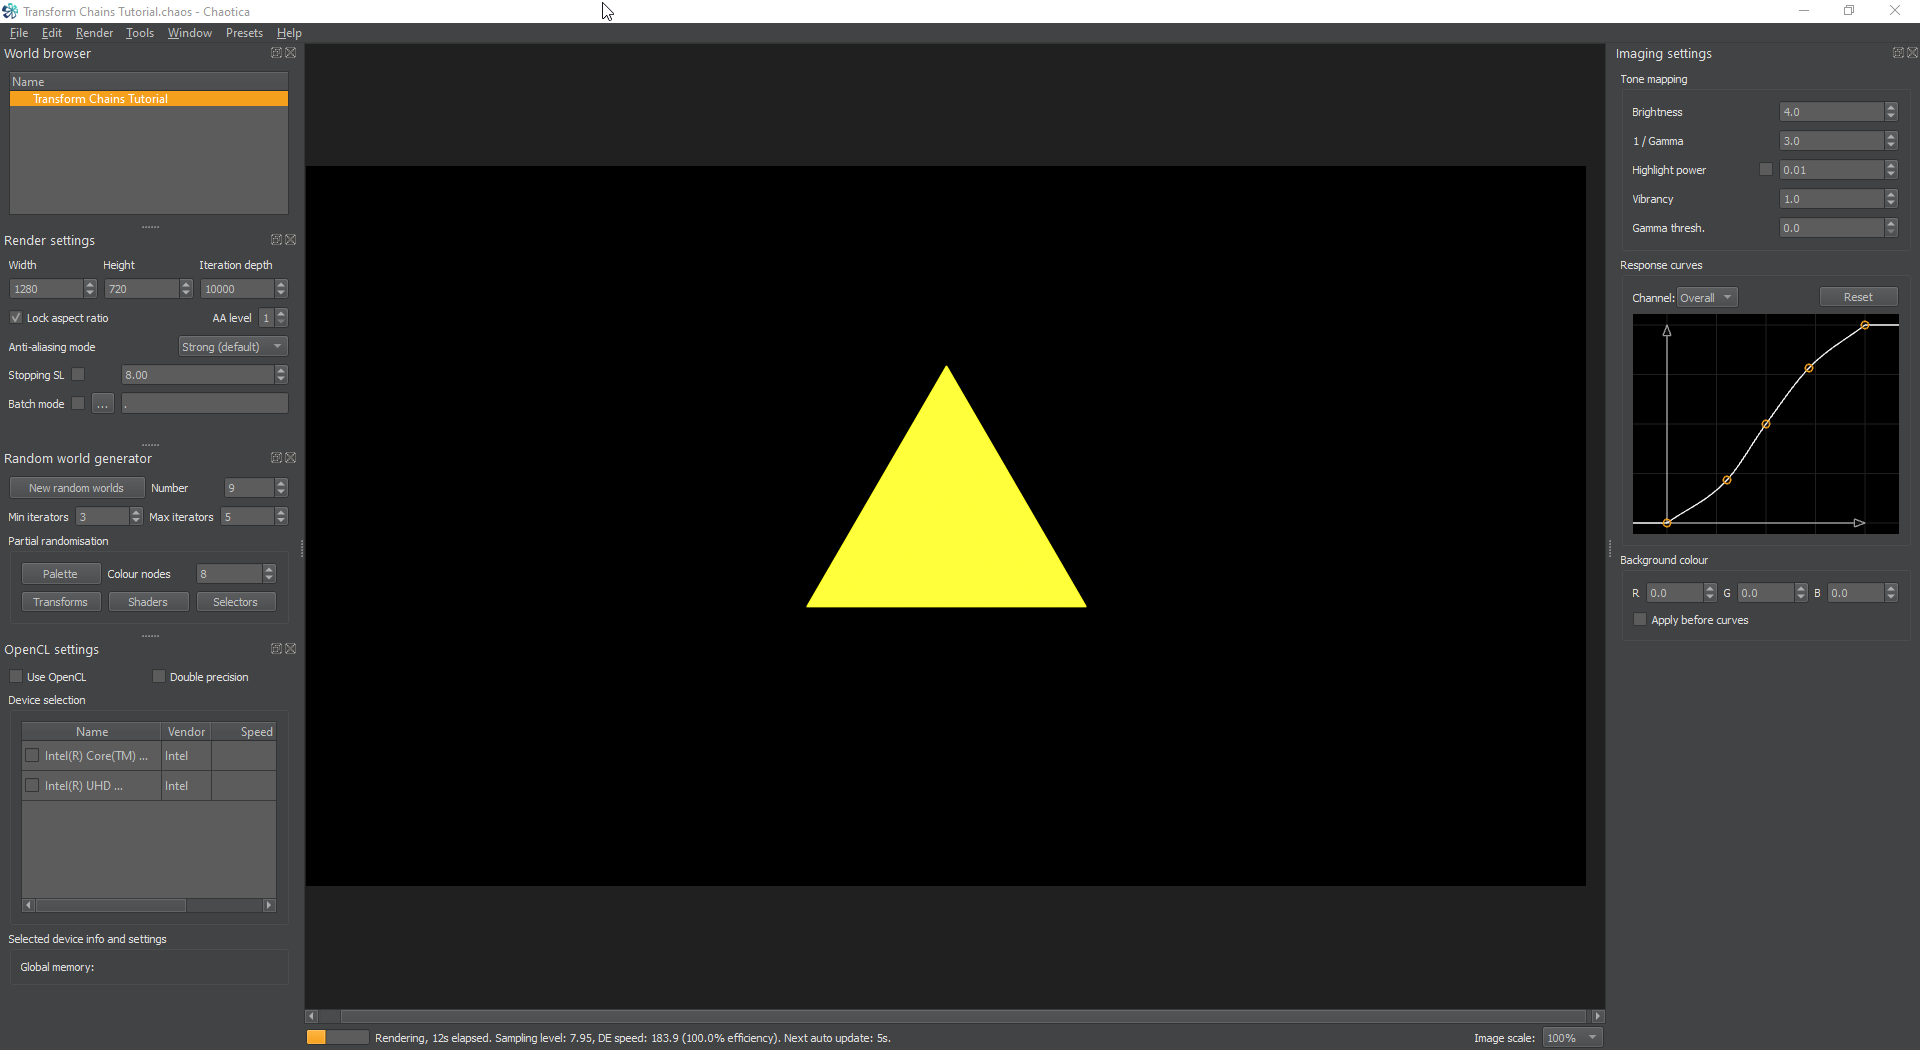
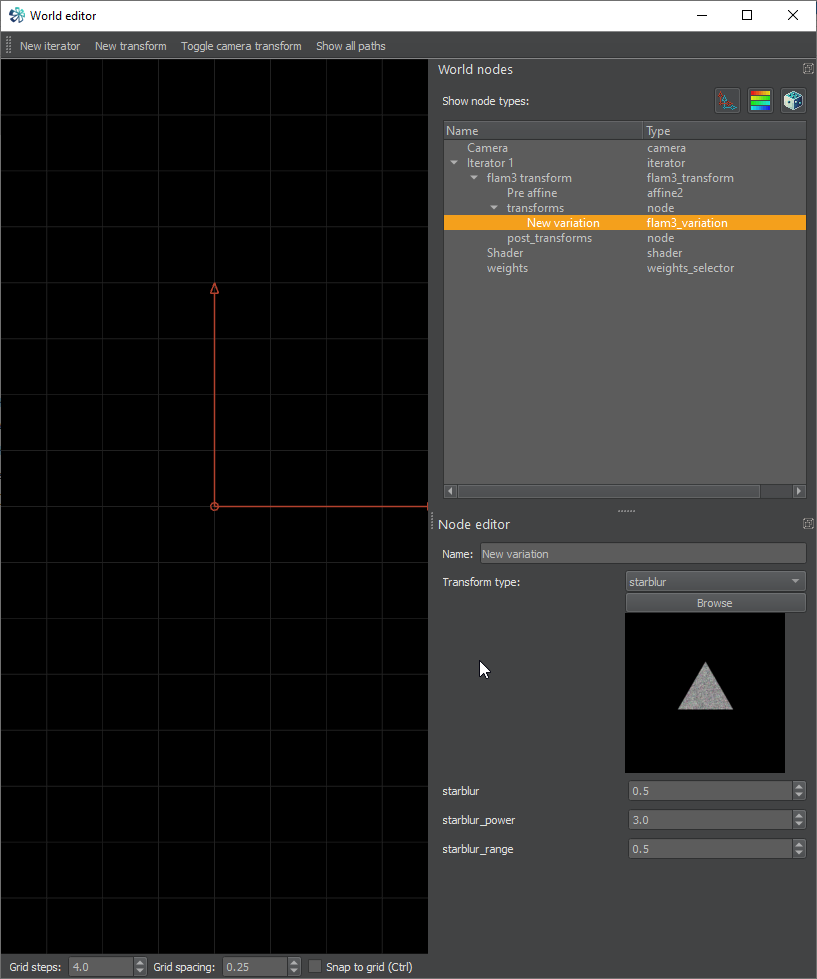
I’m going to start this tutorial in the normal way by opening up Chaotica and starting a new blank world. Then I’m going to go to the World Editor and create my first Iterator.
At this point a good idea is to state your goal and keep that in mind, however as always the creative process might just work the opposite way. Too often I find that I have no goal and one appears afterwards. I will say that using this method needs some type of goal as you have to have an idea of what you’re wanting the iterator to do beforehand.
I’m going to start by giving it a starblur and set the value to 0.5.
Now, let’s say we want the starblur to tile to the left and right. So, I’m going to enable the post transform on this iterator and add tile_hlp.

Next I’m going to add another post transform and add tile_log with all default values.
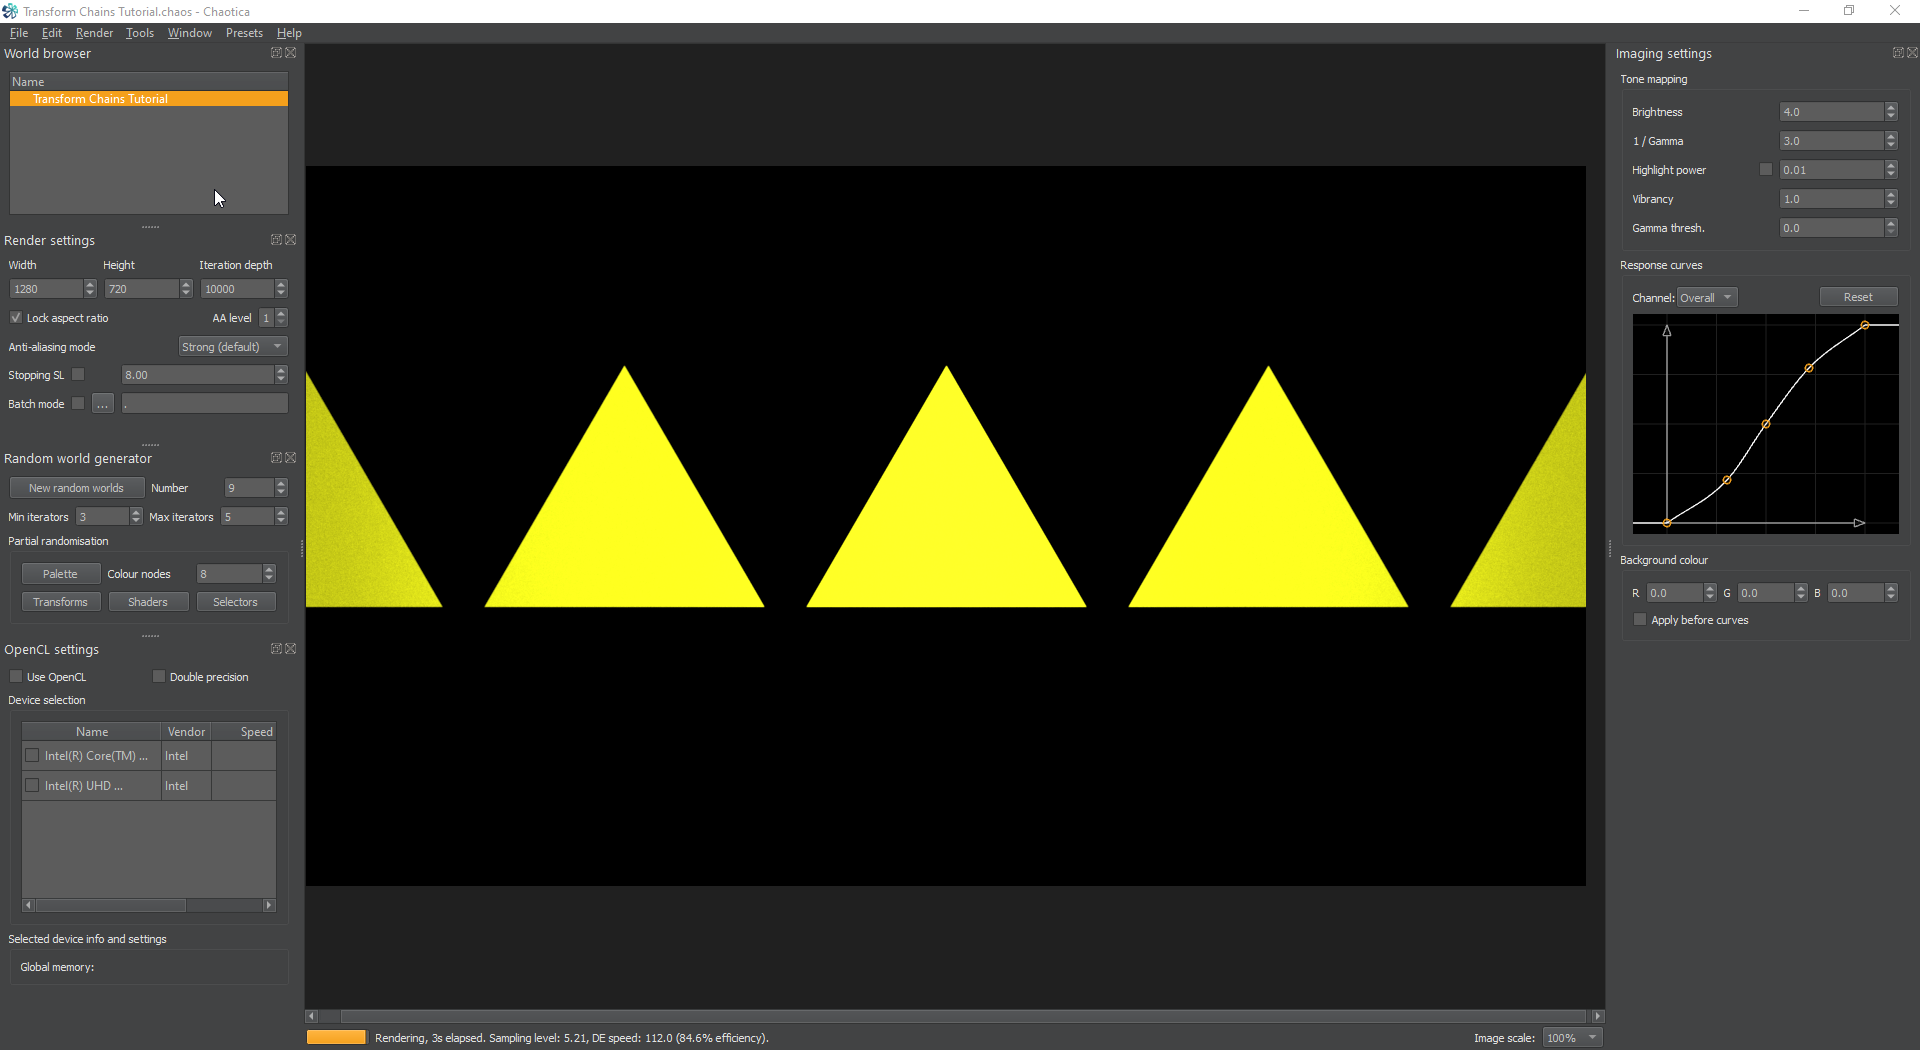
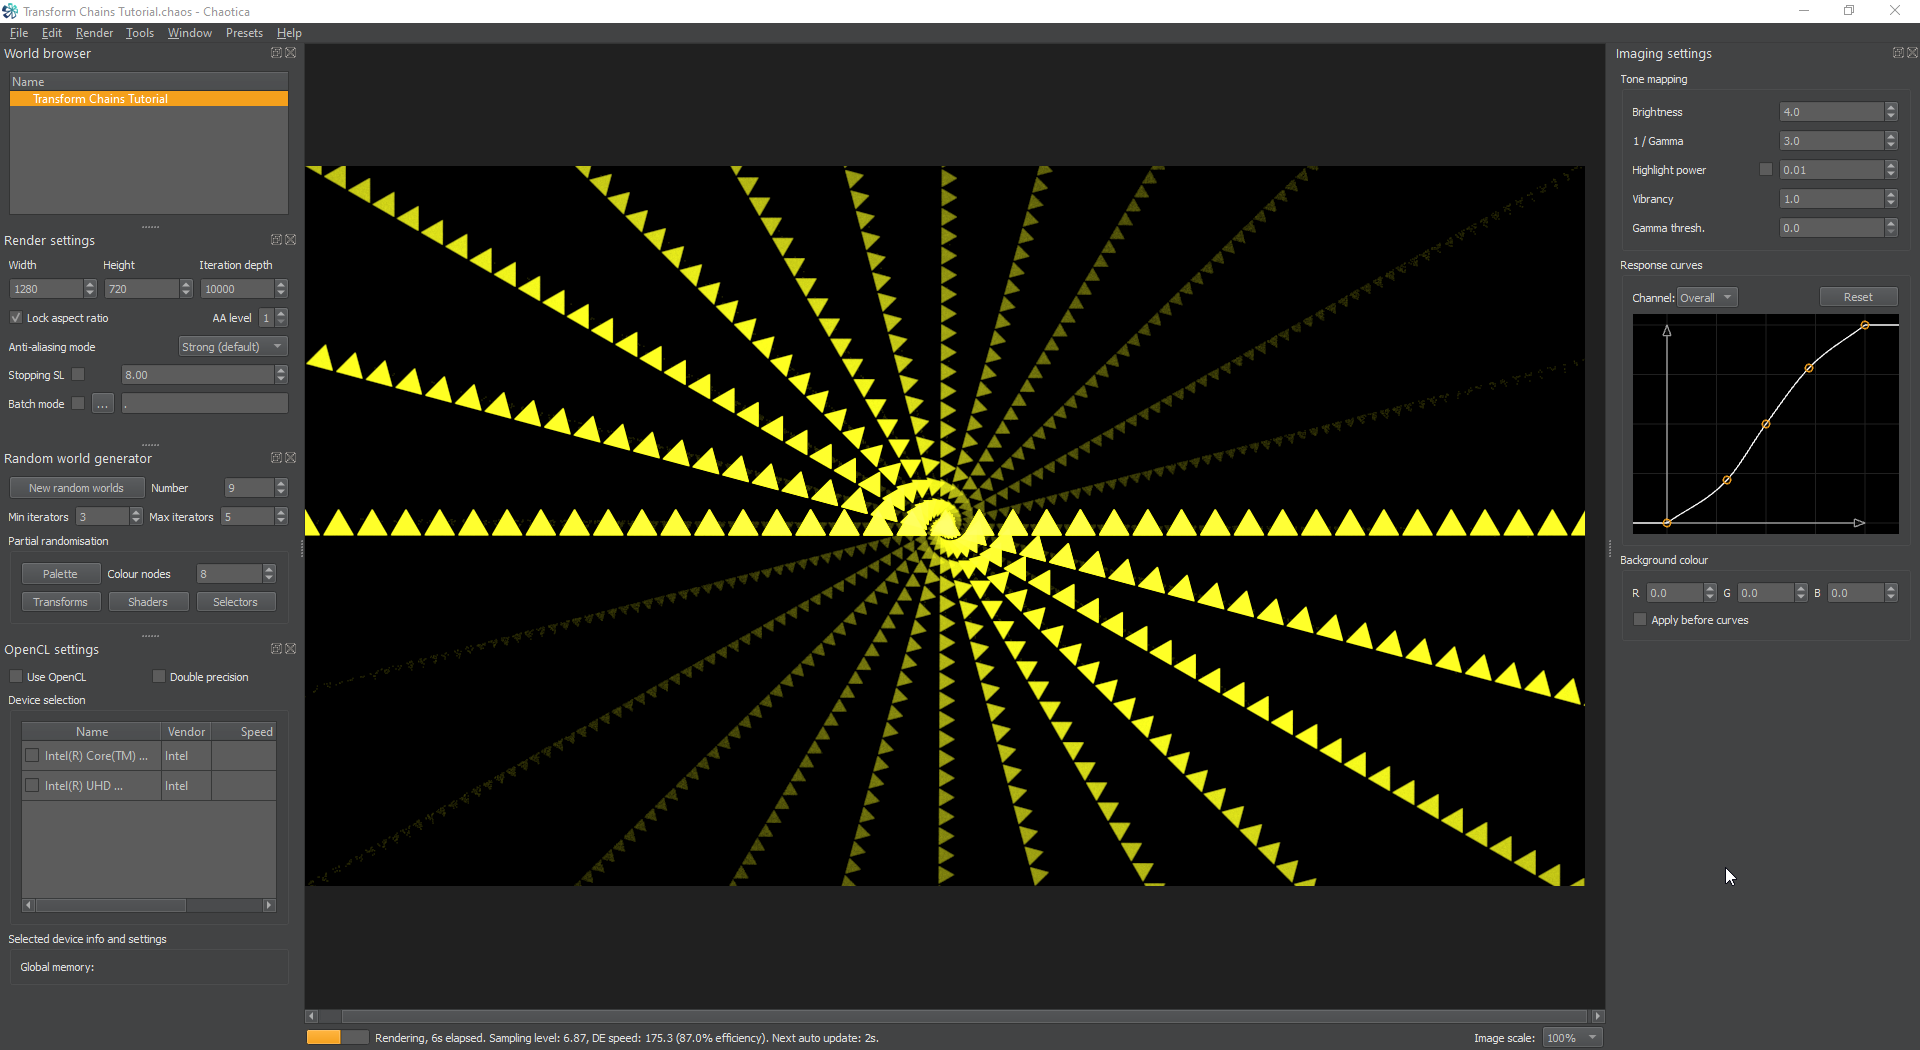
This will take a transform and make a tile both left and right of it. If you adjust the tile_log_spread value you can control how “bright” it is throughout the tile. In this example, I’ve raised that value so you can see it better. I’ve also zoomed out on the camera so you can see the full structure.
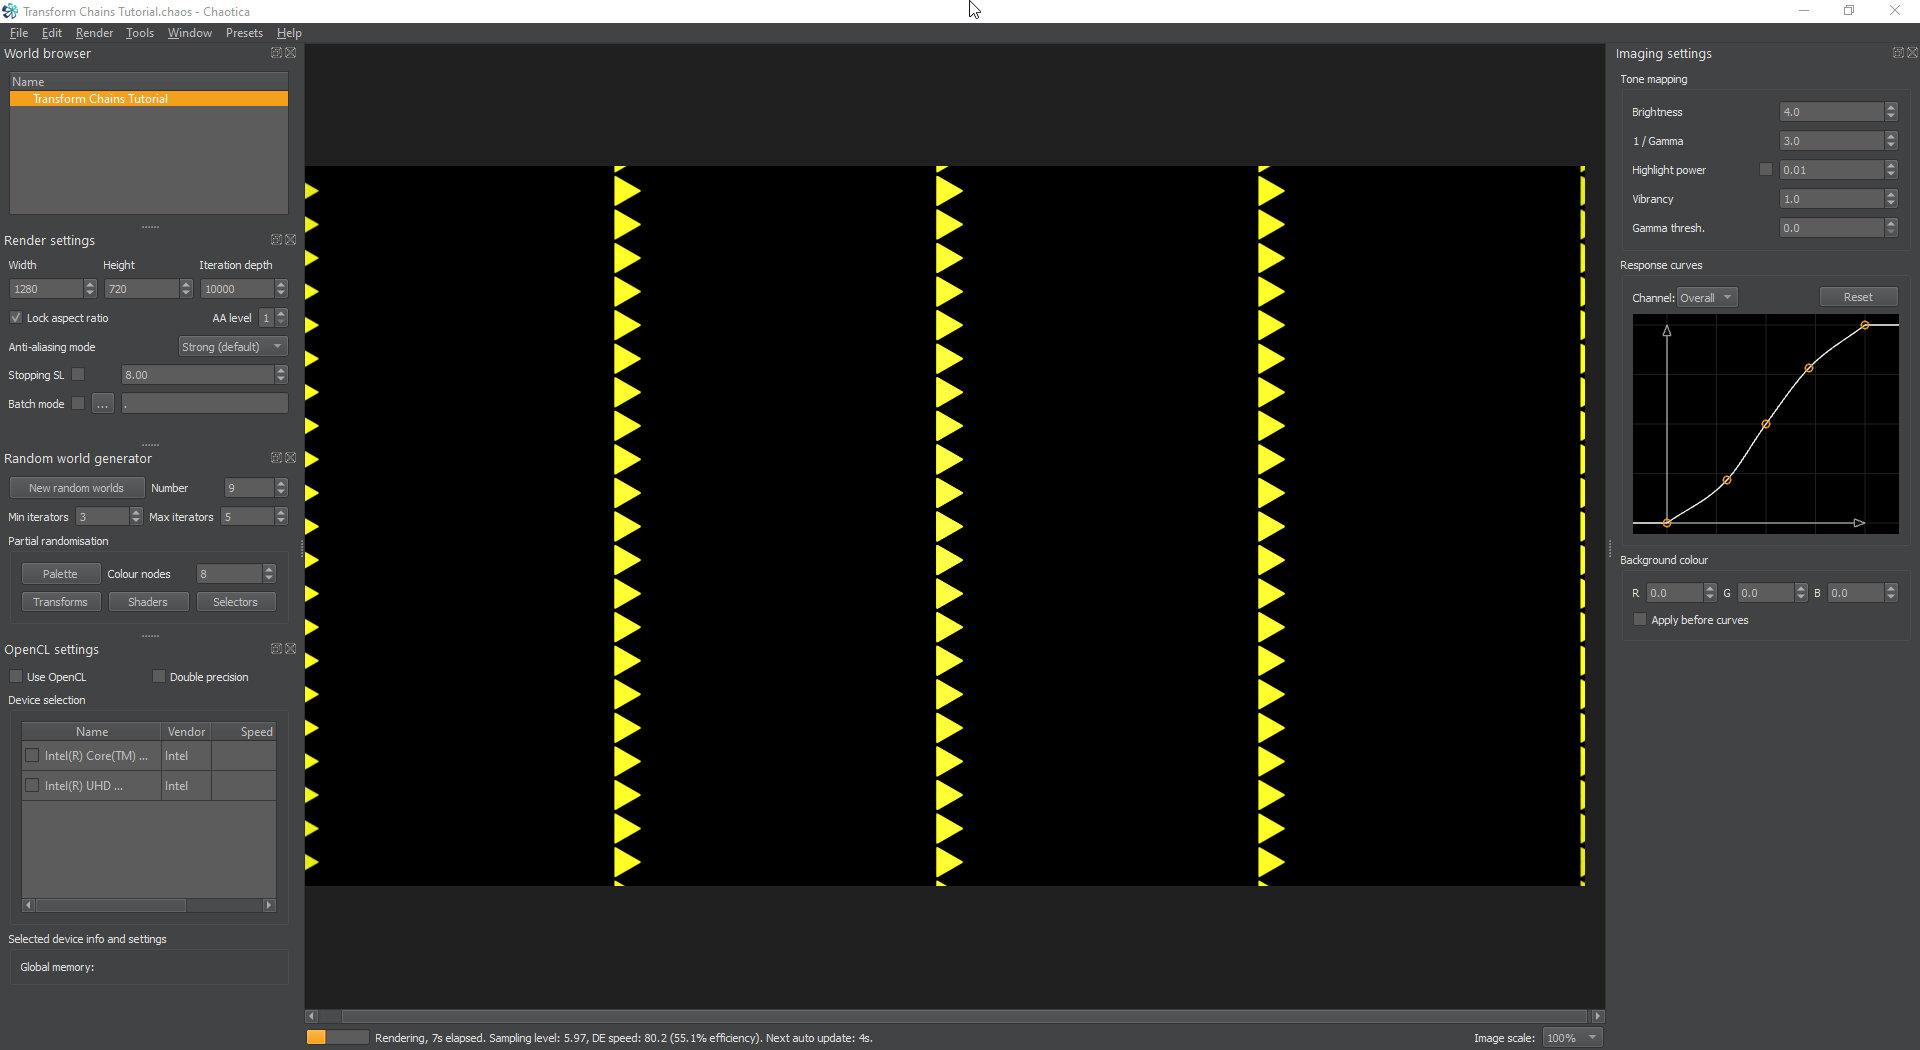
Next, for the sake of showing how it works, lets make that tile go up and down too.
Start by adding another post transform. This time mobius. mobius will allow us to tweak things. So now set Im_A to 1 and Im_D to -1. That will flip it 90 degrees without changing it’s size.
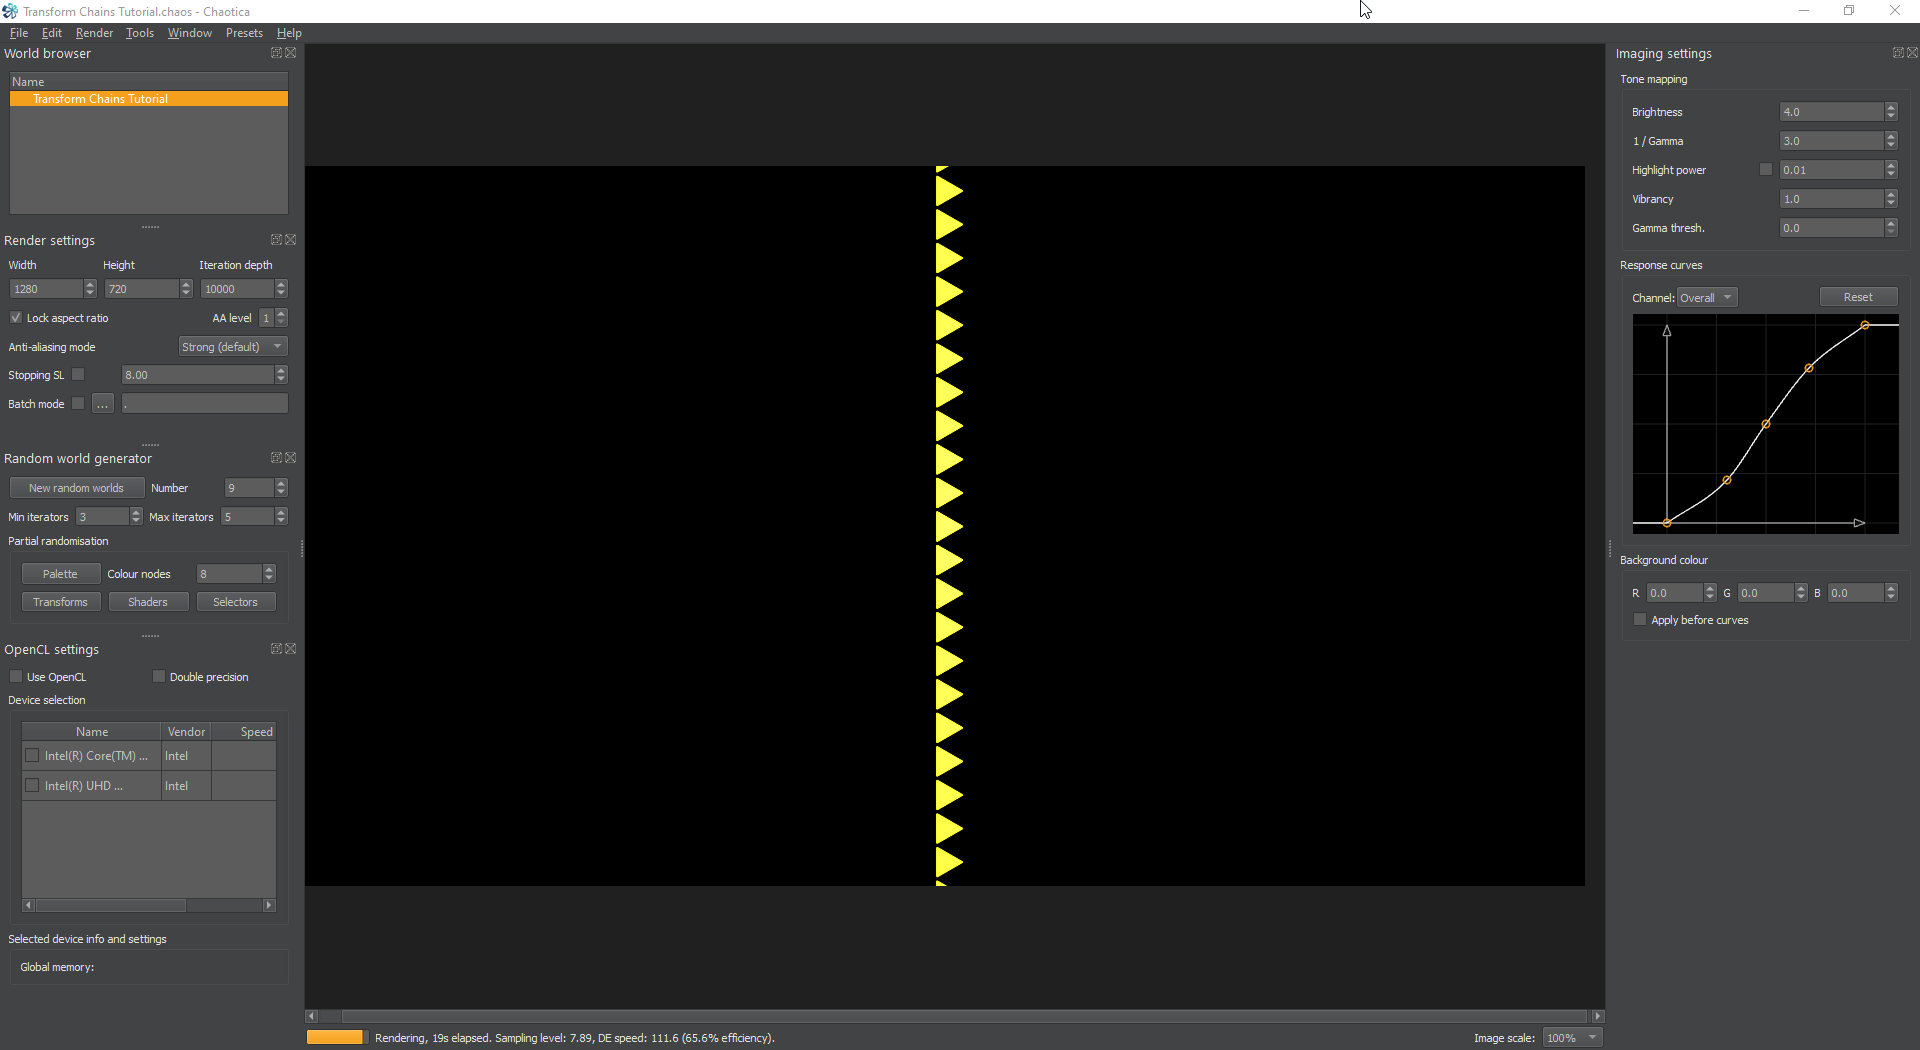
Next add two more. One tile_hlp and the next tile_log. Feel free to add them out of order to see what will happen. The entire benefit is that they are executed in a top down way.
What does this mean?
So, now we ask ourselves, what does this tell us? It tells us that we can take an iterator, and then change how it looks before we hand it off to the next iterator. This way we can precisely control how it looks before it interacts with other iterators.
If you think about it, this is incredibly powerful and can be used for a LOT of different things. Lets go back to the example and take away the last three transforms to get us back to the point where we had a single line of triangles.
Once you’re back to the single line create a new iterator and set the transform as linear.
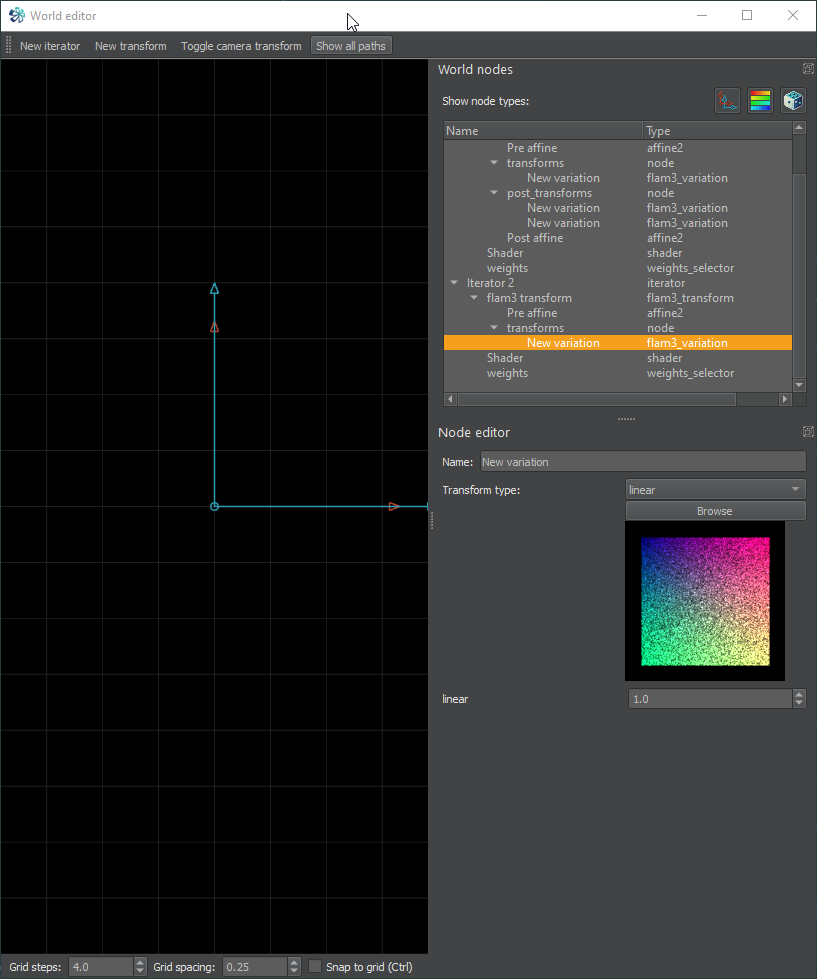
Now go to the pre-affine for the new iterator and make it a bit smaller and rotate it a bit.
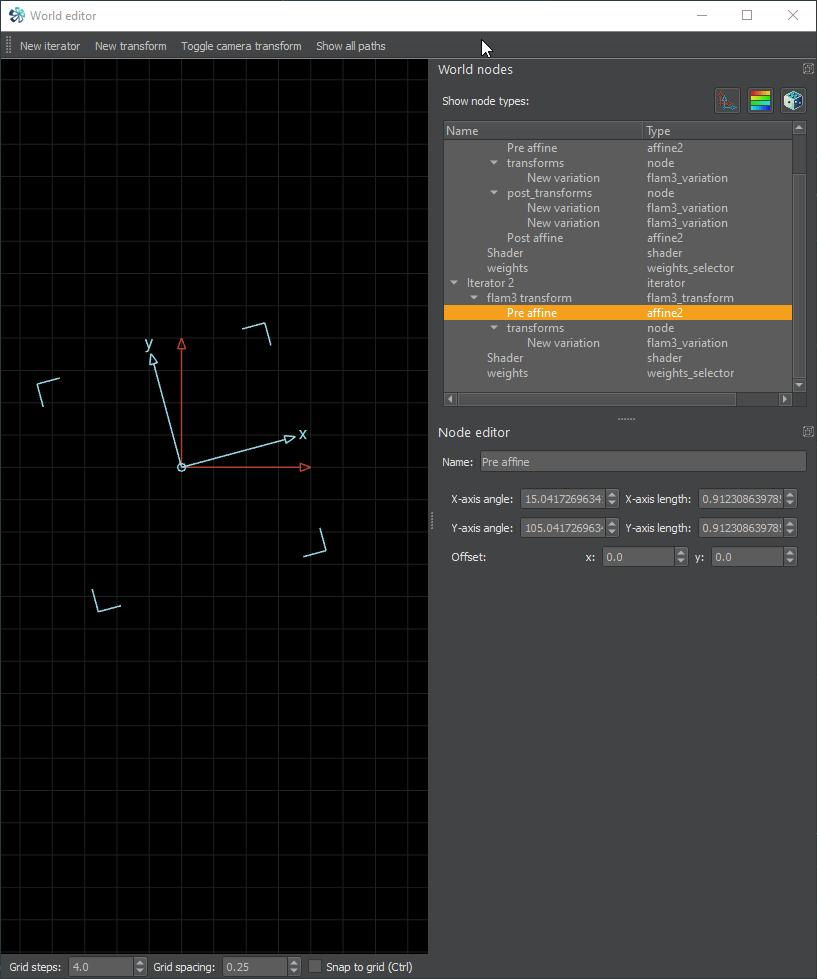
Now it’s starting to show the power of this method. Lets kick our game up a notch and create a glynnsim fill.
Glynnsim fill
Lets start with a blank slate and create the first iterator.
Set the transform to hex_rand and set it’s value to 0.5.
Next, setup a post transform. There are multiple ways to do this, but I’m going to show you one I like to use. We’re going to take the hex_rand and then fling it out into a single side with polar2, and follow that up with an infinite tile and then send the result to unpolar to bend it into a donut.
So Setup the first iterator like this:
Transform: hex_rand
    value: 0.5

    post_transform: polar2
    post_transform: crop
        crop_bottom: -0.35
        crop_zero: 1
    post_transform: tile_hlp
    post_transform: tile_log
        value: 0.104719755
        tile_log_spread: 10
    post_transform: unpolar
        value: 6.0
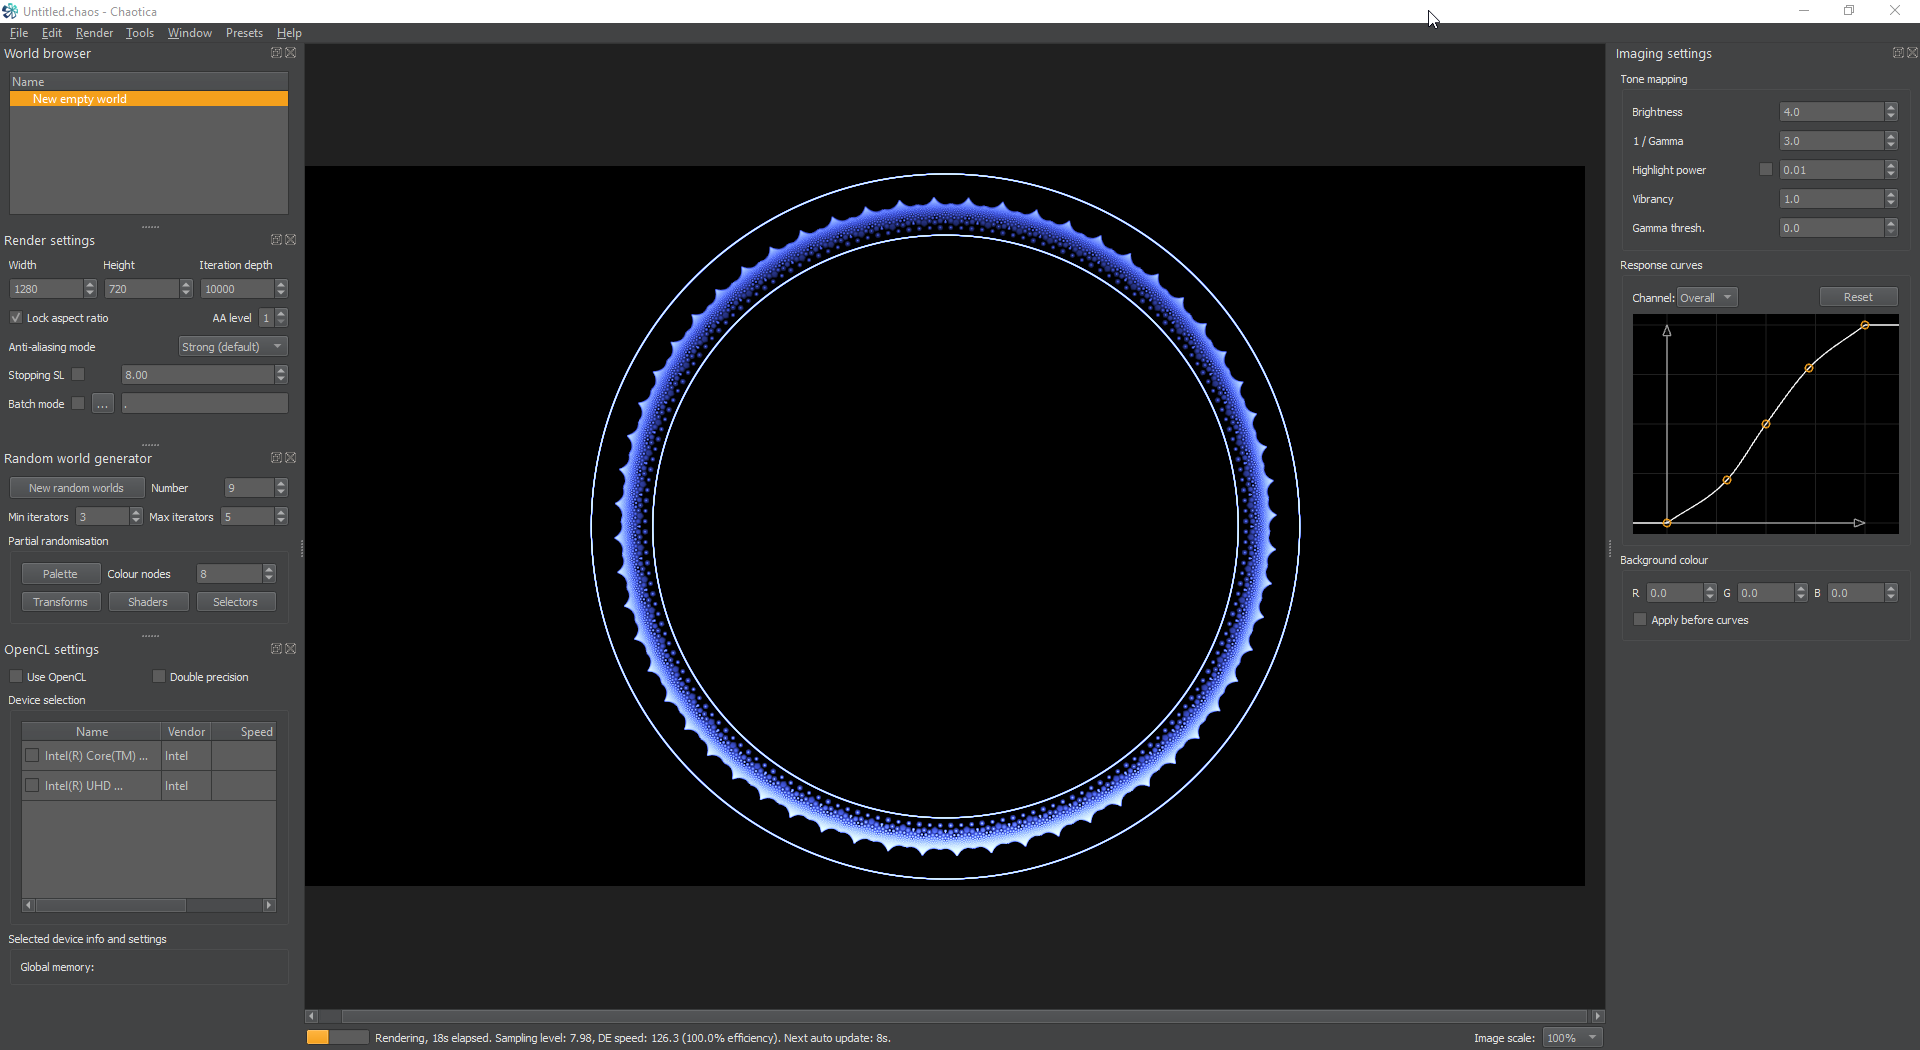
You end up with the following.
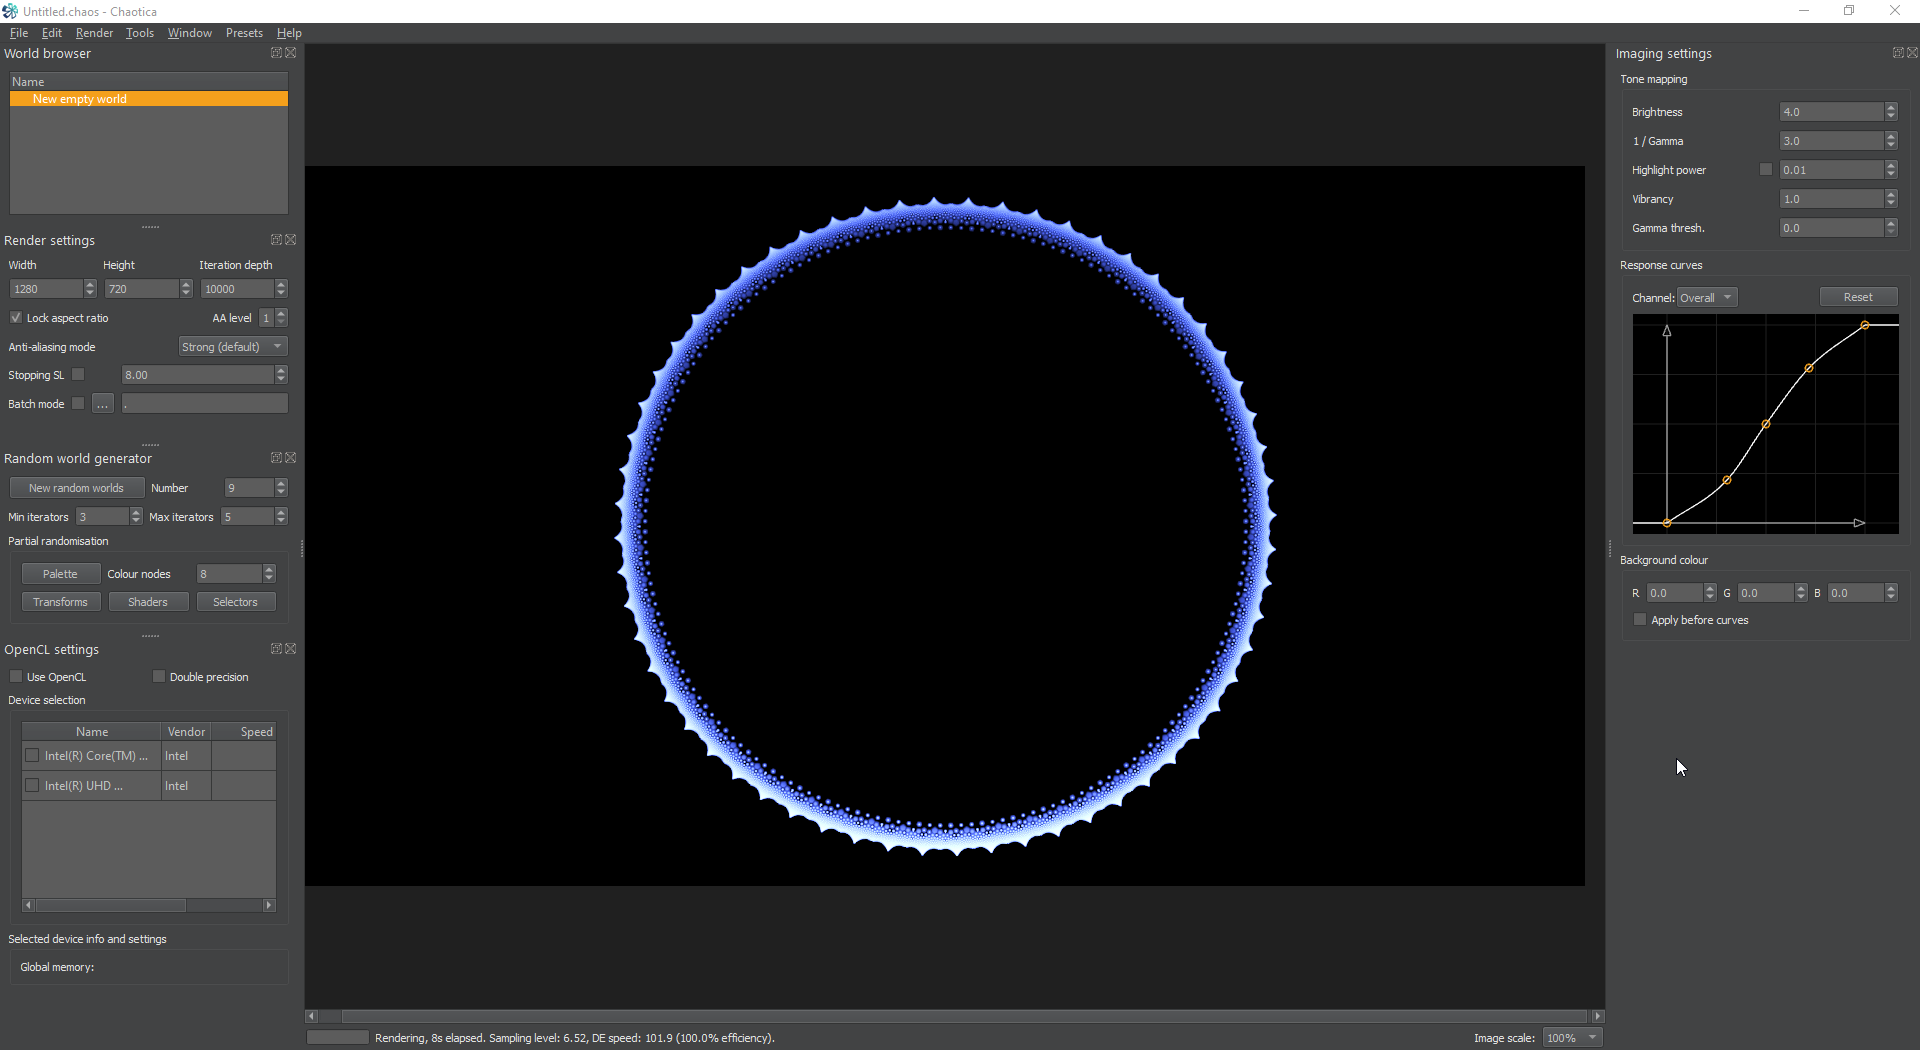
This method takes a hex rand, spreads it out with polar2, crops out the oddities, and then tiles it and then wraps it around into a donut. You may be wondering why the value on the tile_log. Well, anytime you work with foci or unpolar, you want the values to be pi/3 or a multiple of that. In this case it’s (pi/3)/10.
Next we’re going to put this into a glynnsim. So create a new iterator, and set it’s transform to glynnsim3. You can leave it all as the default for now.
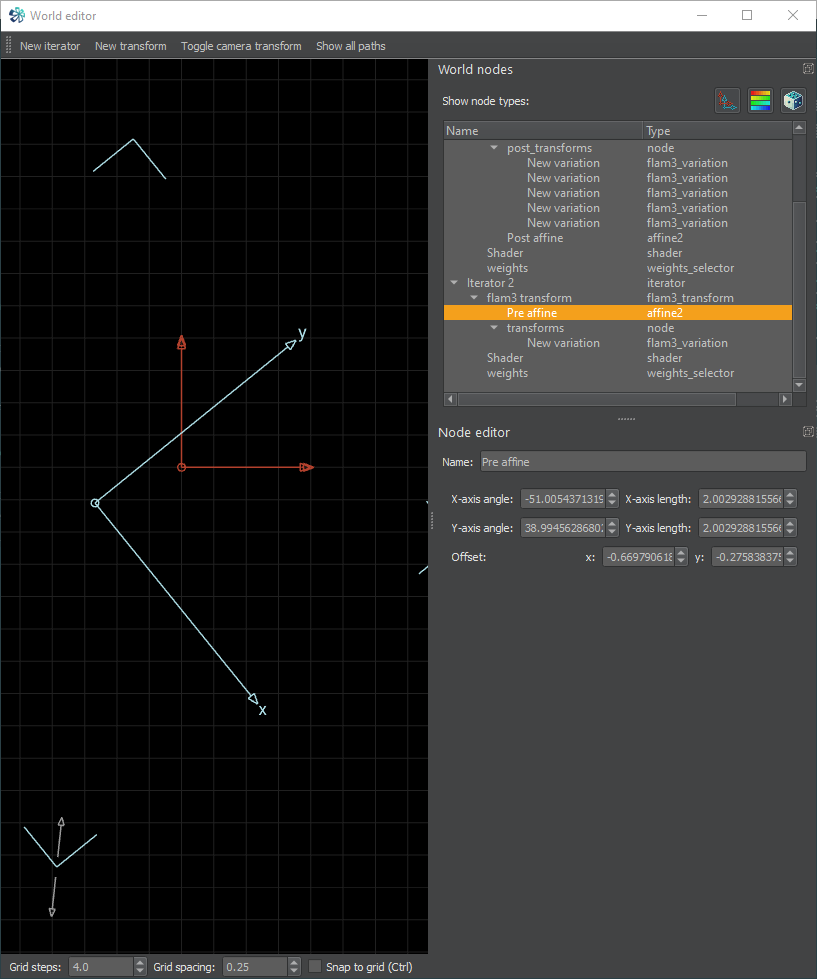
Now, add a post-affine to iterator 1 and adjust it to make the hex pattern fill as much of the glynnsim3 circle as possible without leaving the two white lines. If it does, you’ll know it. In my case, I just had to slightly make the post-affine bigger to fill more of the circle. Feel free to play with the values, or even get crazy and add in some circlecrop2. The idea is to fill as much or as little of the middle circle as possible. Glynnsim3 has three zones, the outside, middle and inside. Once you’re ready, the magic can begin. Go to the pre-affine for the glynnsim iterator and rotate and move it until you’re happy with the result. Mine is shown.
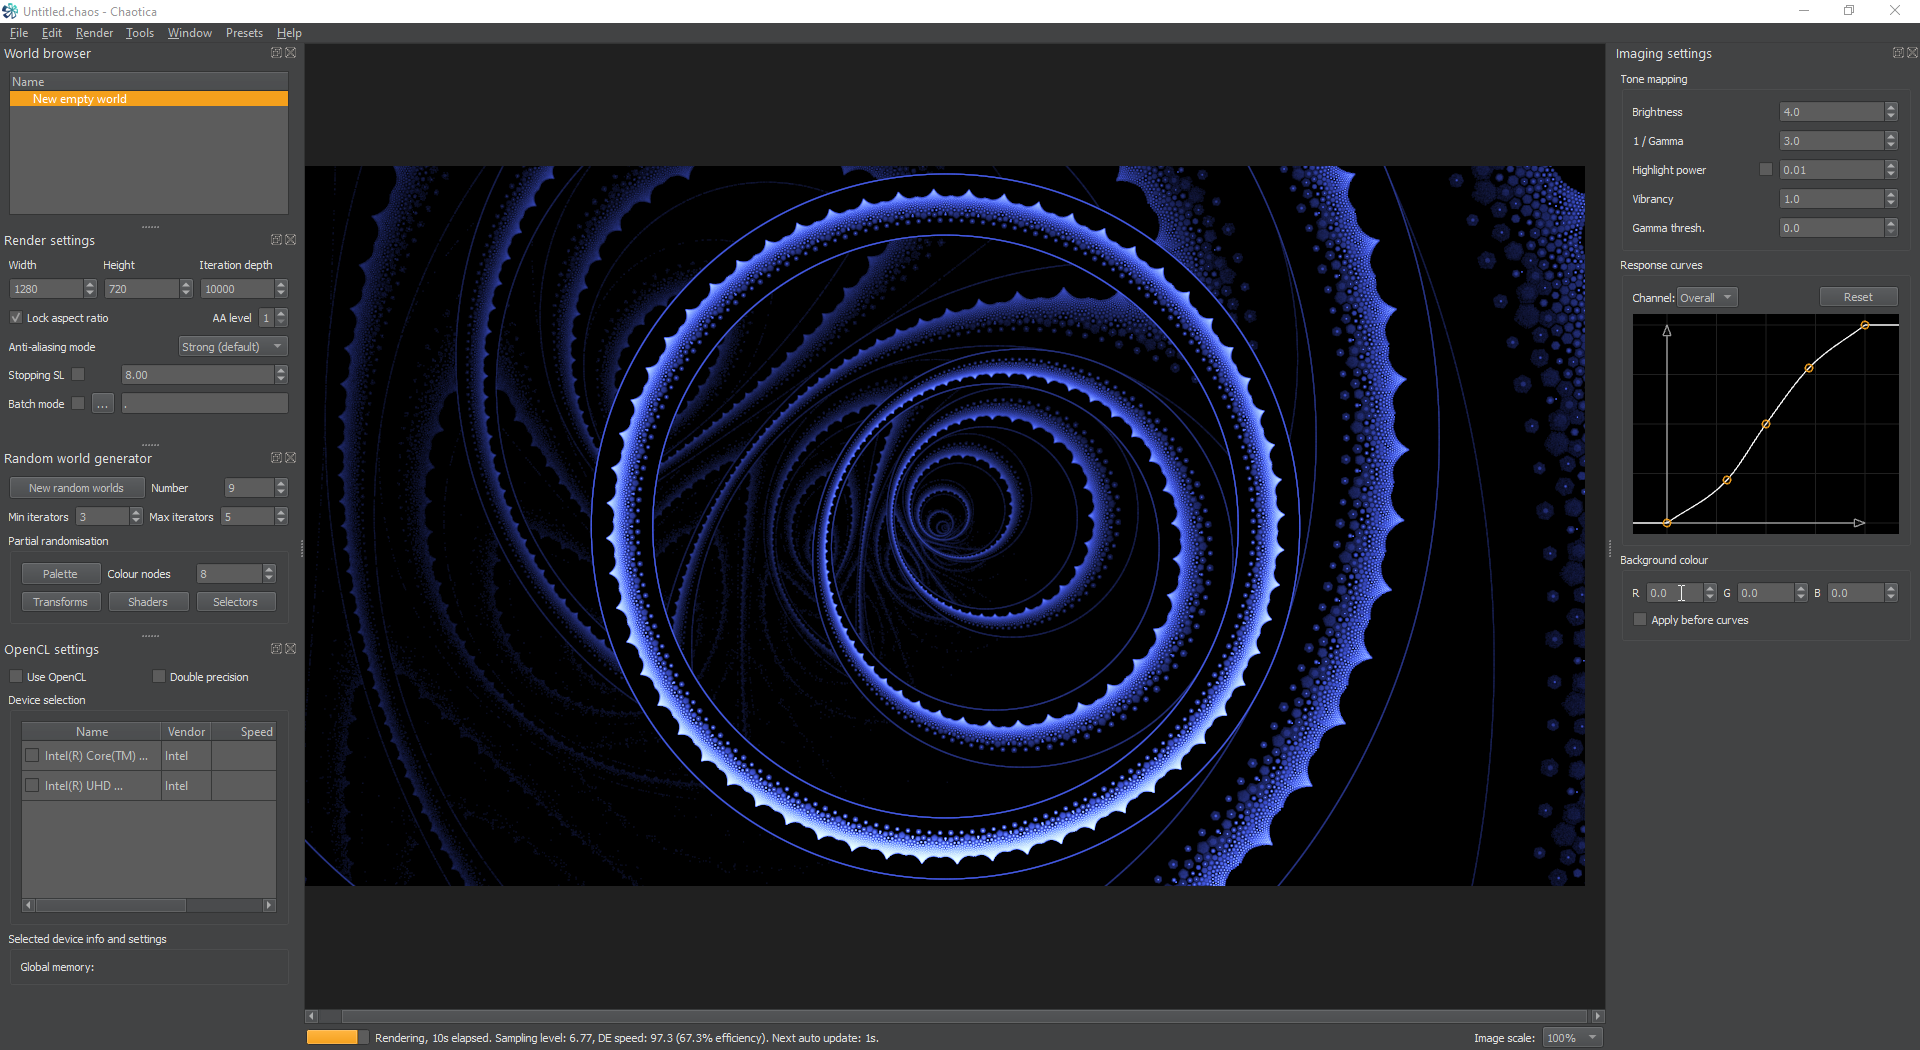
And as always, change the shaders, palette, and color curves until you’re happy. This is the final image.
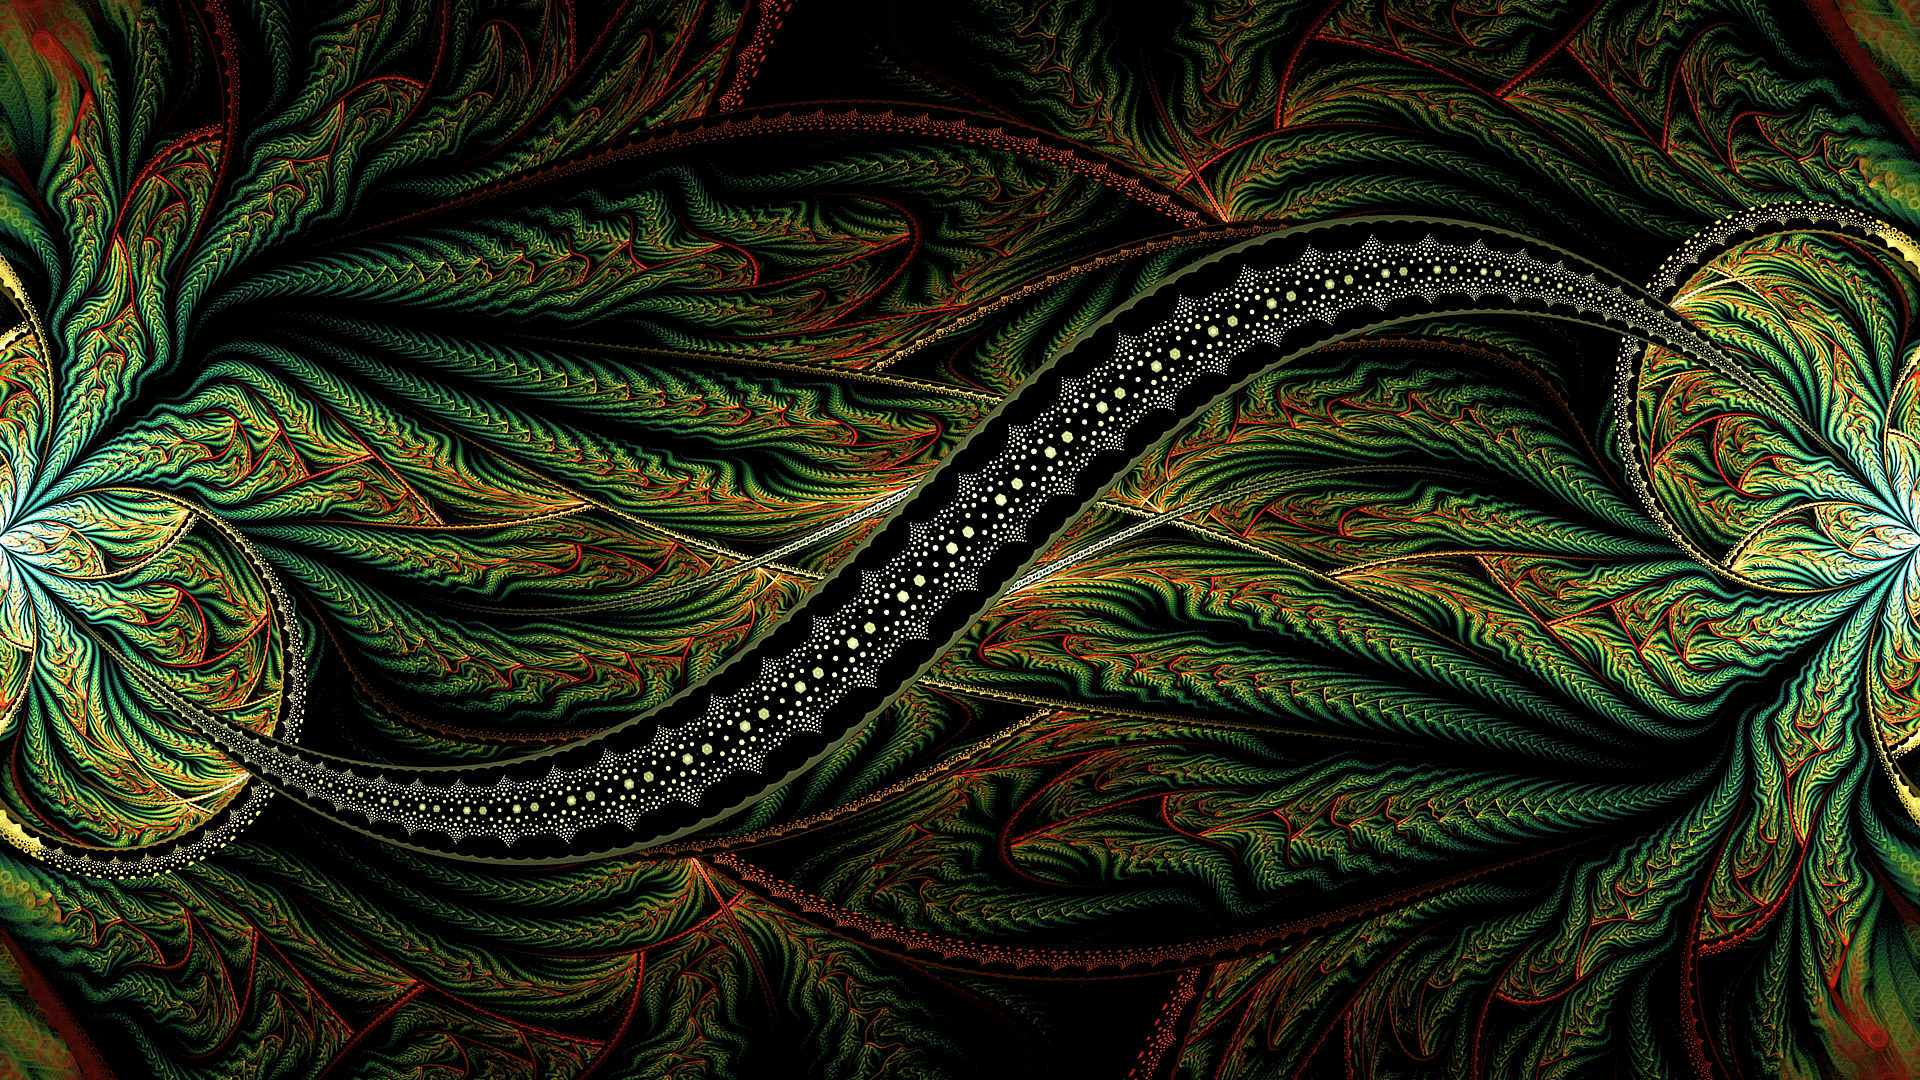
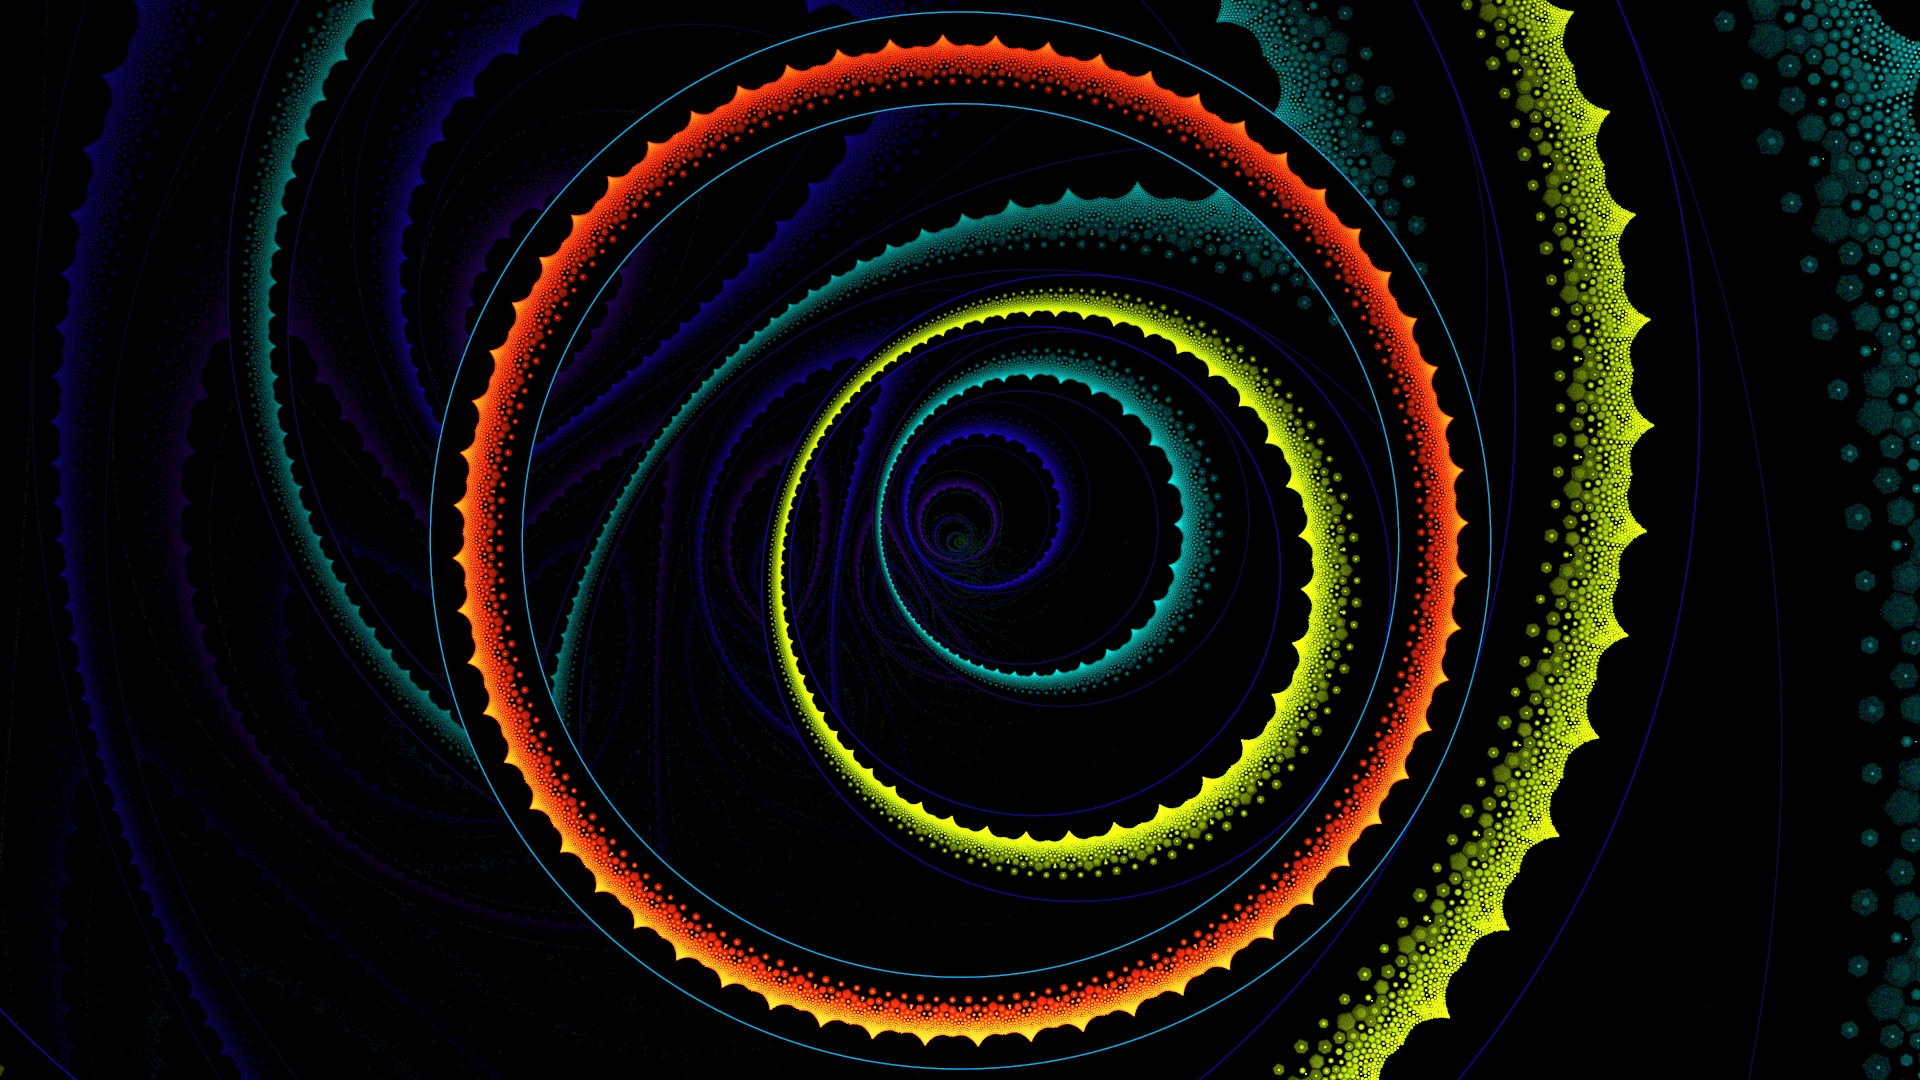
What have we learned?
We have covered the ability to create basic pre and post transform chains, and how to use them in one instance of creating a fractal. It’s up to you to use this knowledge to make something awesome. Here are some examples of this being used.