Chaotica: Circle Inversions
Getting Started
On this tutorial, I’m going to demonstrate how to do a circle inversion on the camera transform. There are multiple ways to do this, and you don’t have to do it through a camera transform. This method on the other hand allows you to skip getting into weights, which is a whole other future tutorial.
Now that I’m done with the warnings, onwards!
On this tutorial, I’m going to hope you’ve read the basics on Chaotica. I’m going to skip right into the meat of things and make this short and simple.
Initial Setup
First, lets make a simple pattern to use. I’m going to setup two iterators with the following information.
Iterator 1
Transform: julian2
Variables: all defaults

Post_Transforms:
    Transform: tile_hlp
    Variables: all defaults

    Transform: tile_log
    Variables:
        tile_log: 0.2
        tile_log_spread: 10
This will create a simple julian and then tile it into infinity left and right.
Once you have it setup, go to the shader node and set the opacity to 0.
Iterator 2
Transform: hemisphere
Variables: all defaults
Next Steps
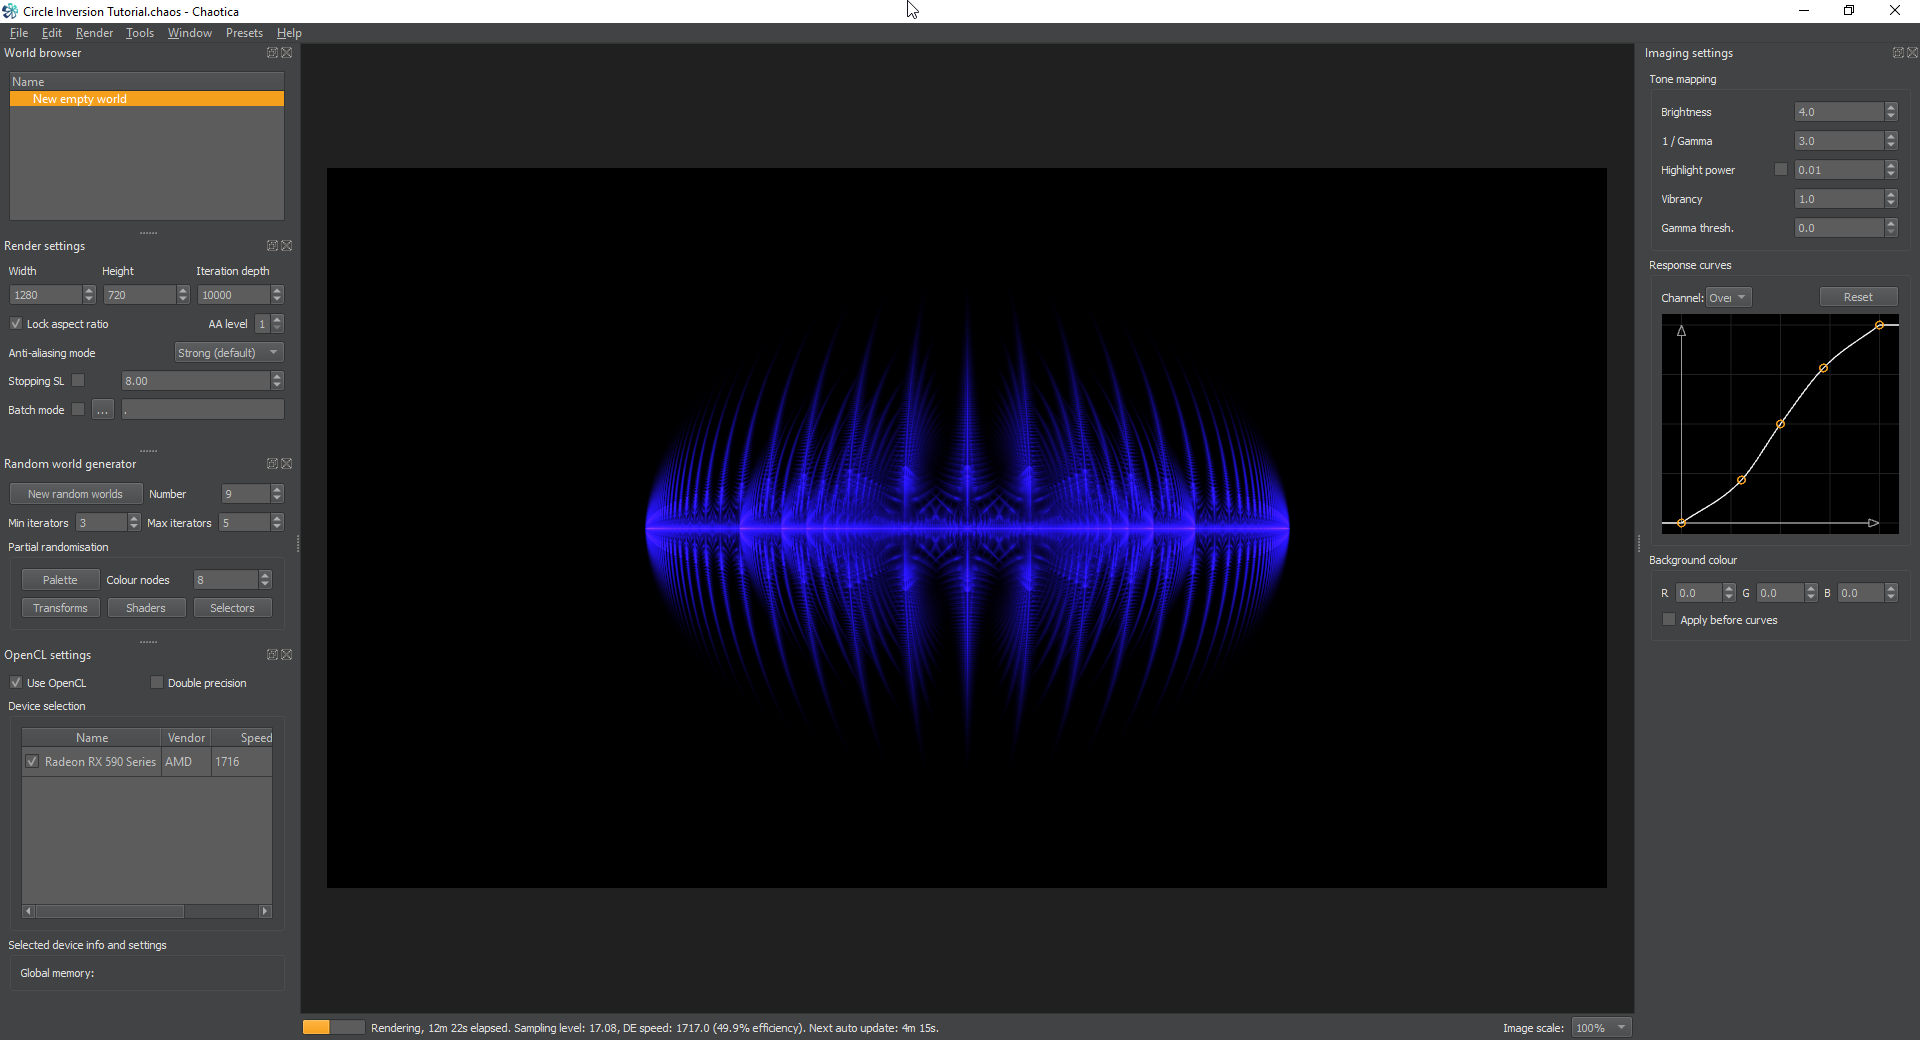
This will create a shape for us to play with in the camera transform. Here’s what mine looks like at the moment.
Now what we want to do is to crop this into a circle and then work with that. If you’ve been following my tutorials, you may be aware that I’ve mentioned transform chains. This uses a simple yet powerful method. In Chaotica, pre and post transforms can have any number of transforms. Unlike the normal behavior, they are executed in a top down way instead of mixing according to Chaos. This allows us to take the result of a transform or series of transforms and interact with it in a specific way to get a specific result. For lack of a better term, it’s a way to mix Chaos and Planning.
Camera Transform
Next I’m going to toggle the camera transform to on. I’m going to leave the basic transform as linear and then show the pre transforms.
I’m now going to create the pre transforms in this specific order.
Transform: circlecrop
Variables:
    circlecrop: 1
    circlecrop_radius: 0.5

Transform: Spherical
Variables:
    spherical: 0.5

Transform: spher
Variables:
    spher: 1
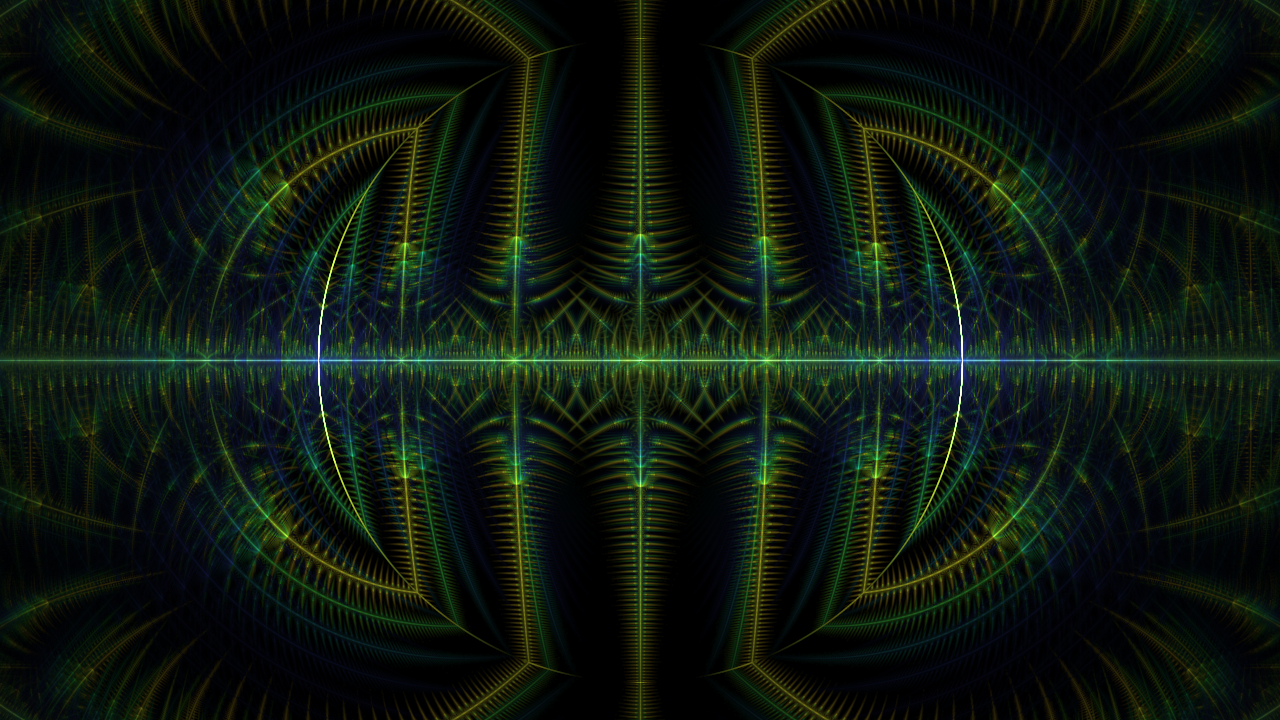
What this does is crops the image into a circle, then the spherical inverts it inside out, and then the spher creates a copy of the outside on the inside of the circle. You can adjust the value of the spherical transform to put a gap between the two parts, or even throw in some mobius or anything else in the chain to vary the effect.
This is after applying the camera transform.
Don’t forget to apply some pallete and shader tweaks. You’ll be creating awesome in no time.