Chaotica: Elliptic-Splits
Credits
This is a collaboration between myself and Crystalize but a huge thanks to the fractal community is also in order. The first method is mine and based on apophysis. The second is Crystalize’s and is something I thought worth including as it’s very well built.
If I have seen further than others, it is by standing upon the shoulders of giants. - Isaac Newton
Elliptic splits Method 1
This tutorial will teach you two different ways to create the effect and a few ways to tweak it.
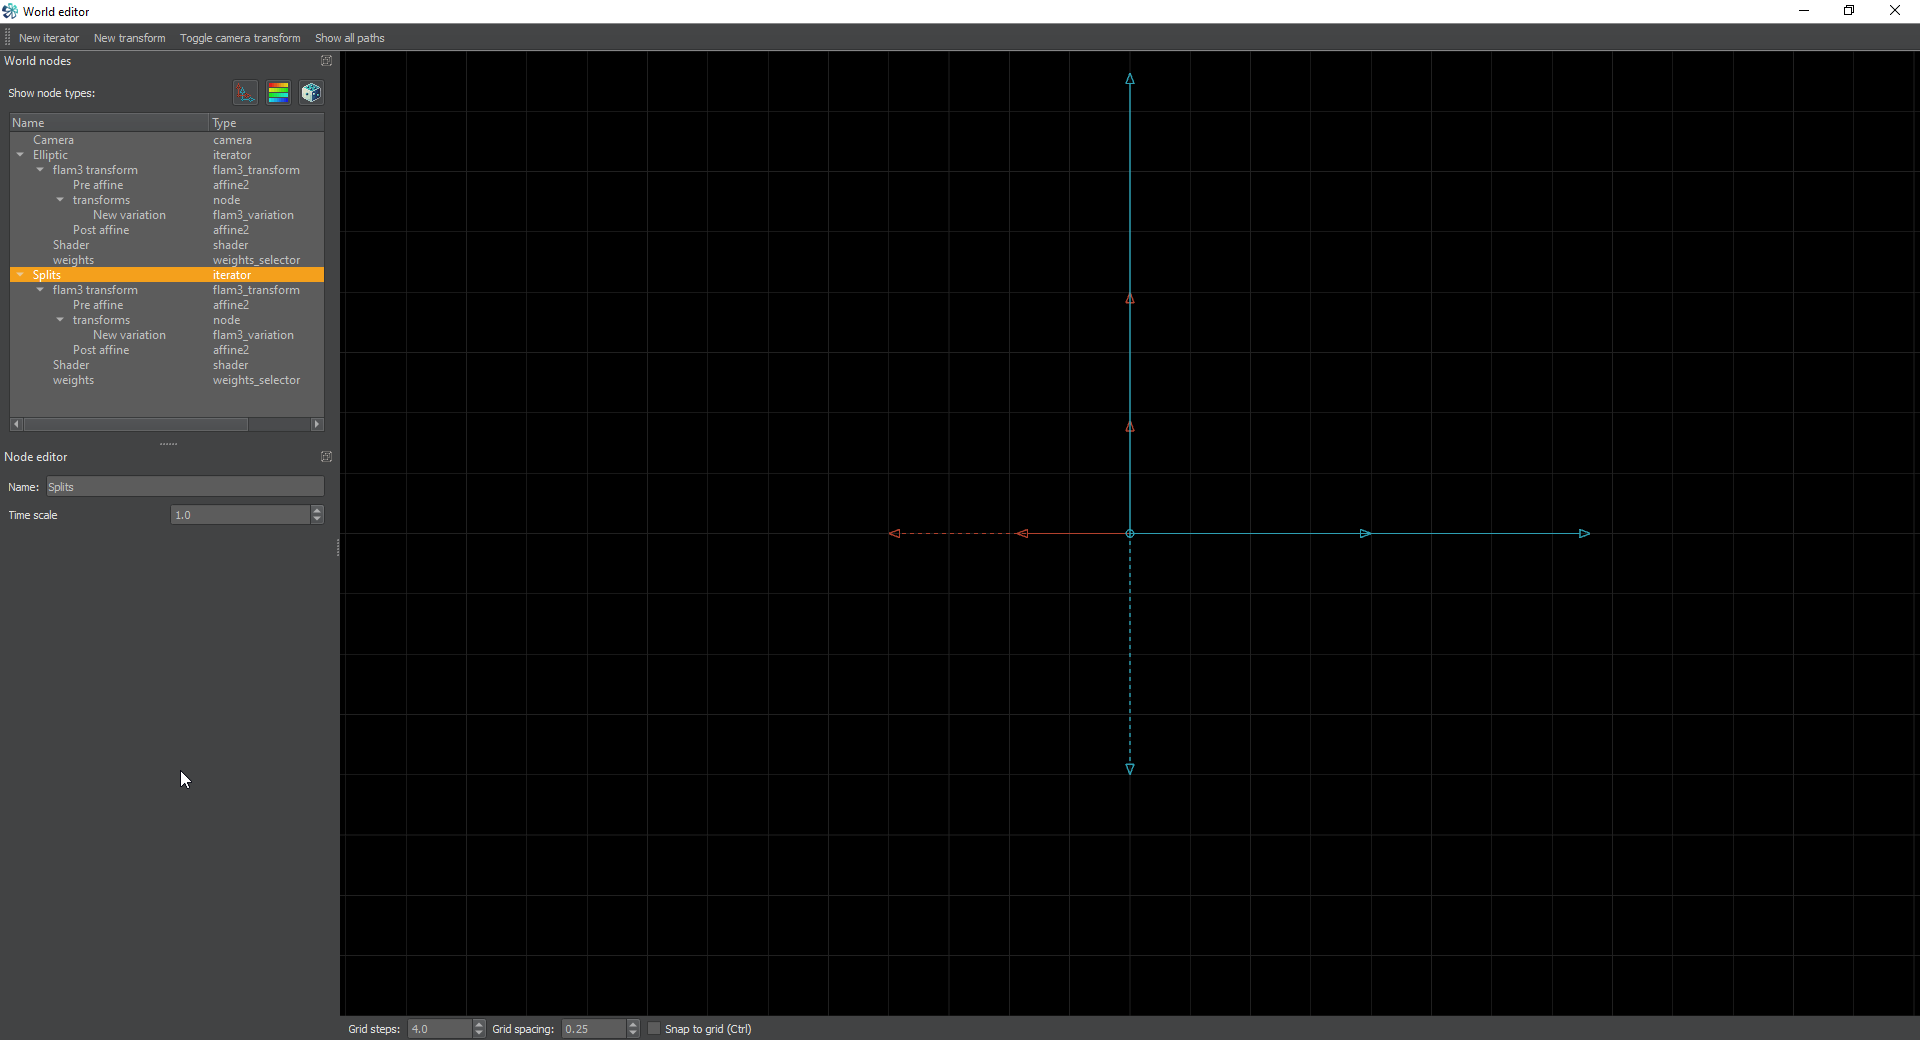
Iterator 1
First we’re going to setup the Elliptic transform. Set the value to around 1 and you can tweak it later.
Transform: elliptic
    value: 1
Pre-affine
This needs to get flipped 90 degrees counterclockwise. In Chaotica, I much prefer to set the values directly.
pre-affine:
    x-axis: 90
    y-axis: 180
We also need to lower the size of this. This is where it gets a bit uncertain. Throughout the whole process you will change the size of this pre-affine and the one for the splits iterator until you’re happy with the result. I set my initial values at 0.469182796955 for the X and Y length.
Post-affine
Add a post-affine to this iterator and we’re going to flip it 90 degrees counterclockwise as well, so set the x and y axis.
post-affine:
    x-axis: 90
    y-axis: 180
Iterator 2
This is going to be our splits iterator. Setup the transform like so.
Transform: Splits
    value: 1
    splits_x: 1
    splits_y: 0.05
Pre-affine
No changes need to be made to the pre-affine beyond changing the size. In my example I raised the size. I’m including sample values.
Pre-affine:
    X-axis: 1.909124568362
    Y-axis: 1.909124568362
Post-affine
We’re going to flip this 90 degrees clockwise
post-affine:
    x-axis: -90
    y-axis: 0
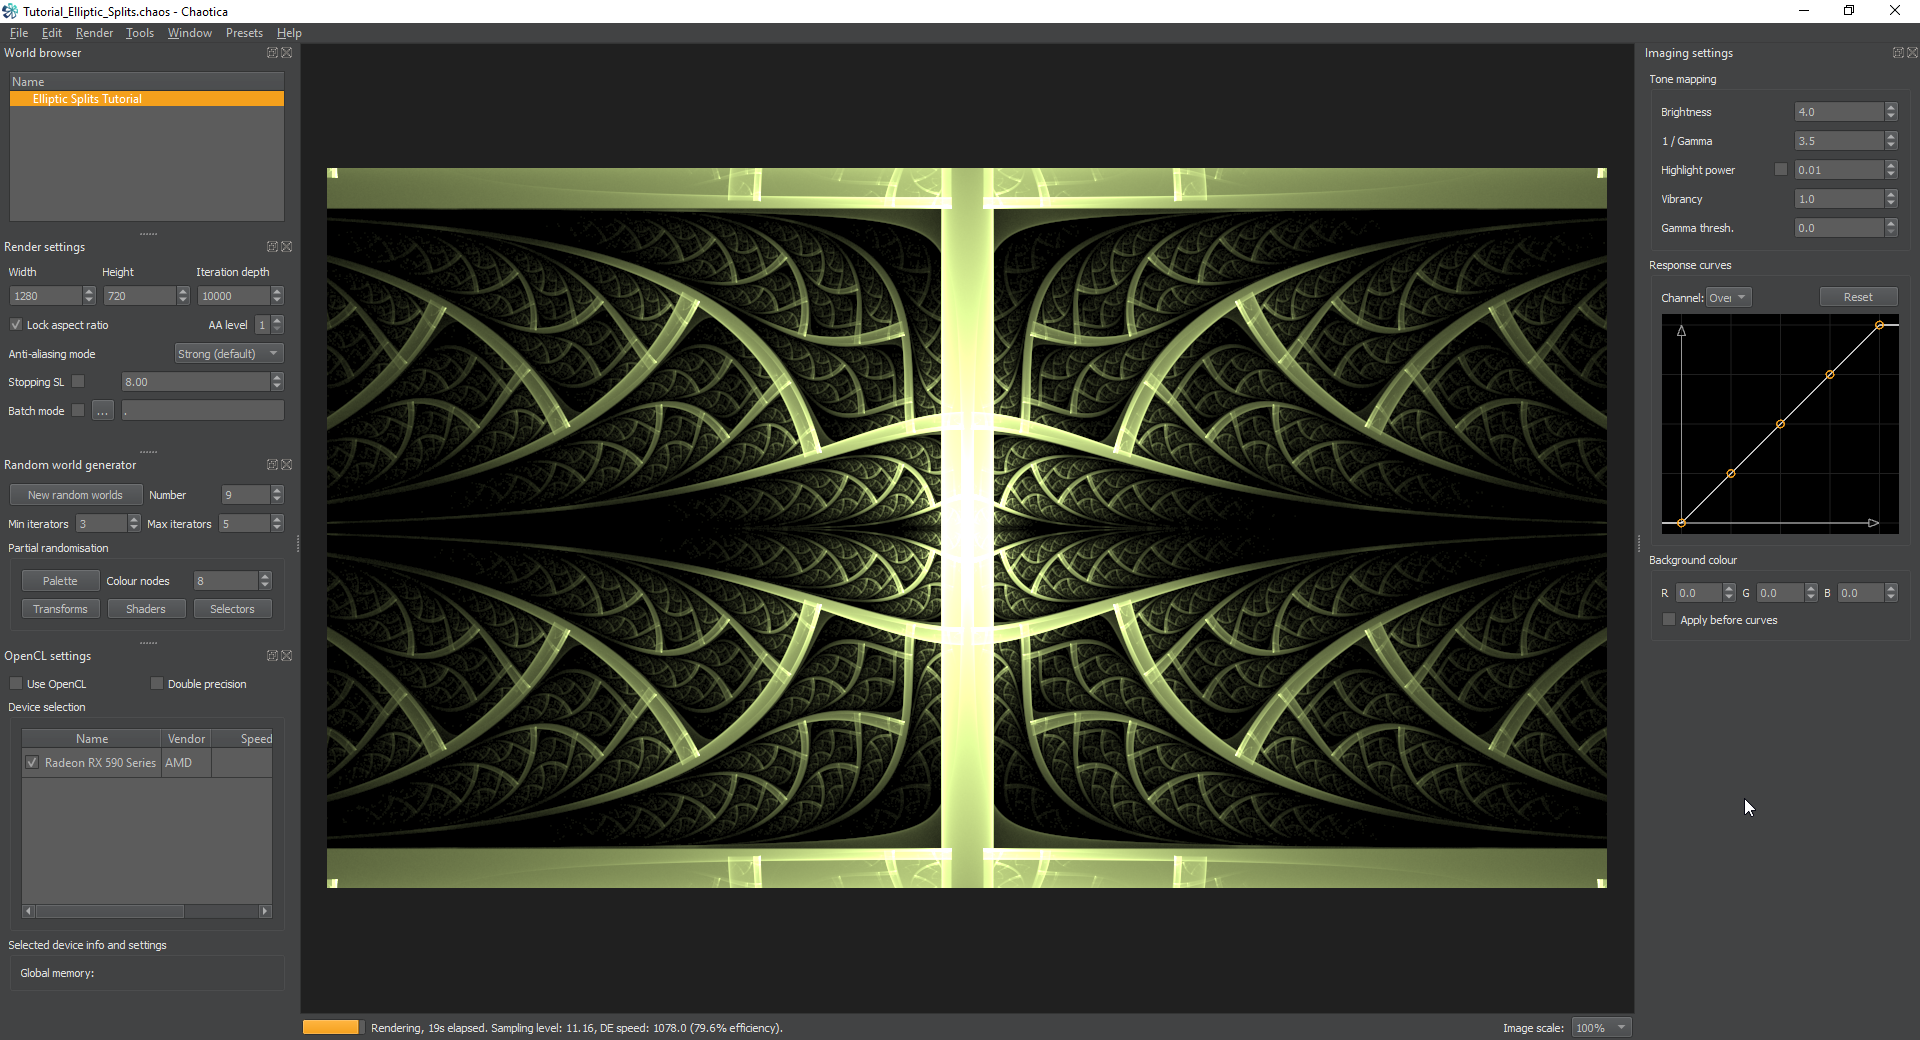
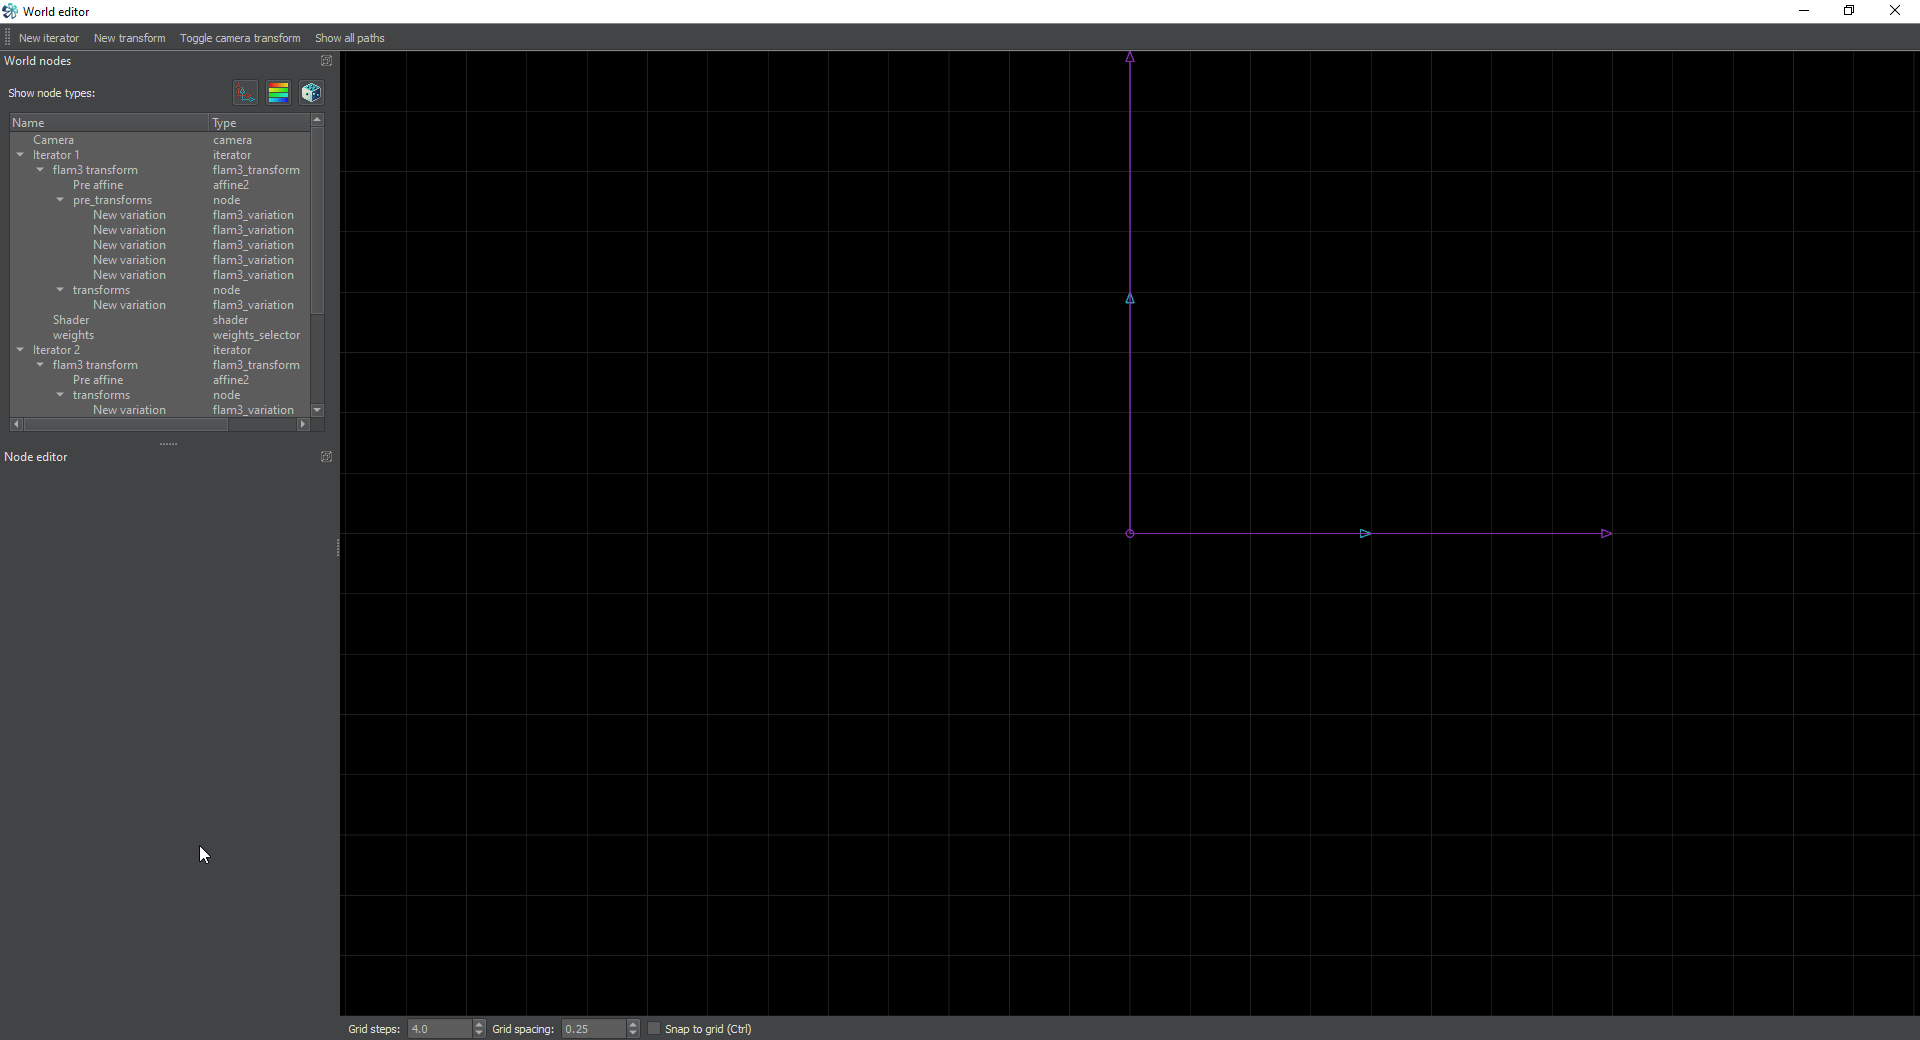
Review So Far
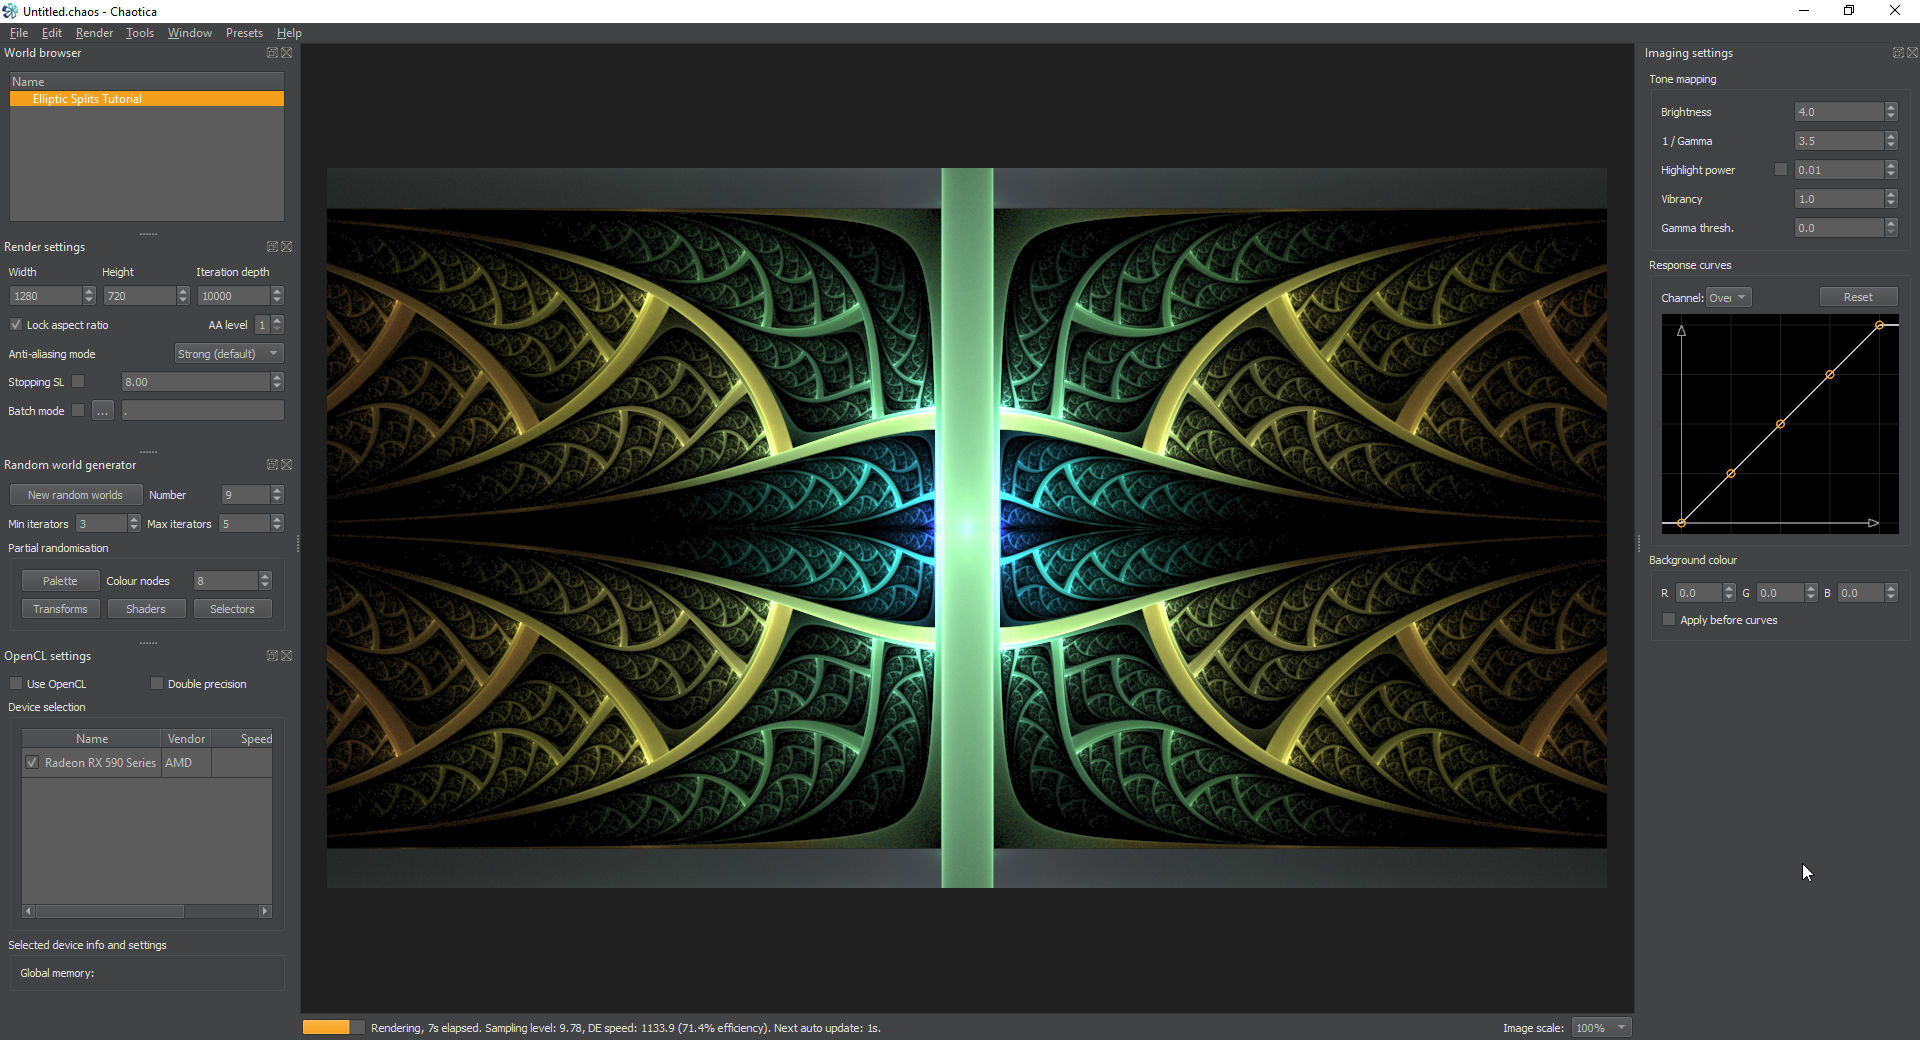
Ok, lets review what we have so far. Here’s what everything looks like.
Review of tweaks
Keep in mind that you can change the size of the pre-affines for both transforms to get a totally different look. You can also tweak the size of the splits x and y values to change how this looks as well. I encourage you to play with this and figure out how everything links together. This is a great point to do that.
Adding effects
Now, lets make this truly stand out. Lets add a cylinder transform. We’re going to insert it into the chain in such a way as to use it to outline the edges.
Cylinder Iterator
Setup the cylinder transform like this.
pre-transforms:
    transform: gaussian
        value: 10

transform: Cylinder
    value 0.25
The guassian is to provide a blur though, you can change this to whatever you like. I just find that a blur gives it a nice soft edge.
Pre-affine
No changes are needed to the pre-affine, but feel free to play with it.
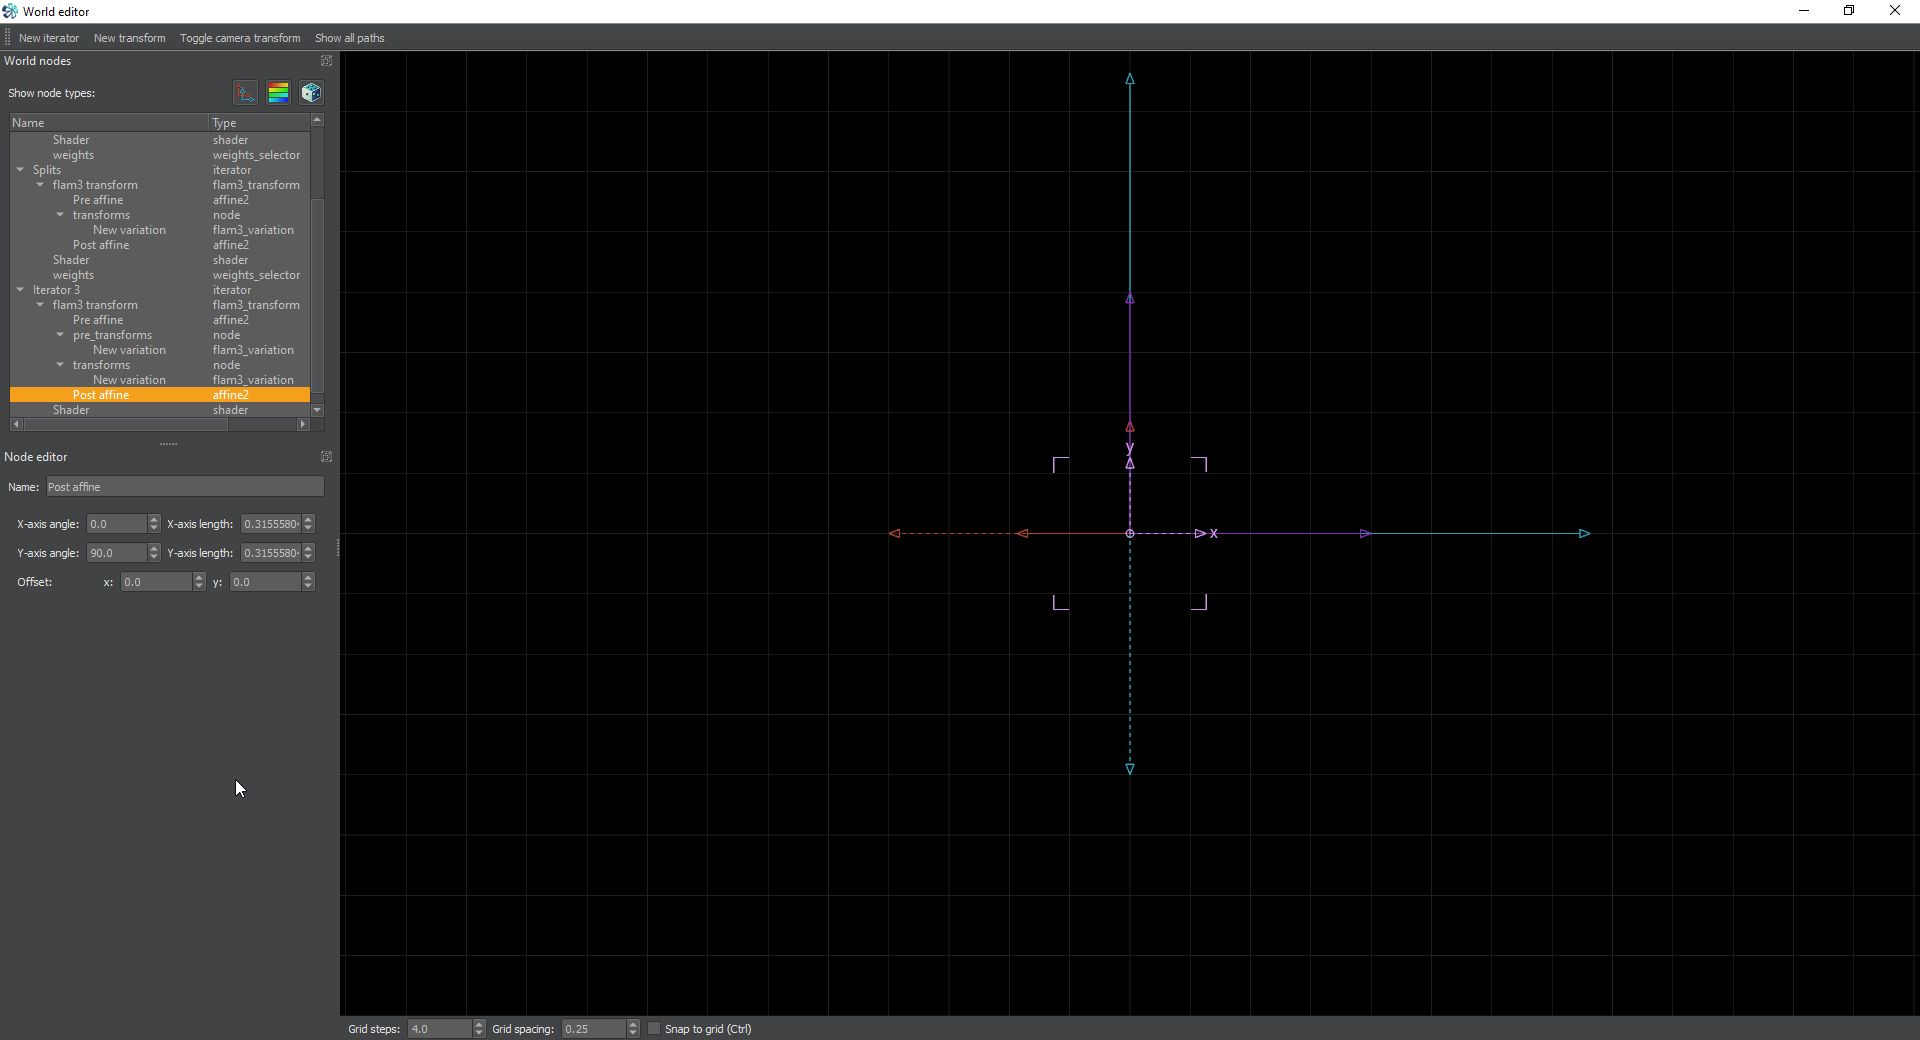
Post-affine
Lets lower the size of the cylinder to give it a better edge. I’m going to set the X and Y axis length at 0.315558045641
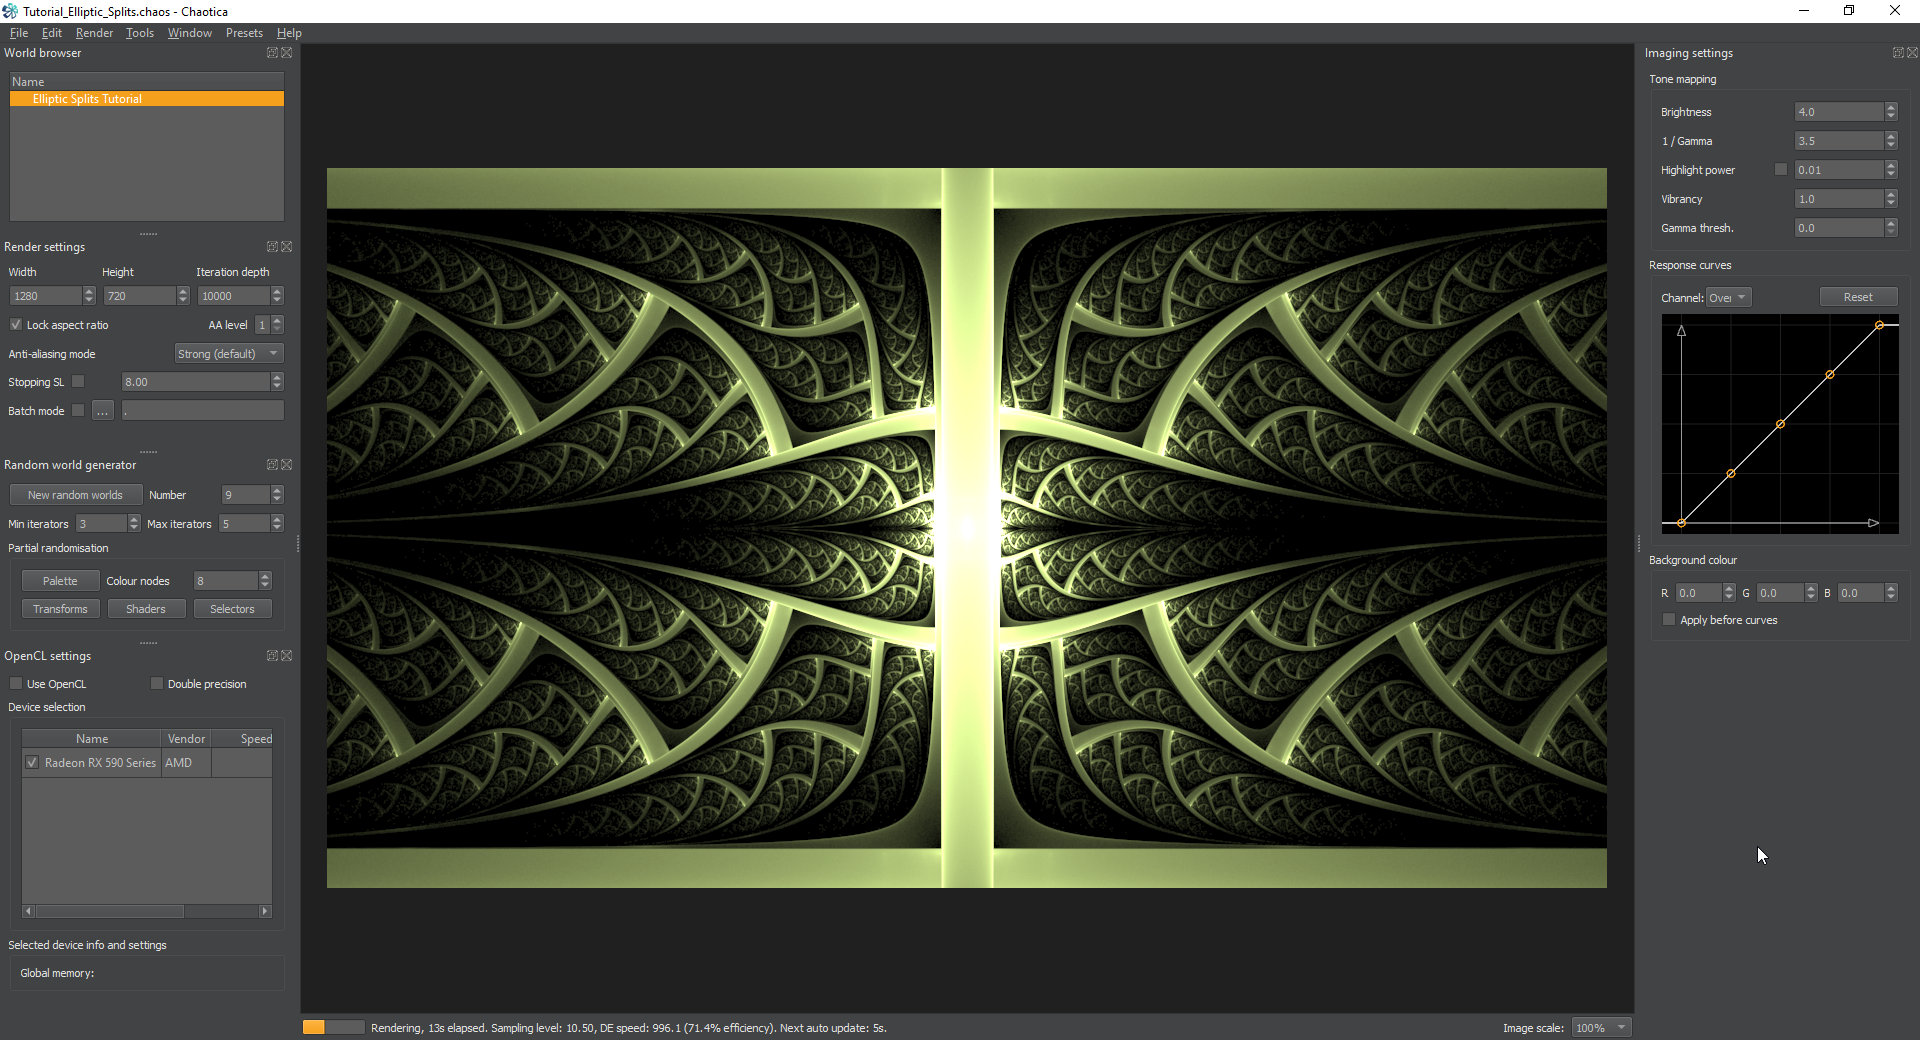
At this point it looks ok, but it overlaps quite a bit. Lets fix that.
Making things line up
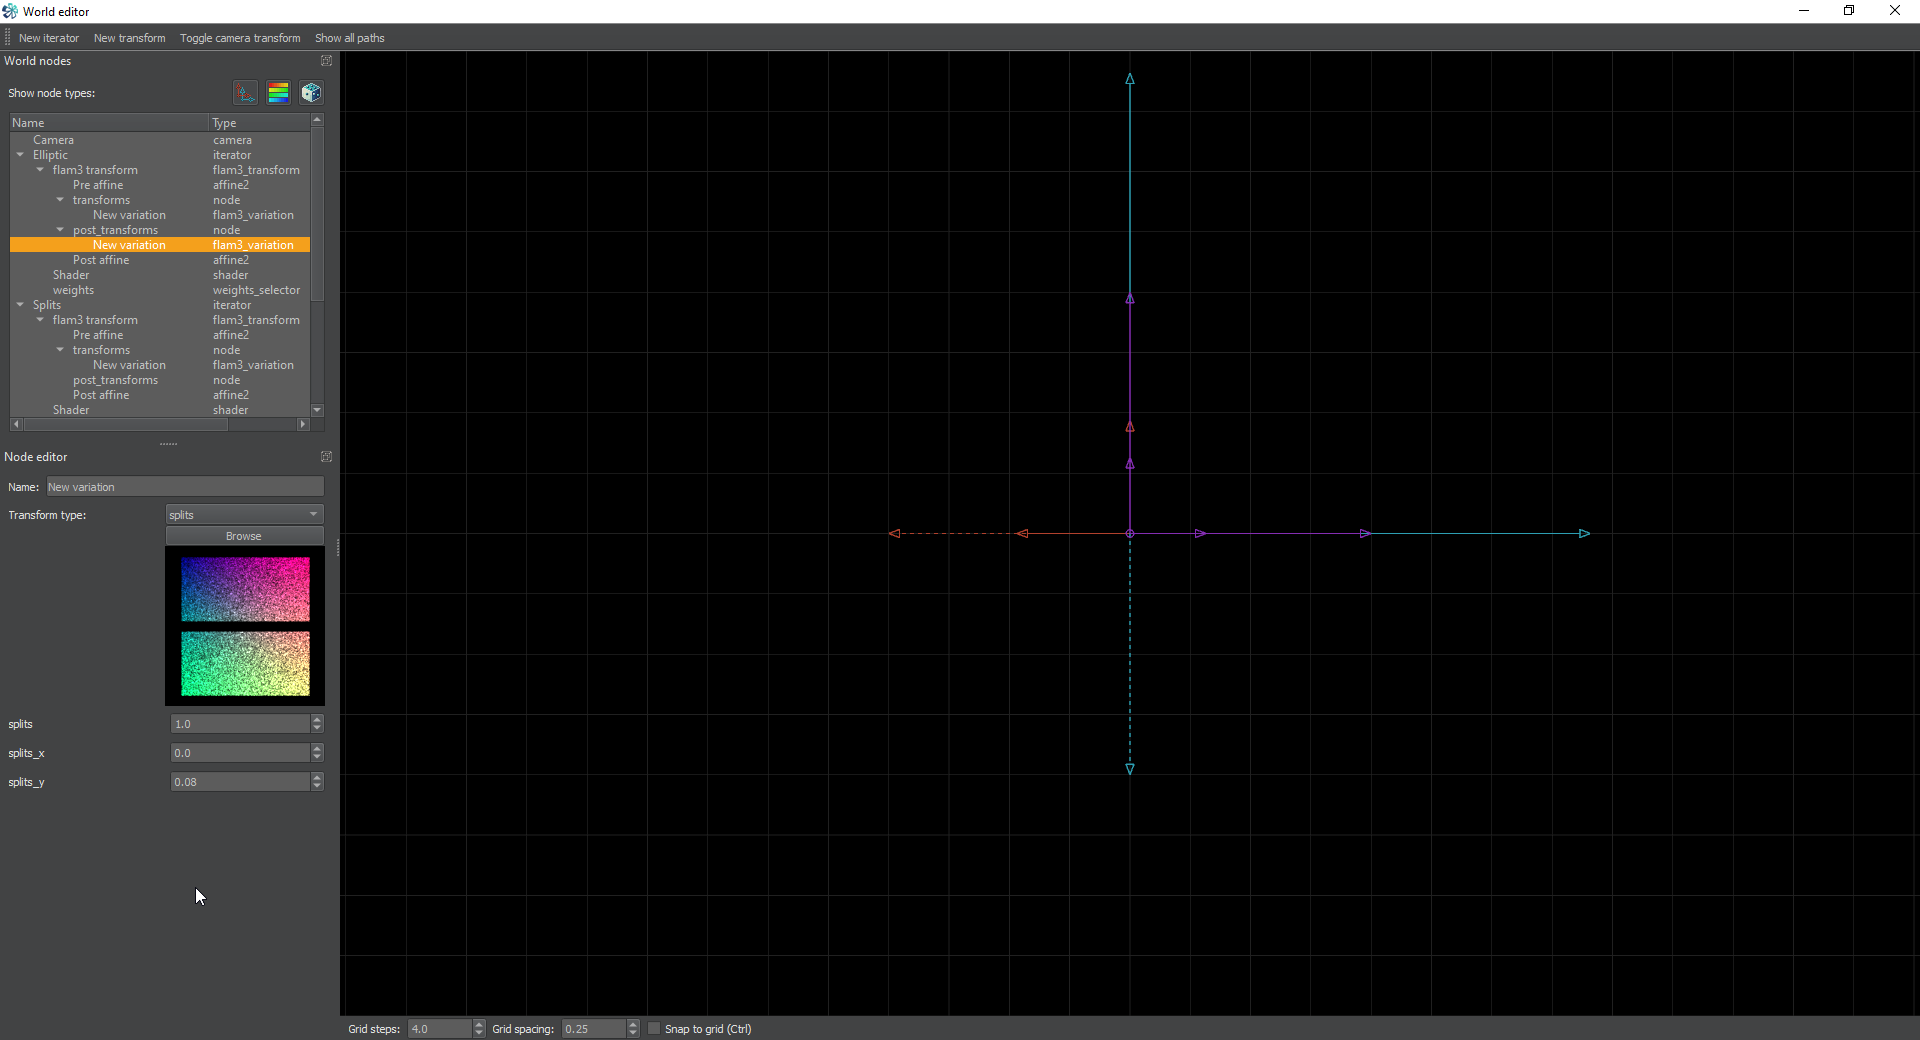
Add post transform to the Elliptic iterator and set the transform to splits with y value of 0.08
This will make a gap in it to fit the cylinder into. Then we want to tweak the splits iterator and set the splits y value to 0.08
The effect is we’re moving the pattern aside to insert the cylinder into the middle.
Final Tweaks
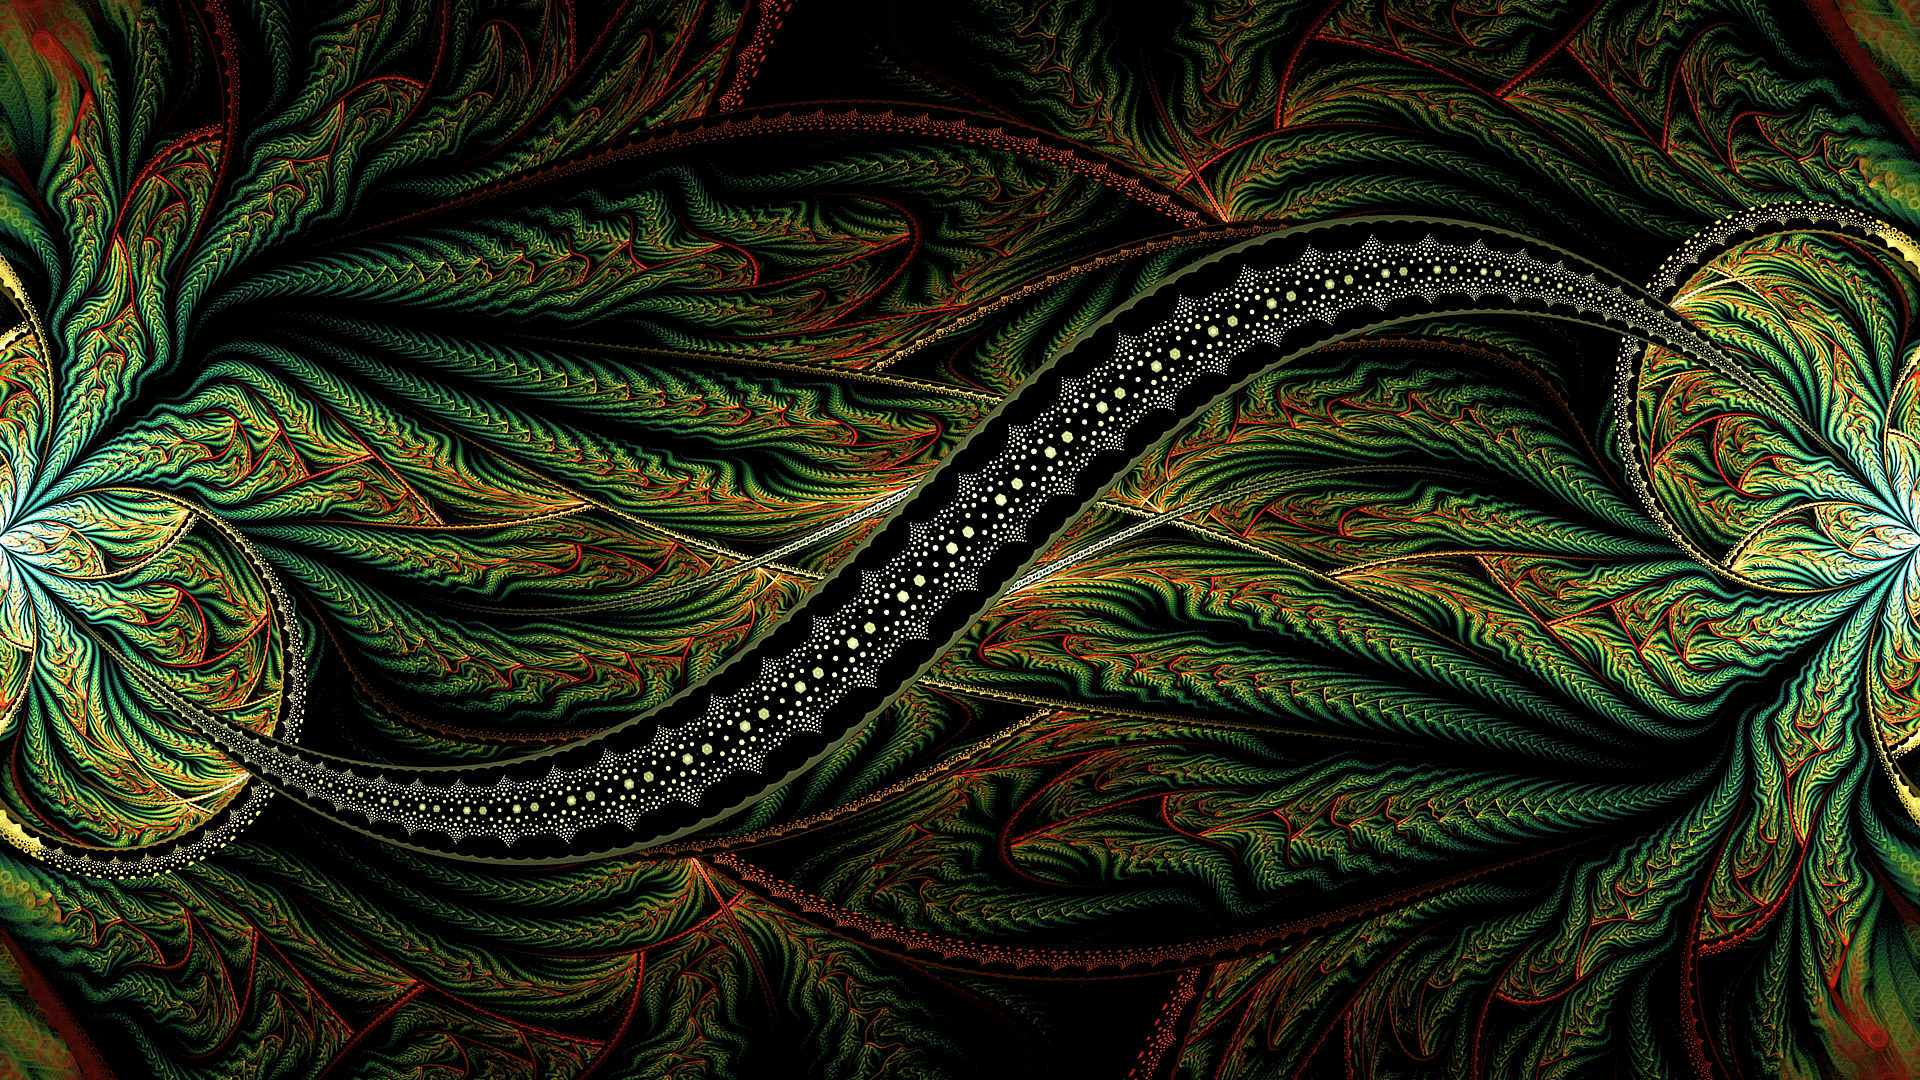
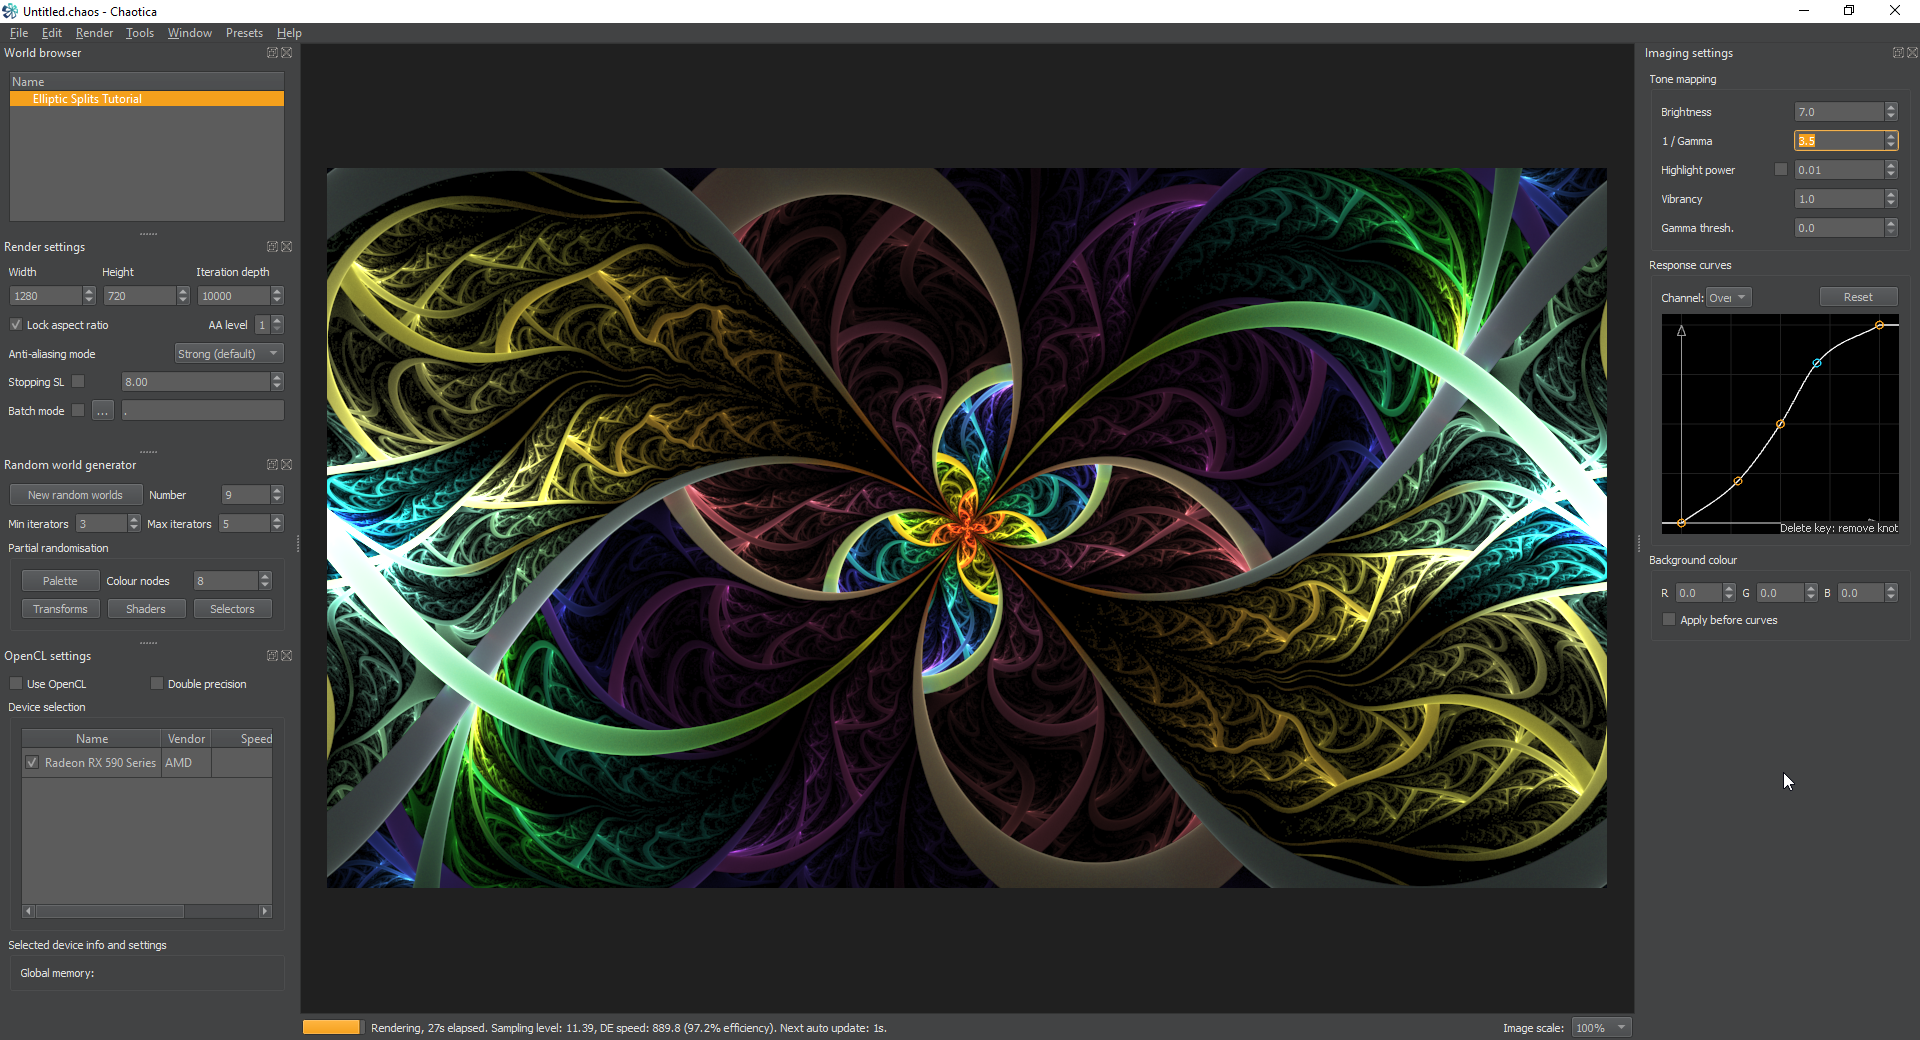
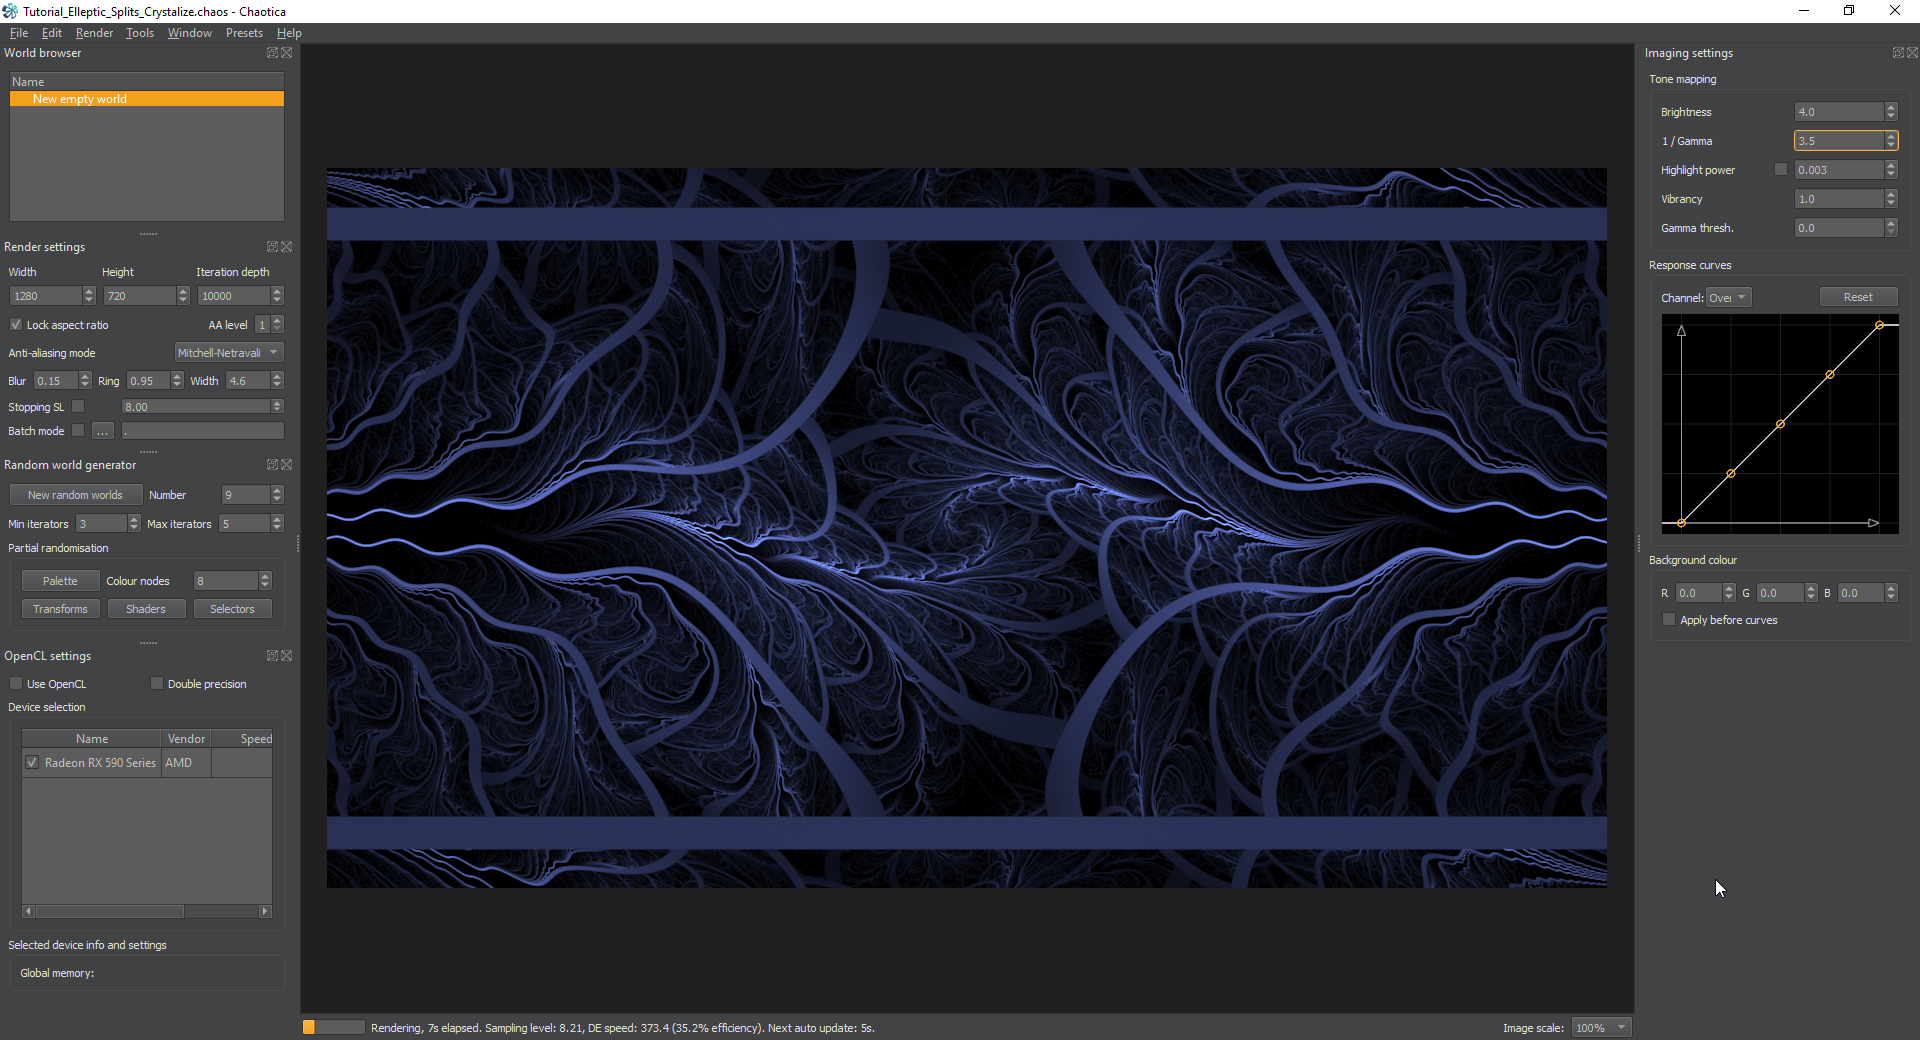
Next, grab yourself some shaders and a palette you’re happy with. Here’s what I chose.
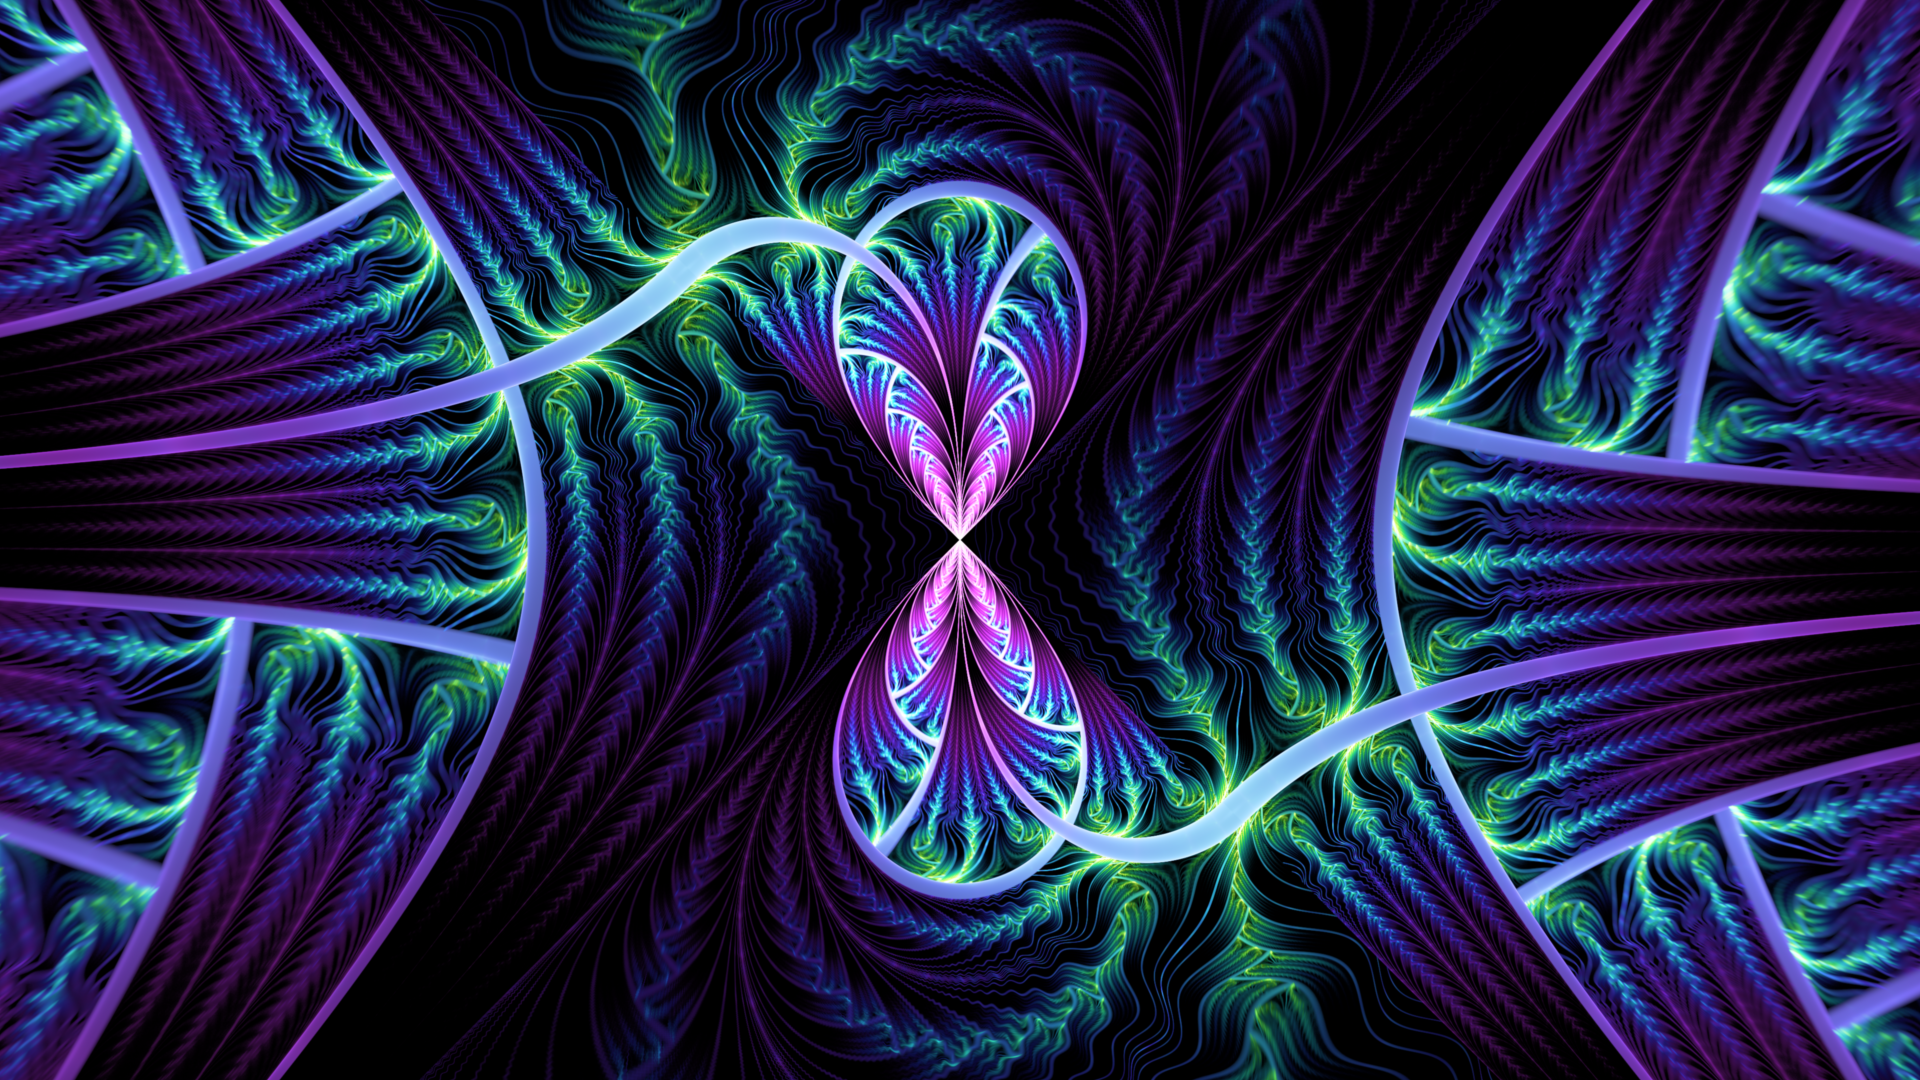
You can leave it here if you want, but it can look downright epic if you choose a good camera transform. Also if you add a pre-transform to the elliptic you can get some stunning results. Here’s a camera transform of bipolar and a pre-transform on the elliptic of waves2.
Elliptic Splits Method 2
This one was created by Crystalize and all credit for the method goes to him. I’m going to build the tutorial with my own tweaks and values, but the basis came from his brain. This method uses arcsinh instead of elliptic but the effect is very close to the same at the end. It’s not identical, but it’s close enough to make some awesome happen.
This iterator creates lines to frame everything. You’re going to build it using the chain method from one of my other tutorials. This is an intermediate technique and you can find the tutorial on it HERE or just click on the tutorials menu on the top right.
Iterator 1
pre-transform:
    transform: square
    transform: tile_hlp
    transform: tile_log
        tile_log_spread: 10
    transform: polynomial
        polynomial_lcy: -0.8
    transform: splits
        splits_y: 0.9

transform: linear
The pre-affine shaders and weights can all stay default, or feel free to play with them.
Iterator 2
transform: arcsinh
    value: 0.9
Again, everything else can stay default.
Iterator 3
Pre-affine
You’ll want to raise the size. Vales I’m using are X and Y axis of 2
Transform
This should be splits with a value of 1 and a splits_y of 1
Recap
Ok, now we’re at the point where you should see something like this.
The first iterator creates a square, tiles it left and right, shrinks it, and then splits it in half. Then the next two iterators create the same elliptic-splits style inside them.
Tweaking this version
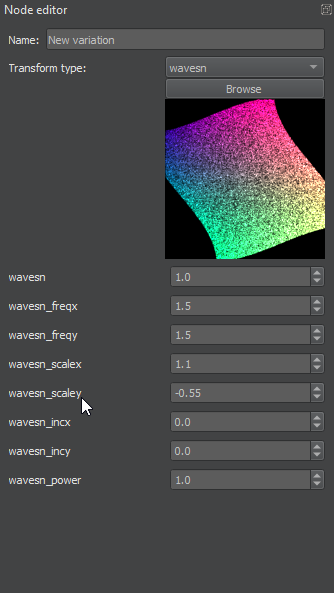
Some of the same tweaks as the previous method can easily be applied. For instance, we can create a pre-transform on iterator 2 (the one that has arcsinh) and set it to wavesn with the following values
transform: wavesn
    value: 1
    wavesn_freqx: 1.5
    wavesn_freqy: 1.5
    wavesn_scalex: 1.1
    wavesn_scaley: -0.55
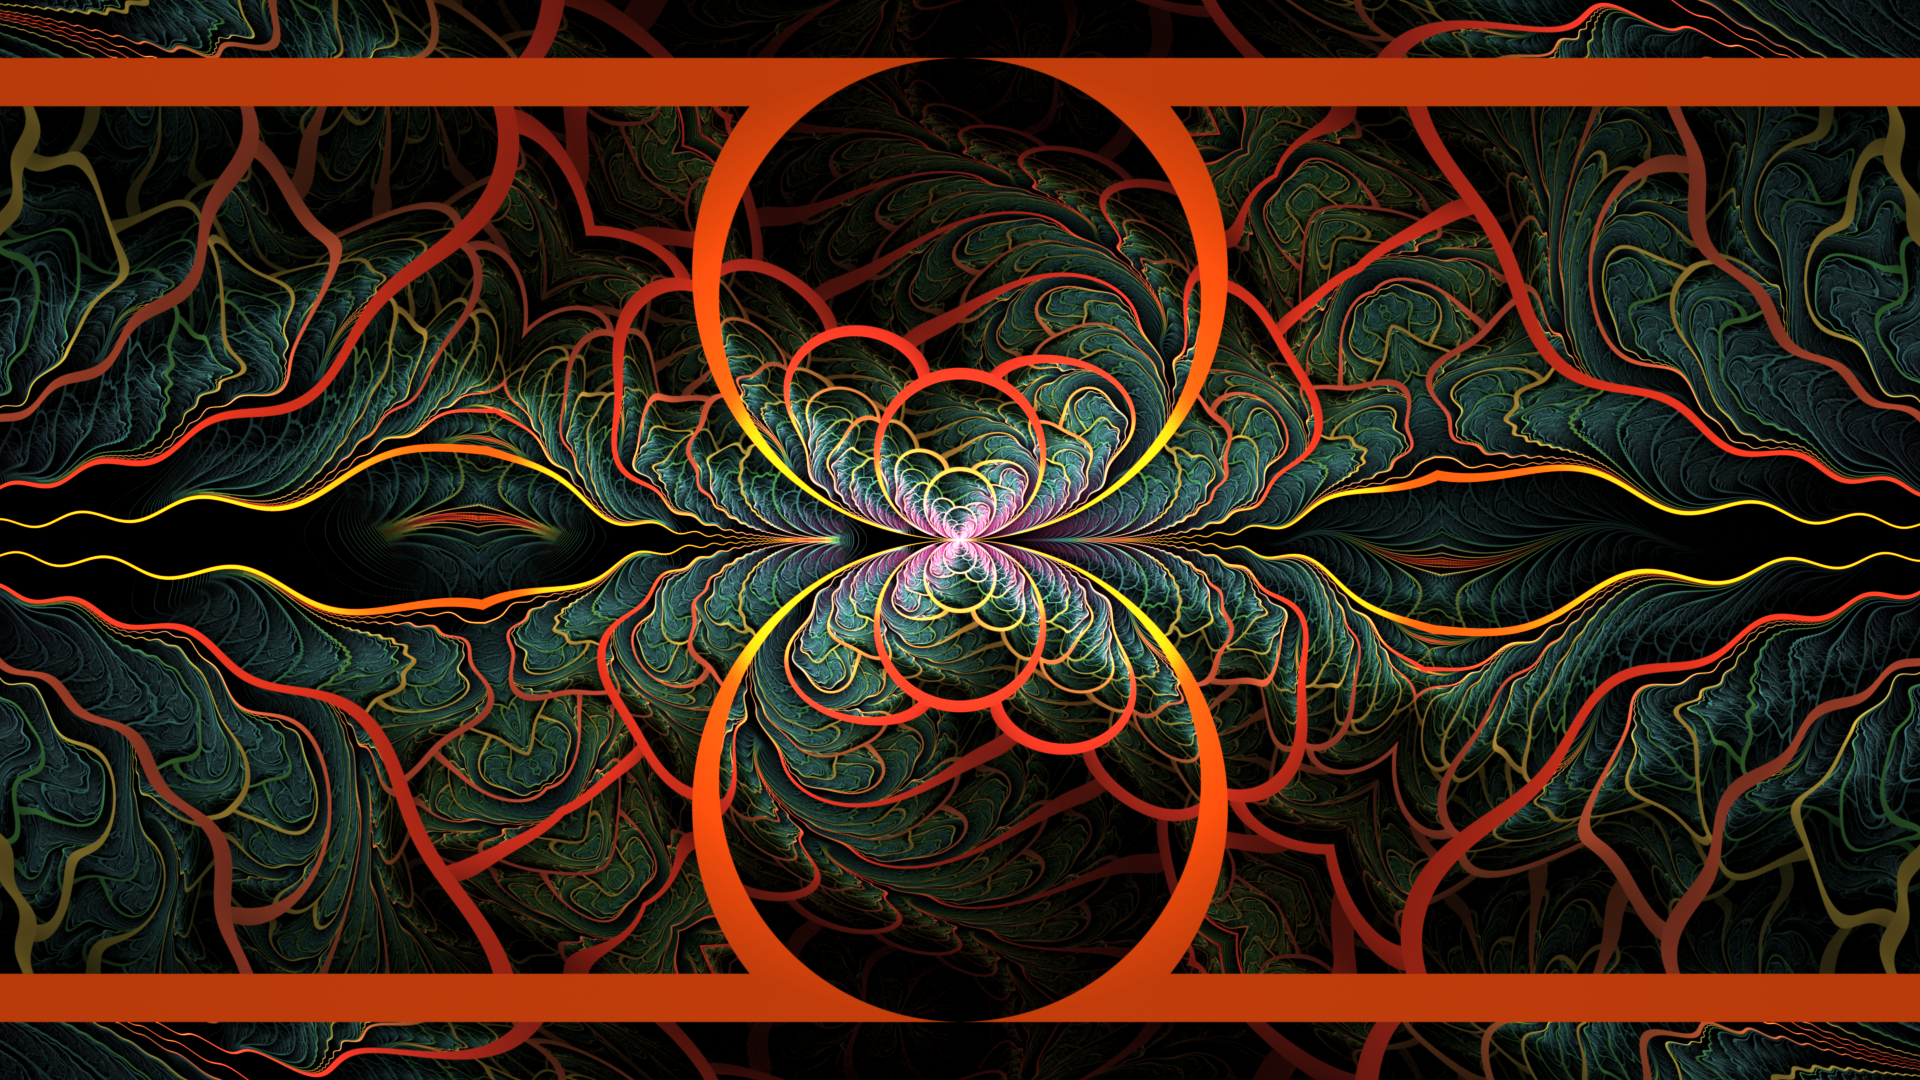
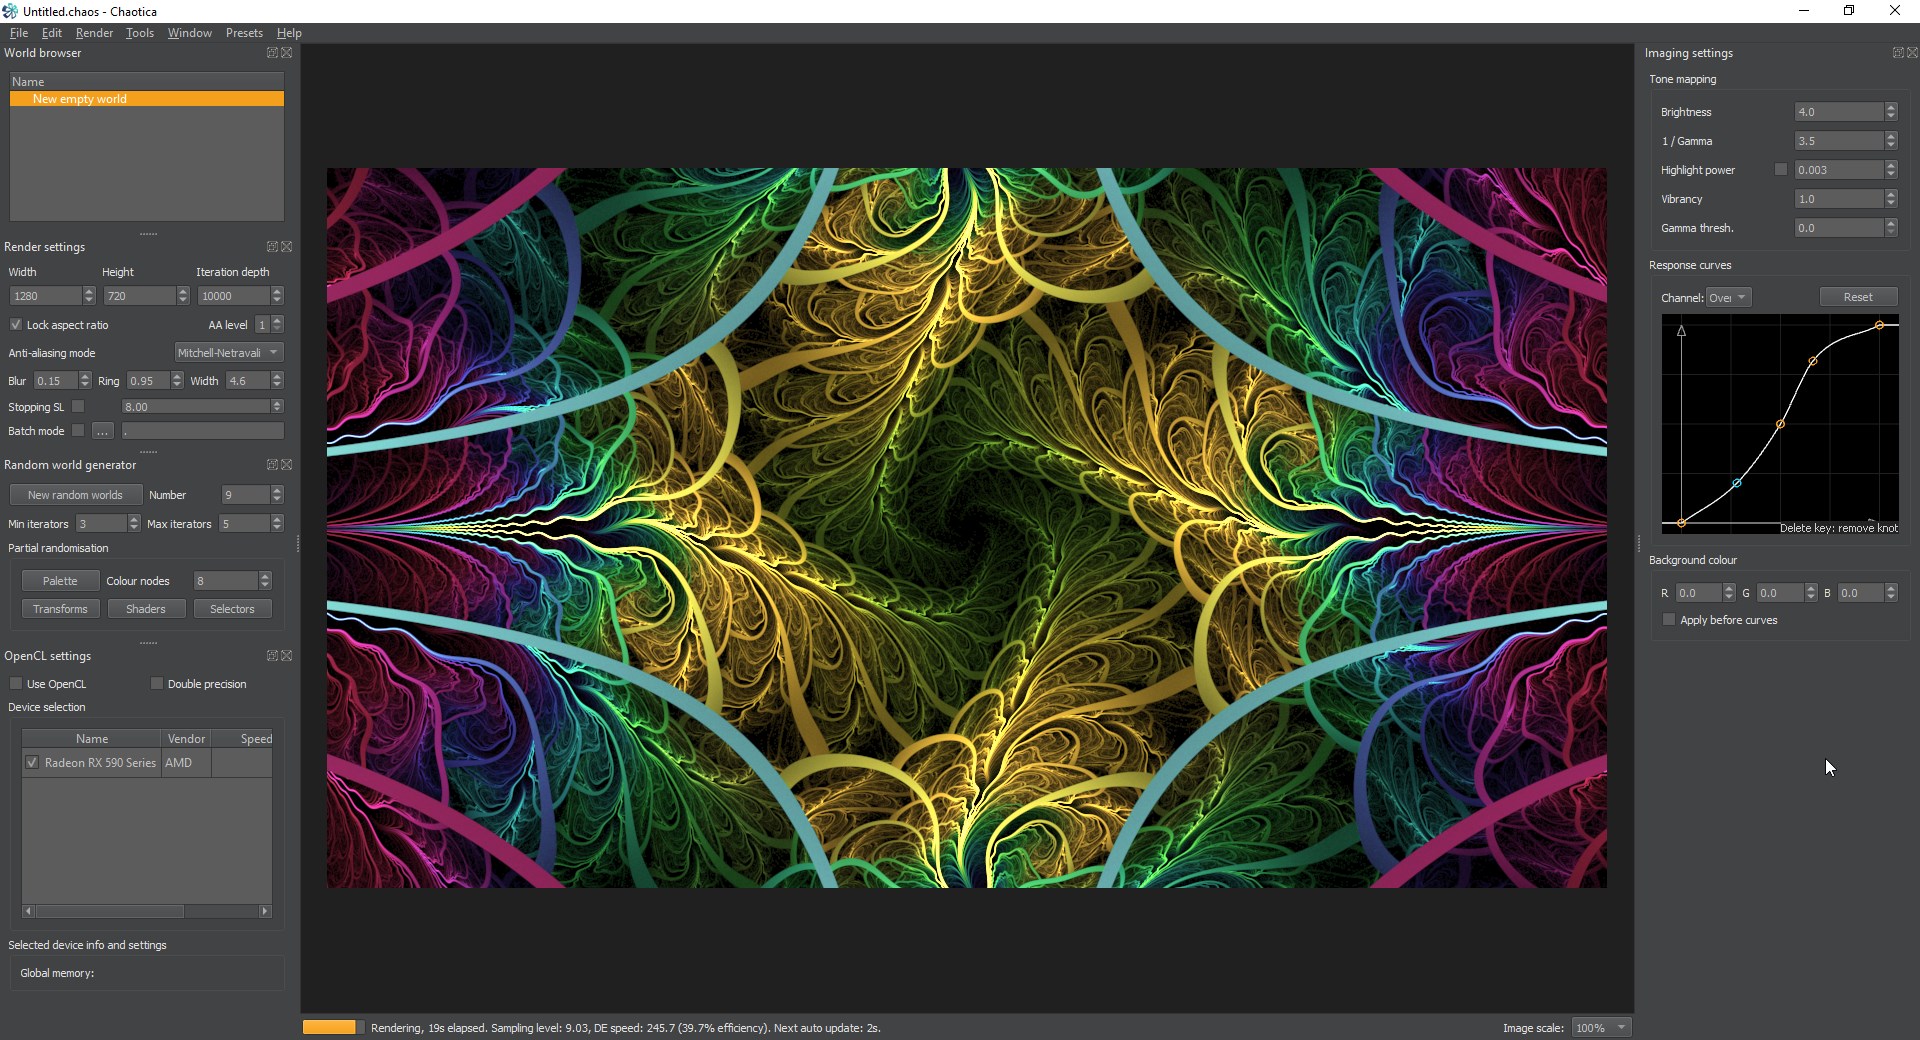
And we end up with this.
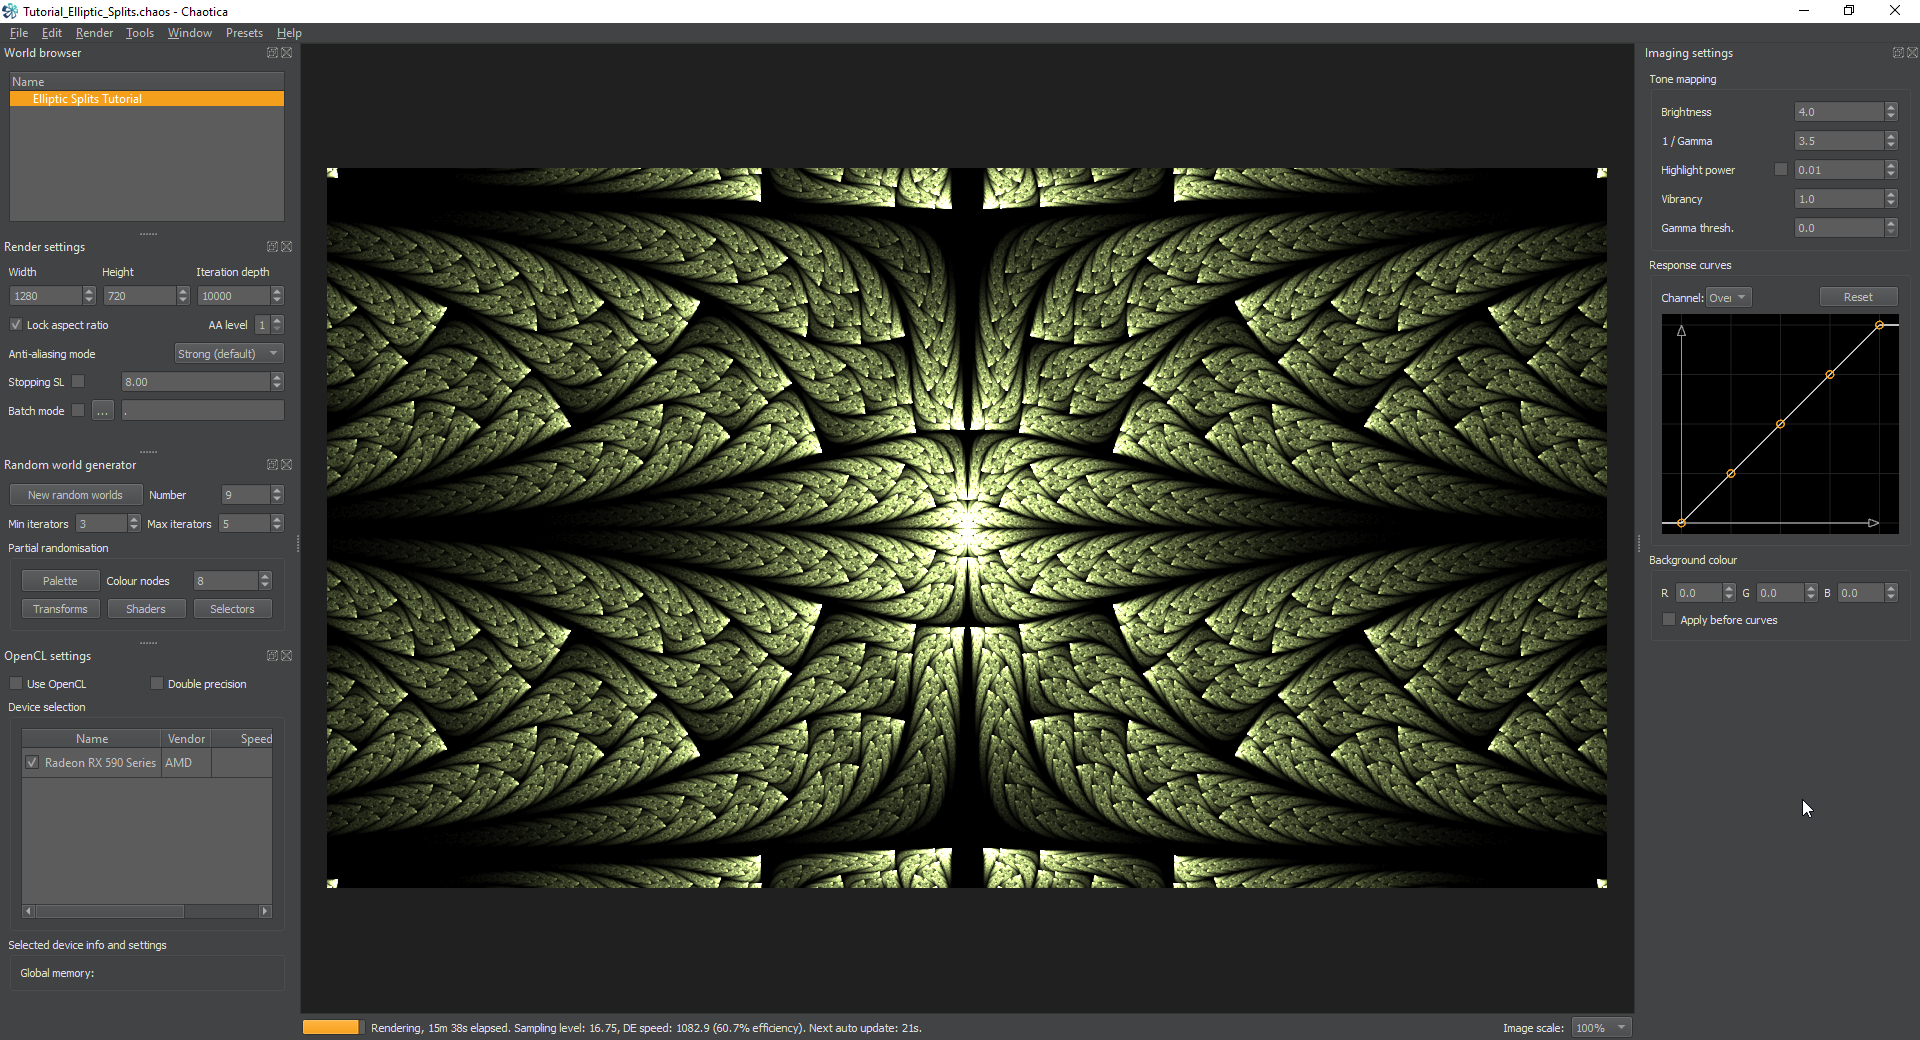
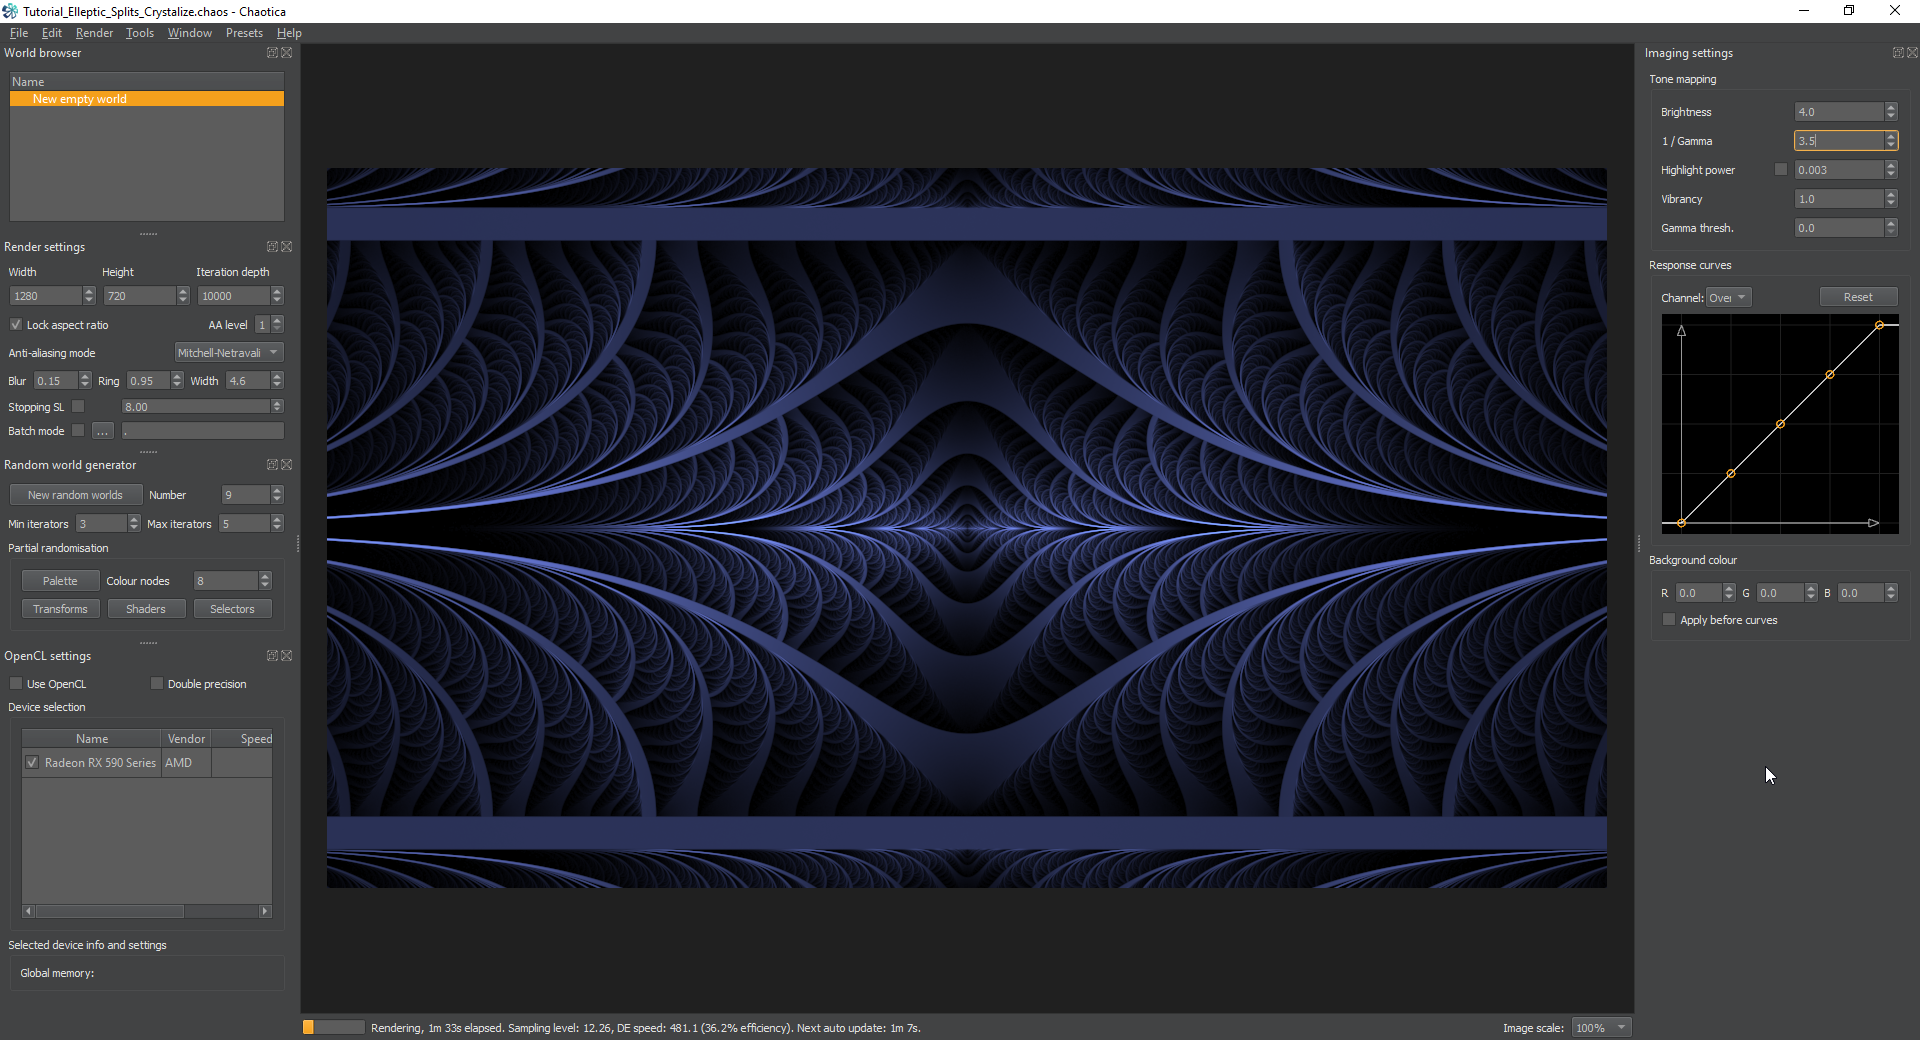
Here’s a screenshot of the values I used.
Final Tweaks and Camera
Finally, we can apply shaders and pick a palette. Don’t forget to tweak the color curves to suit your tastes. Then we can work on the camera transform. For this, I picked a simple julian2 with default everything. This is what it looks like.
Final Image

Closing thoughts
Both of these methods can be used in many different ways. I urge you to experiment and tweak to your heart’s content. There are always multiple ways to do things. There are even more than I’ve hinted at here. If your task is to find them, that’s awesome. I do hope you’ll find me on discord or Deviantart and show me the awesome you’ve made. I’ll leave you with a few images I’ve made using these techniques.