Chaotica: Transform Examples
What do the transforms do?
When I first started working with fractals, I didn’t start from a math perspective. I started from a “oh this is cool software” perspective. The biggest question I had was, what do these transforms do and how do I make use of that? This is a common question. I hang around in the fractal chat discord and I’m active on DeviantArt and I answer questions in both places. The most asked question is, how the heck do I see what transforms actually do? In this tutorial, I’m not going to go through every transform and tell you what it does. That would defeat the purpose of learning. I’m instead going to teach you how to build a chaotica world that you can use as a testing grounds. This method was originally created by Tatasz on DeviantArt and she mentioned it in one of her journals. I’ve expanded on it and now I’m releasing the updated method.
Credits
The original idea came from Tatasz, and I bounced part of this off Crystalize. A big thanks also goes out to the community as a whole. Thanks guys!
If I have seen further than others, it is by standing upon the shoulders of giants. - Isaac Newton
Building the Basics
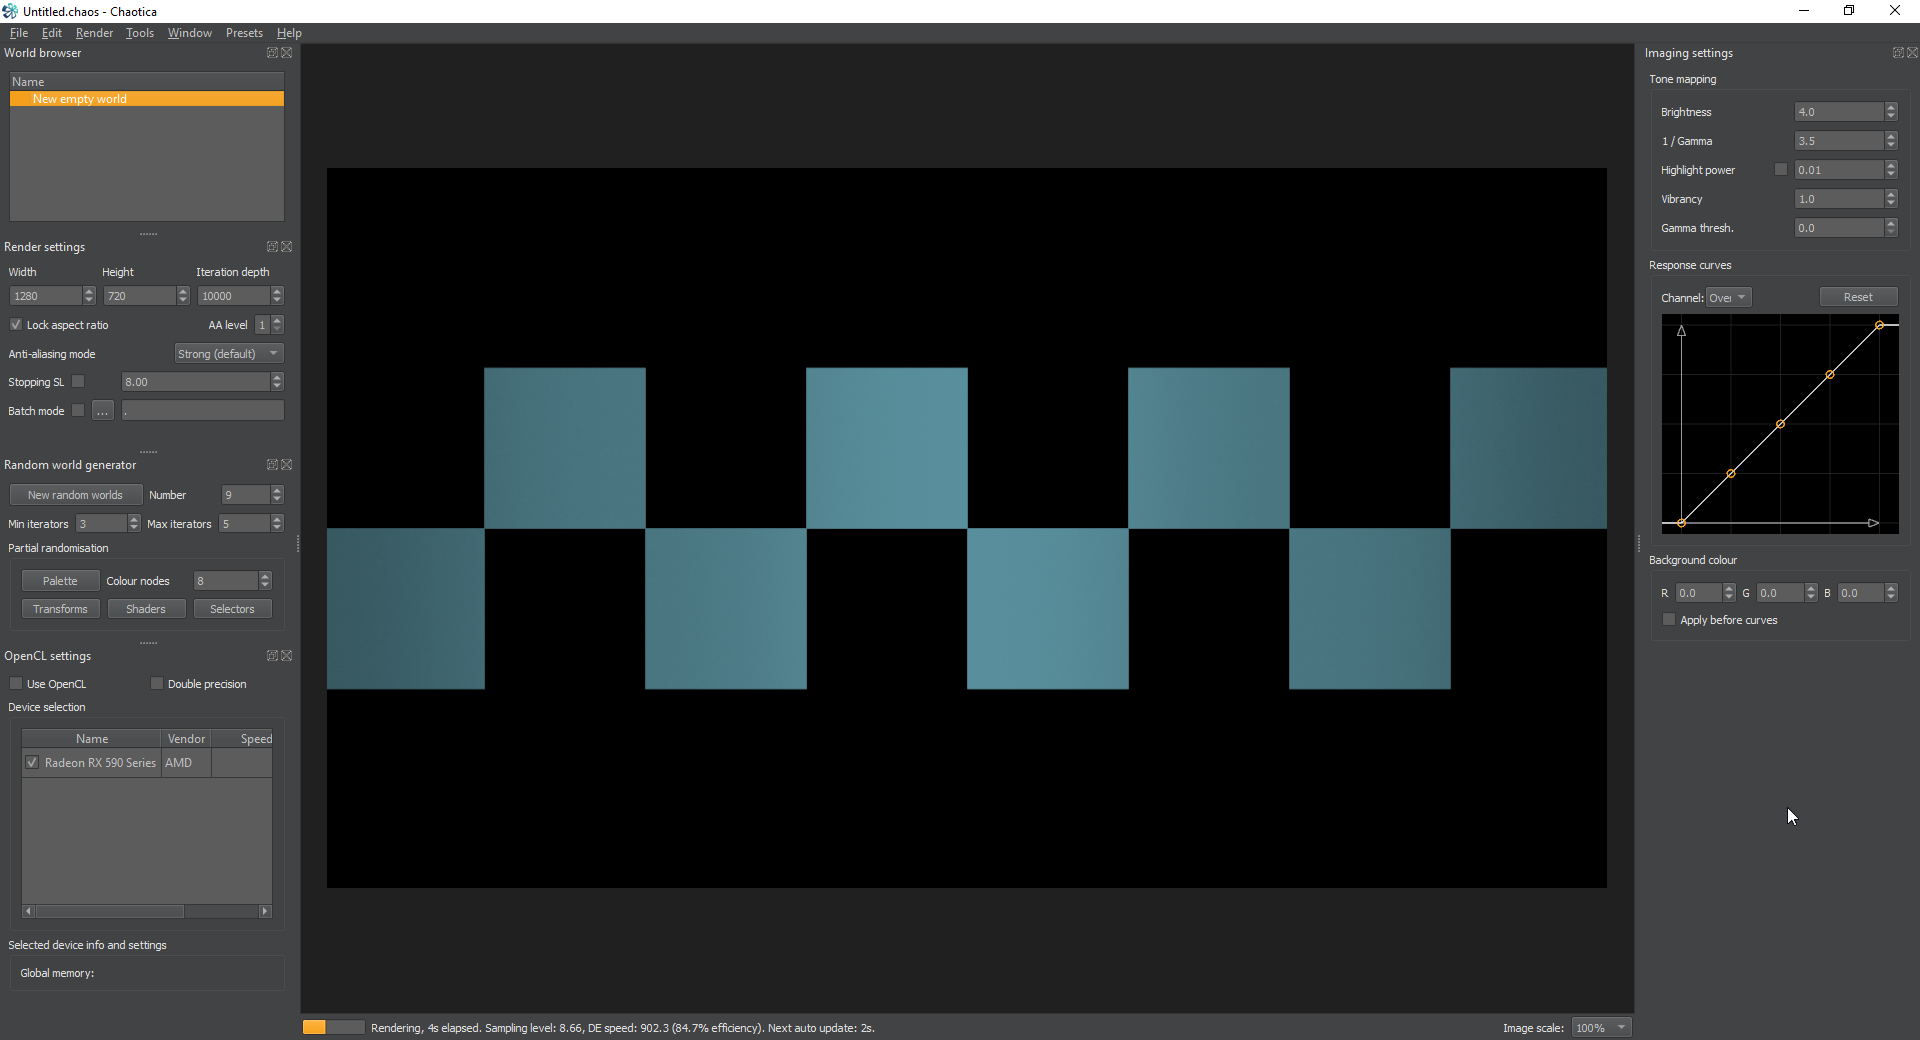
Ok, to start off with, we’re going to create a single iterator that creates an infinite chessboard plane. This method can also be used to create infinite tiles if you’re paying attention. If you’re read the rest of the tutorials you’ll see some methods here that build on what you’ve already learned, but this tutorial is written in a way to make the rest of them not really required. If you don’t understand why something works the way it does, or you have any questions, please contact me and let me know so I can clarify that part of the tutorial.
Iterator 1
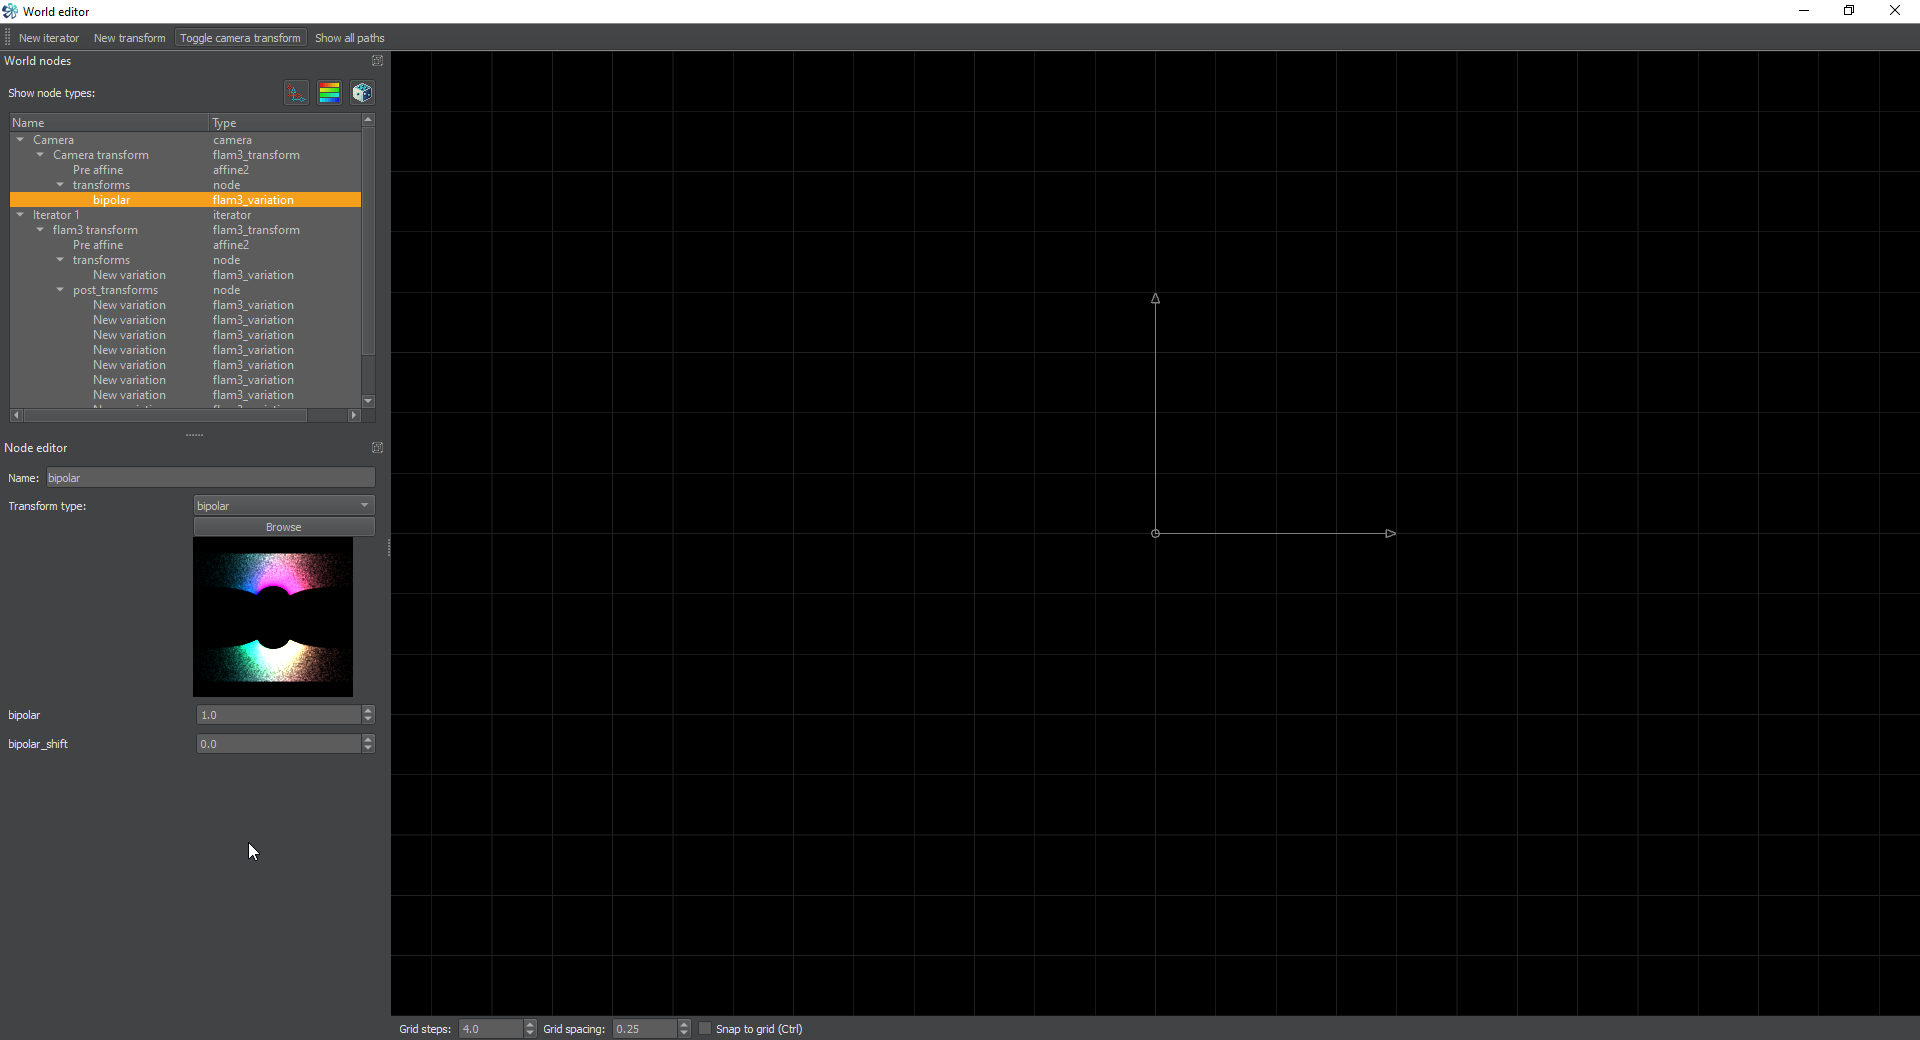
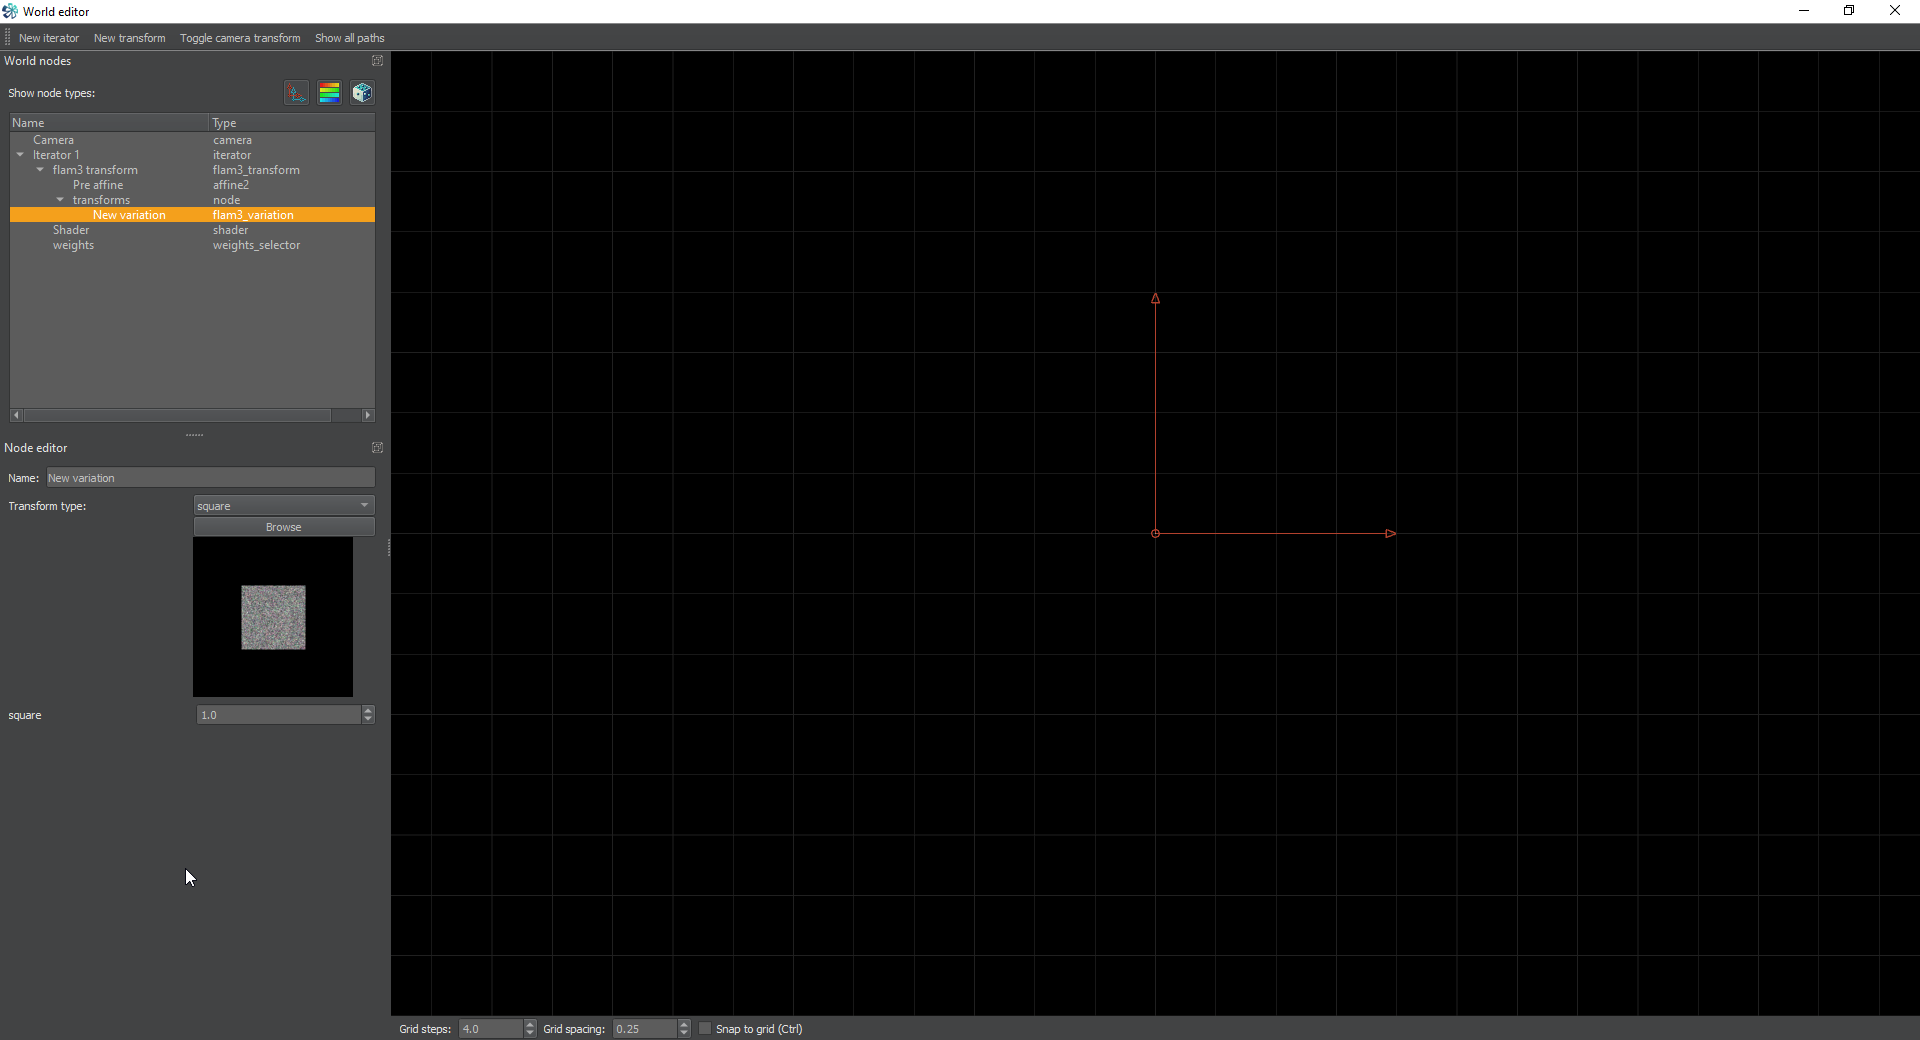
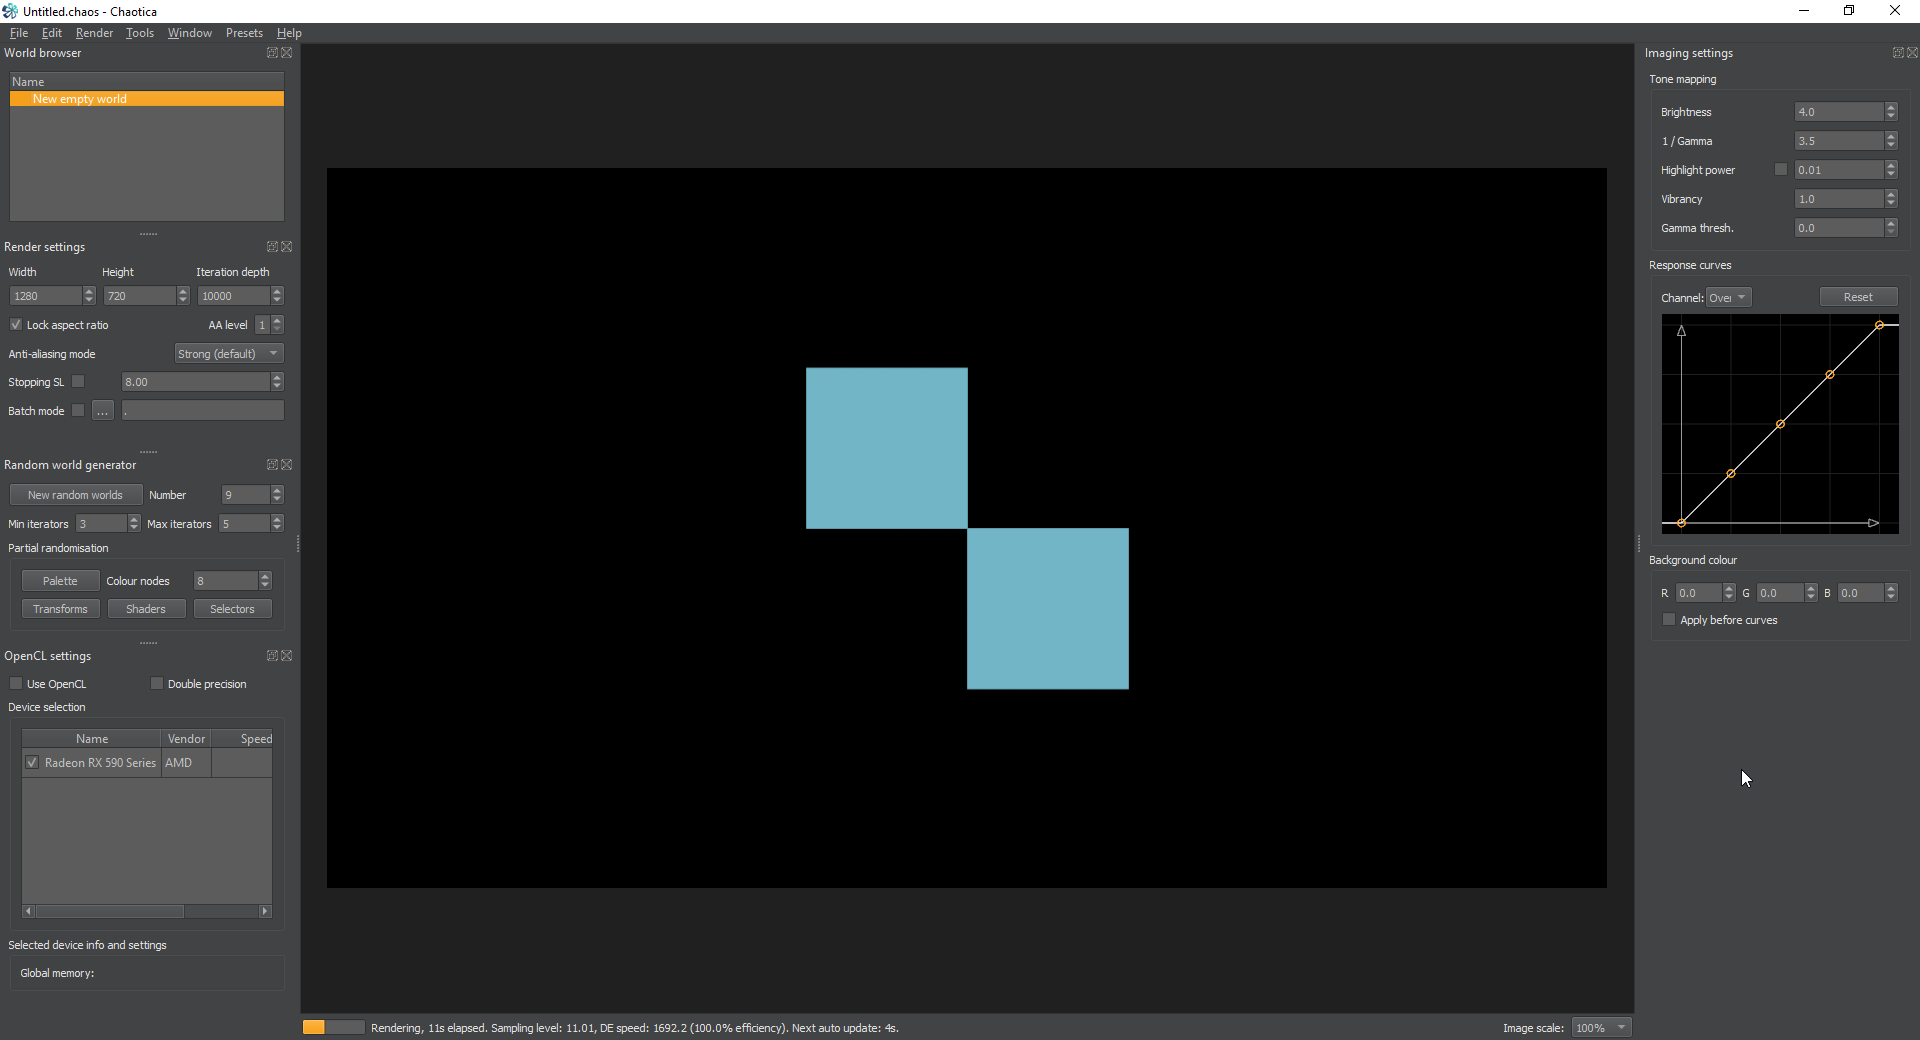
Create an iterator and add a transform. Set this transform to square with all the default values.
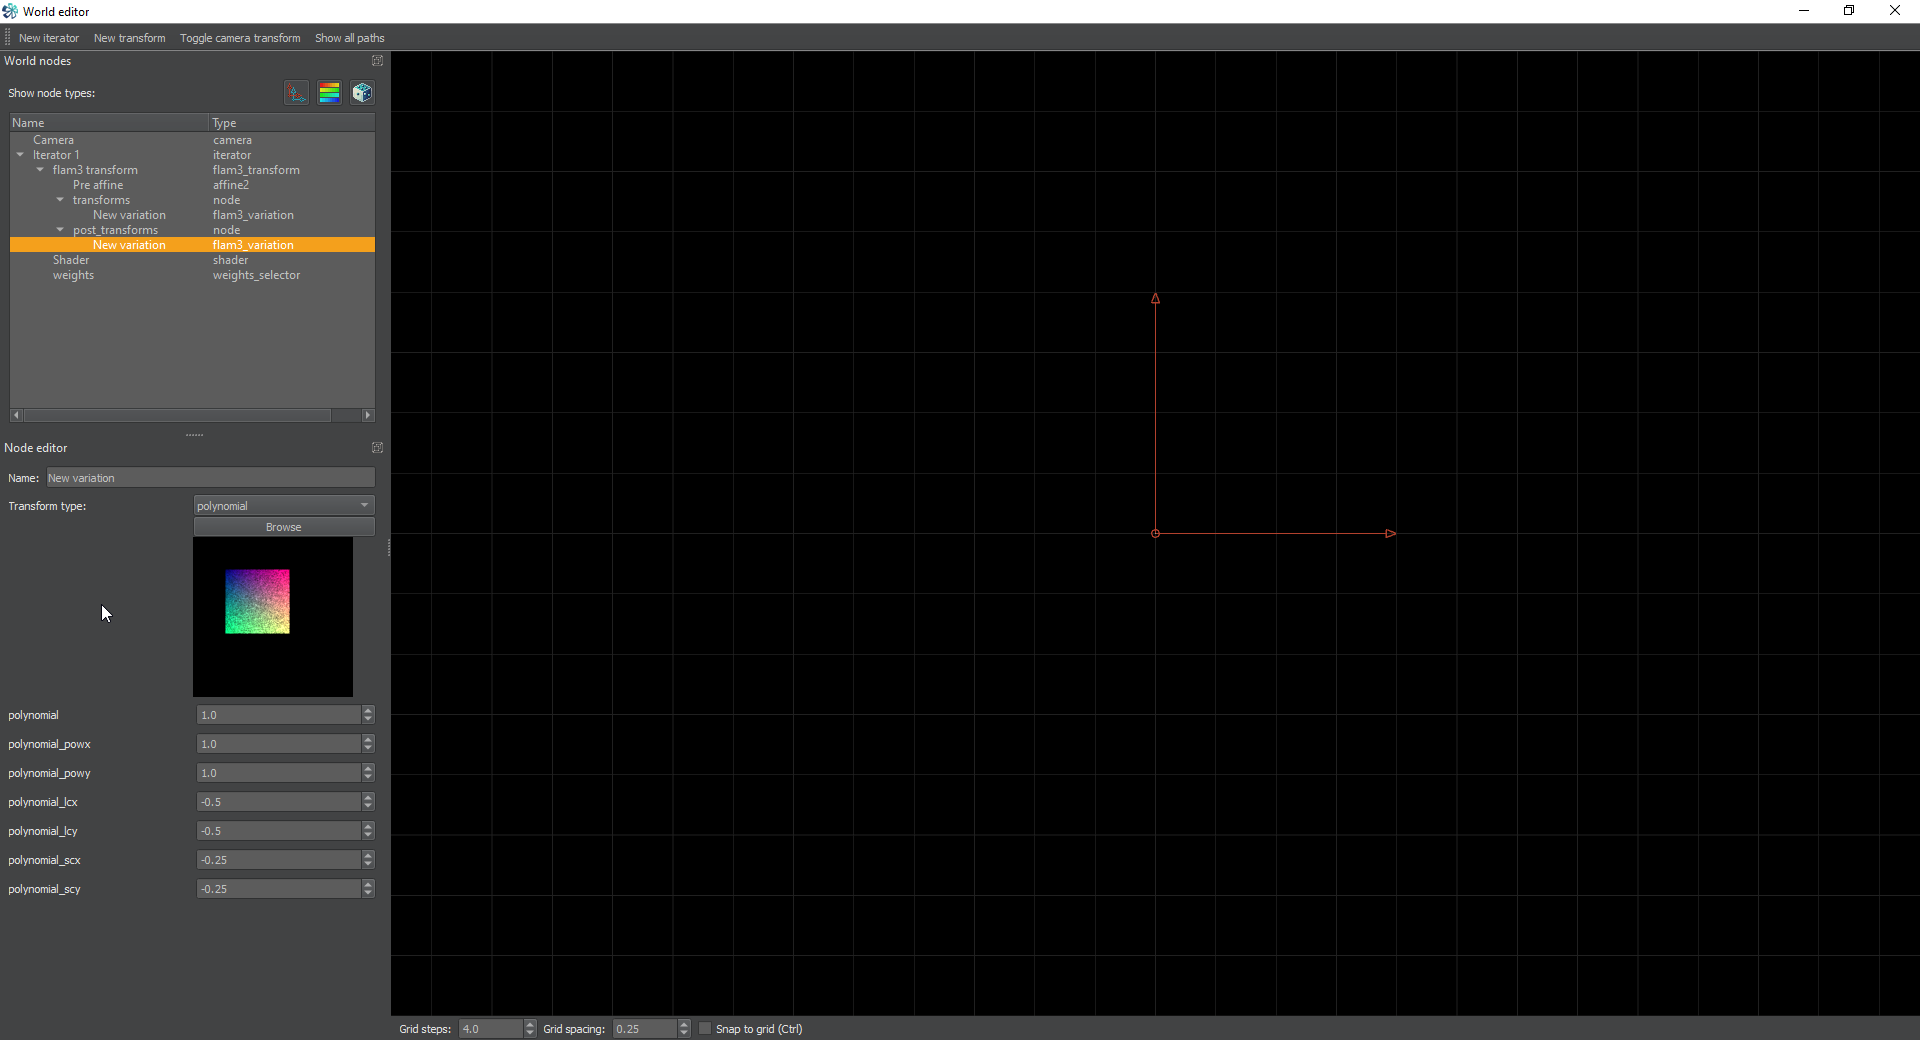
Next, create a post-transform and pick polynomial for the transform. Set the polynomial_lcx and polynomial_lcy to -0.5. This will shrink the square by half. Next change the polynomial_scx and polynomial_scy to -0.25. This will move the square back to the top left corner of where the original square was. Now, we could have done this a different way, but this gives me the opportunity to illustrate a new way of doing things. The idea is to create a tile. This tile will have a unit size of 1. The original square has a unit size of 1. When we tile anything, it’s vastly easier to tile it, if it stays to a 1 unit size.
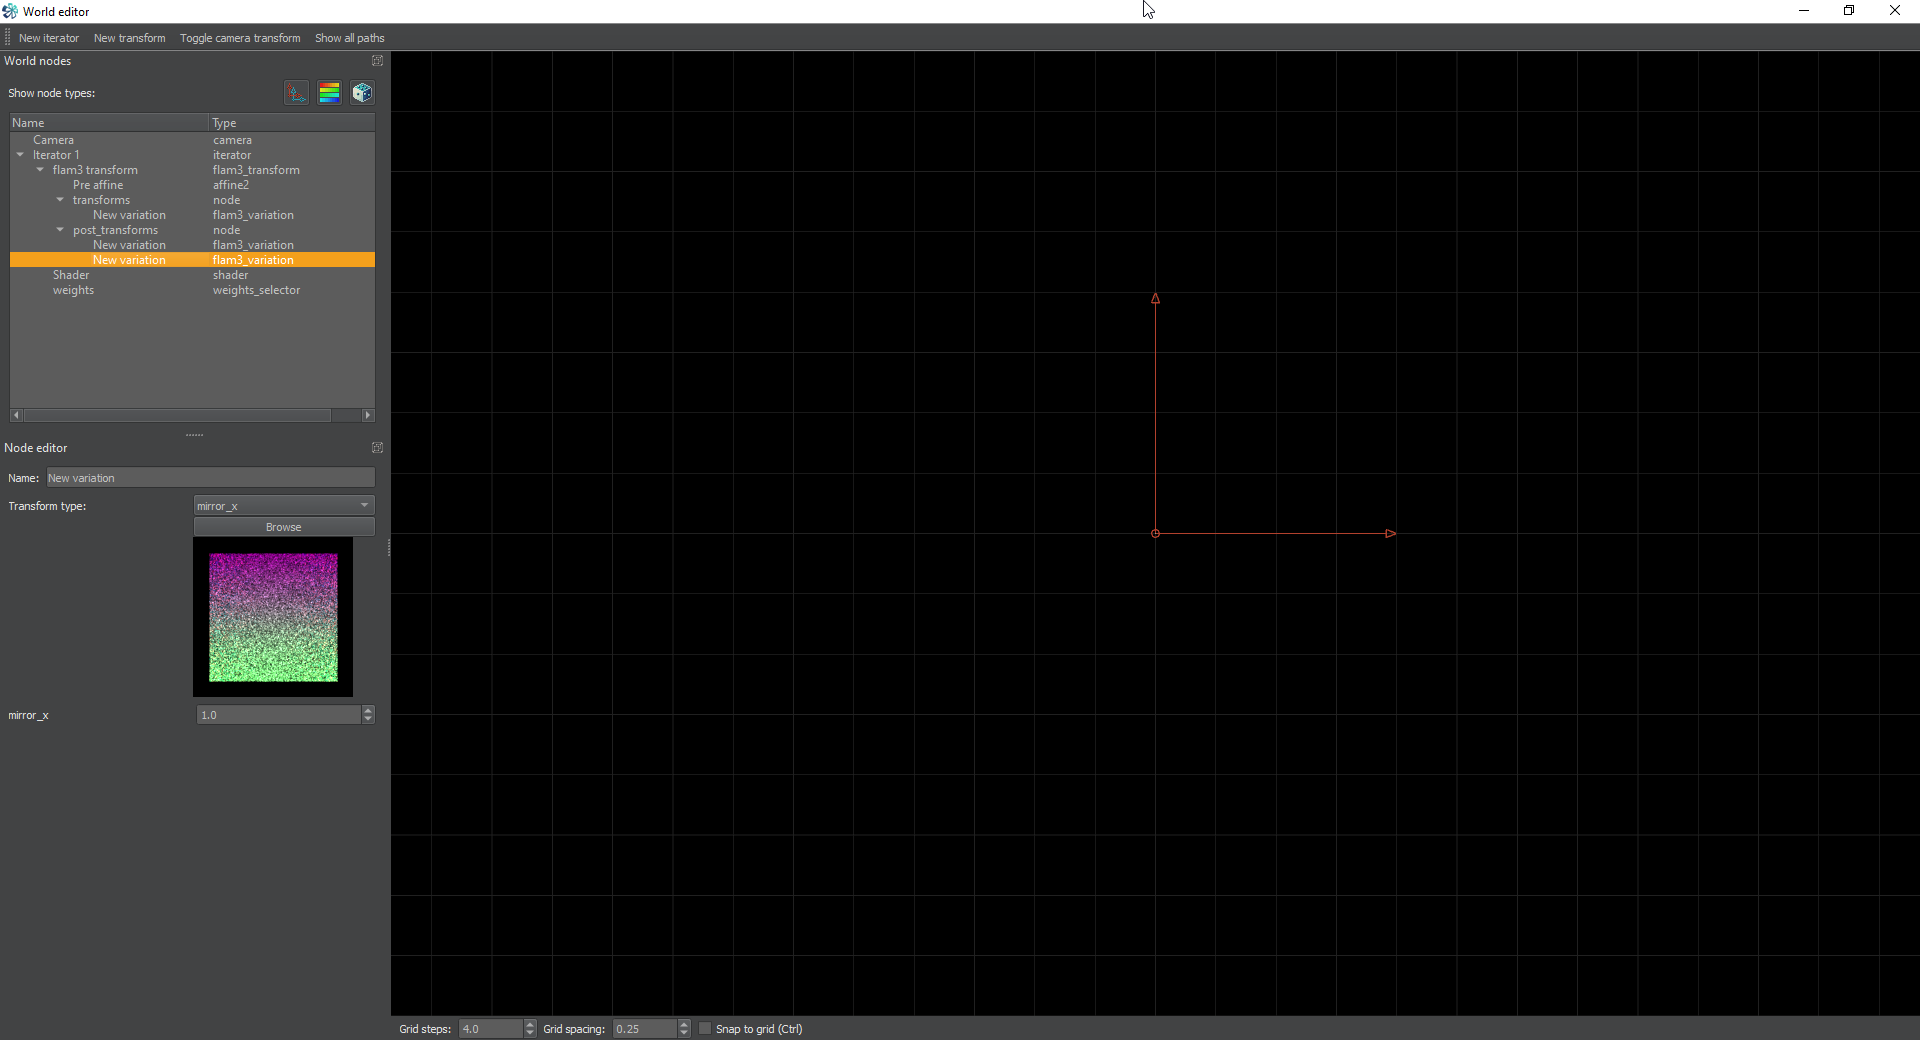
Now we’re going to create a second square in the opposite corner. Create a new post-transform and set it to mirror_x. This will mirror the X axis across the y axis.
Next create a new post-transform and set it to flipy. This will flip everything top to bottom and uses the Y axis as it’s centerline.
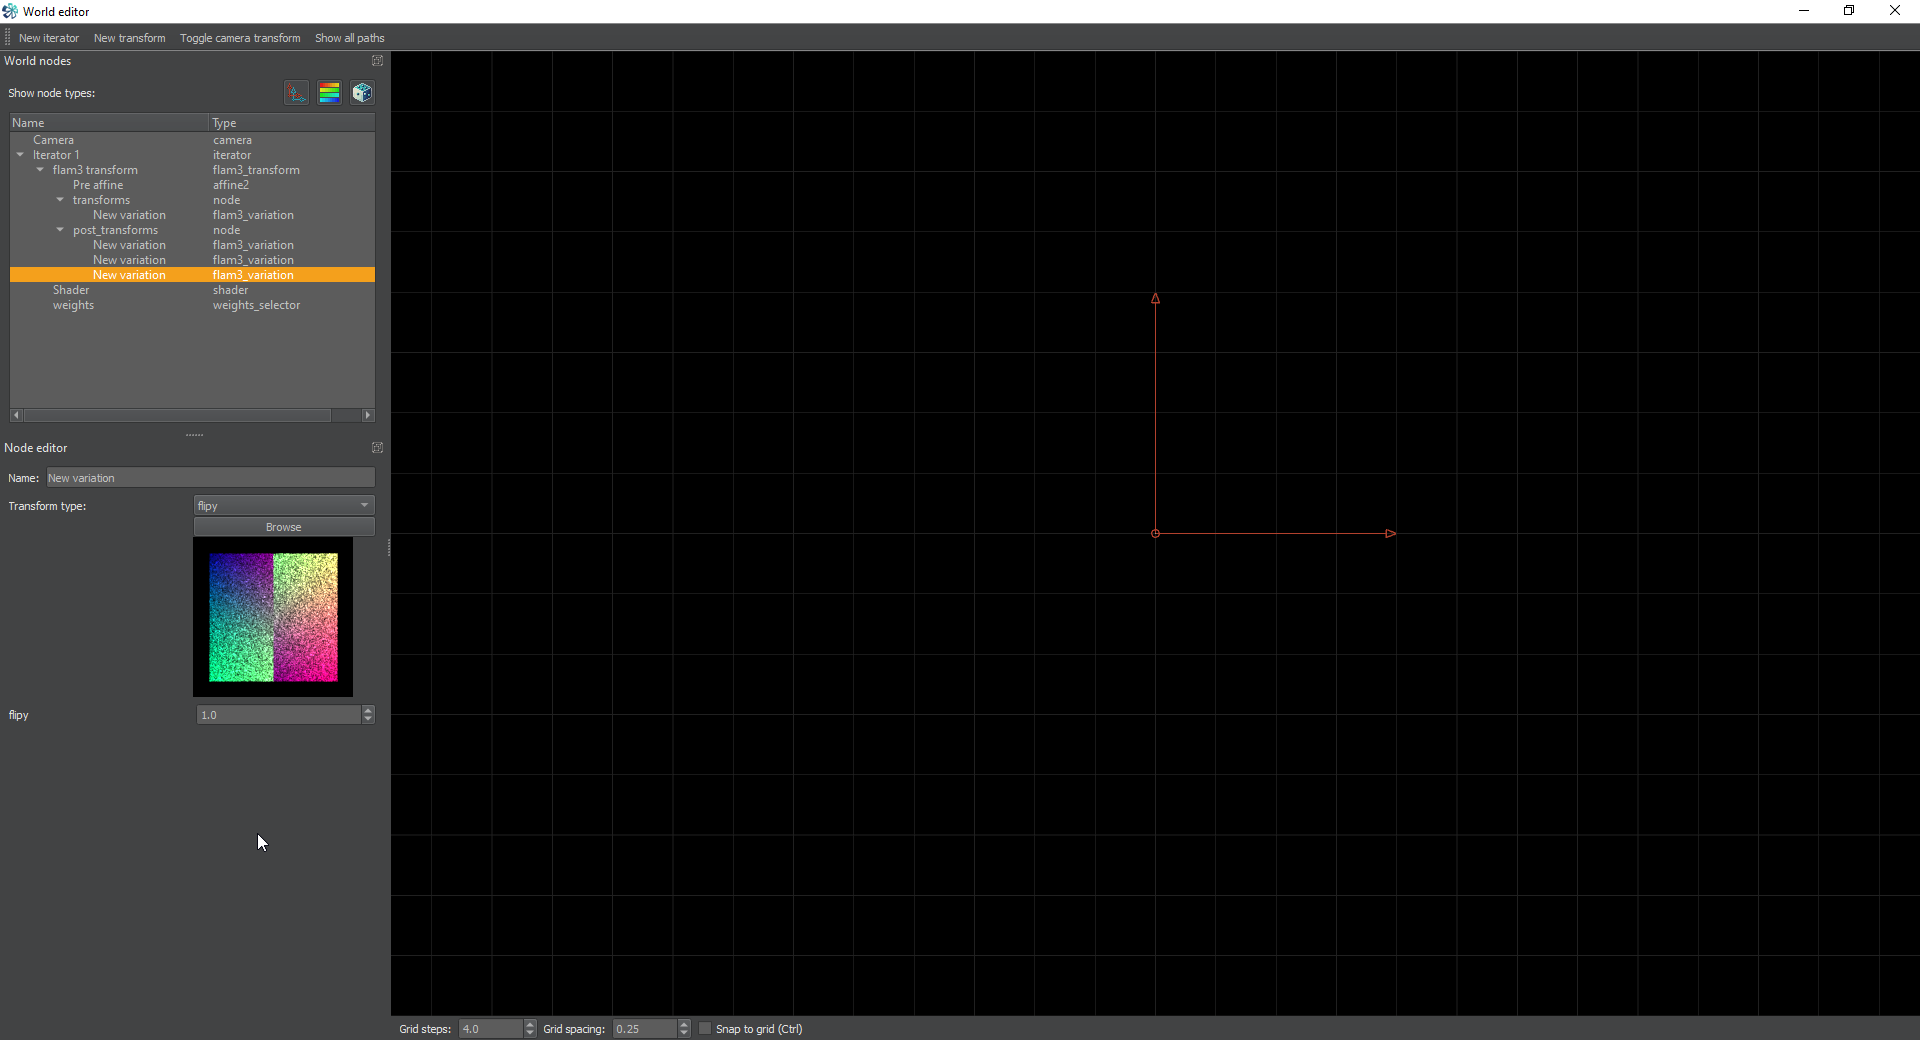
Next, create yet another post-transform and set it to tile_hlp. This will set it up to create a very nice tile both left and right. The transform tile_hlp is a helper transform and is designed to be used with the next one we’re going to add.
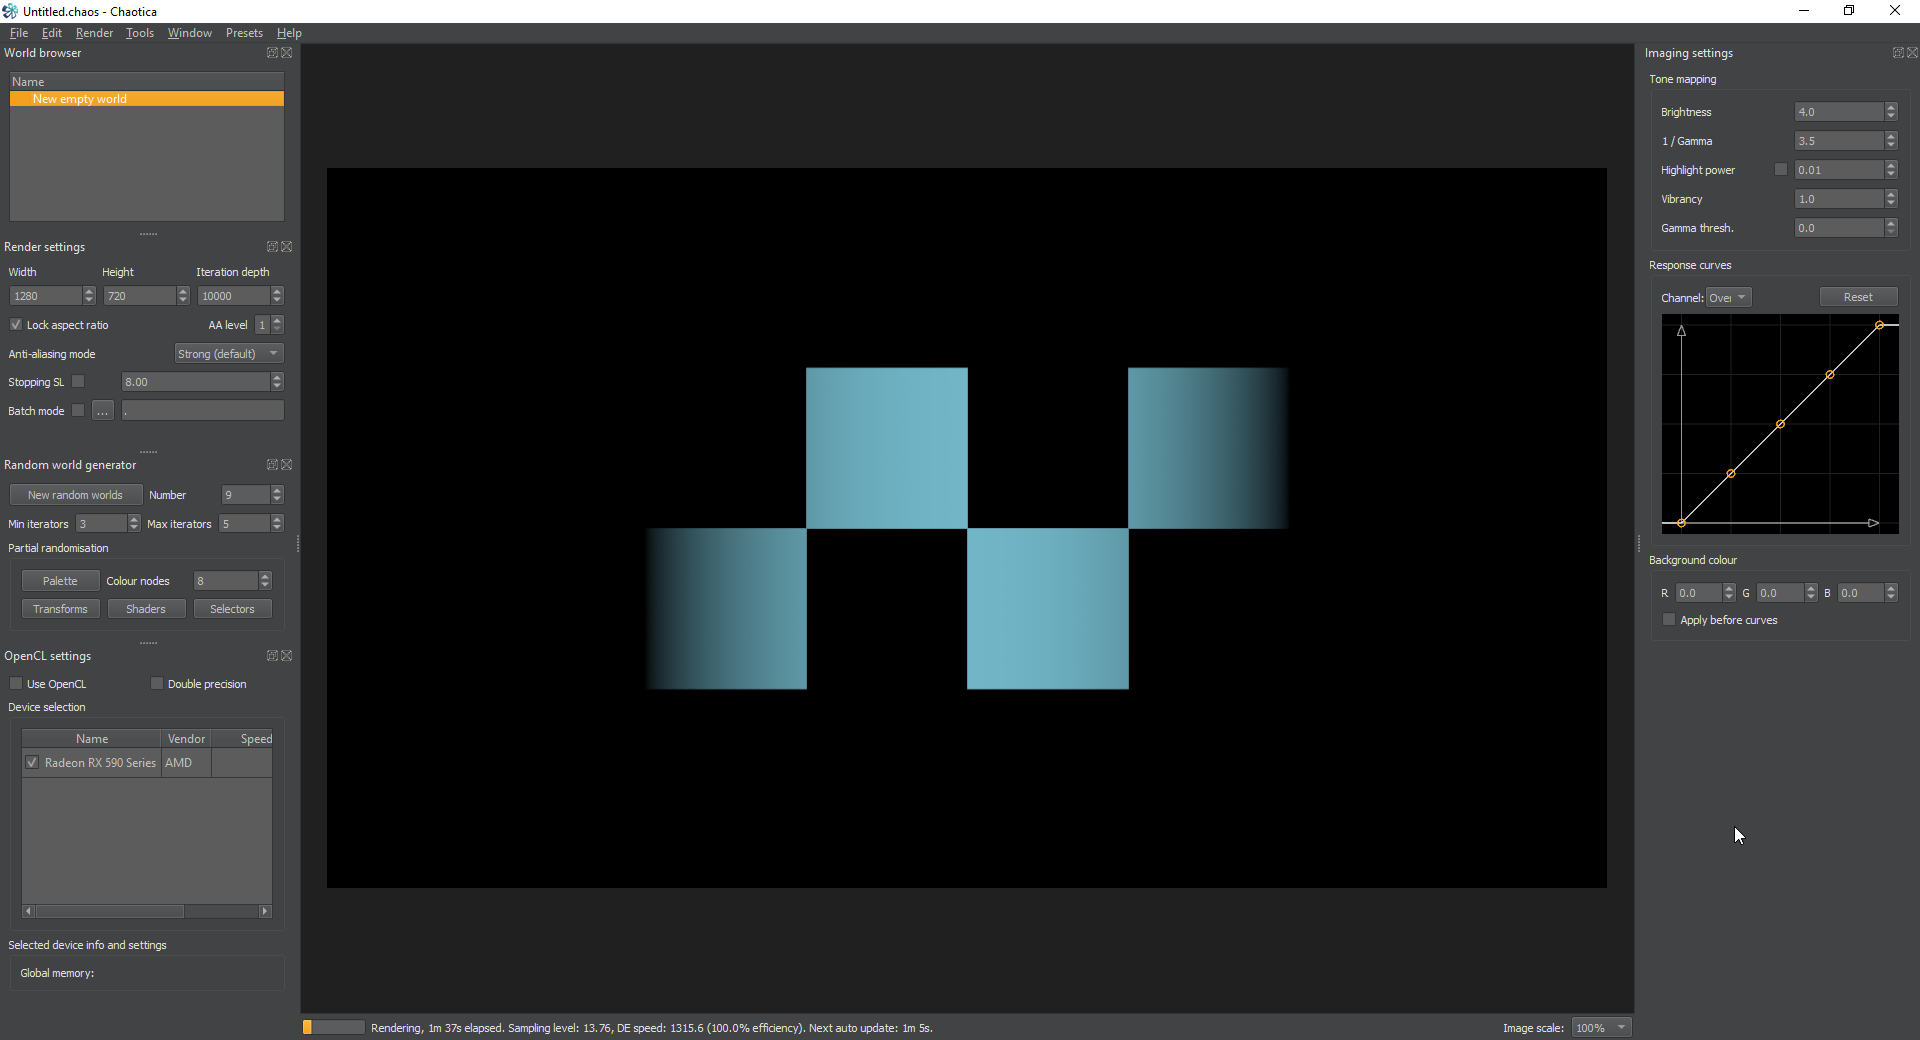
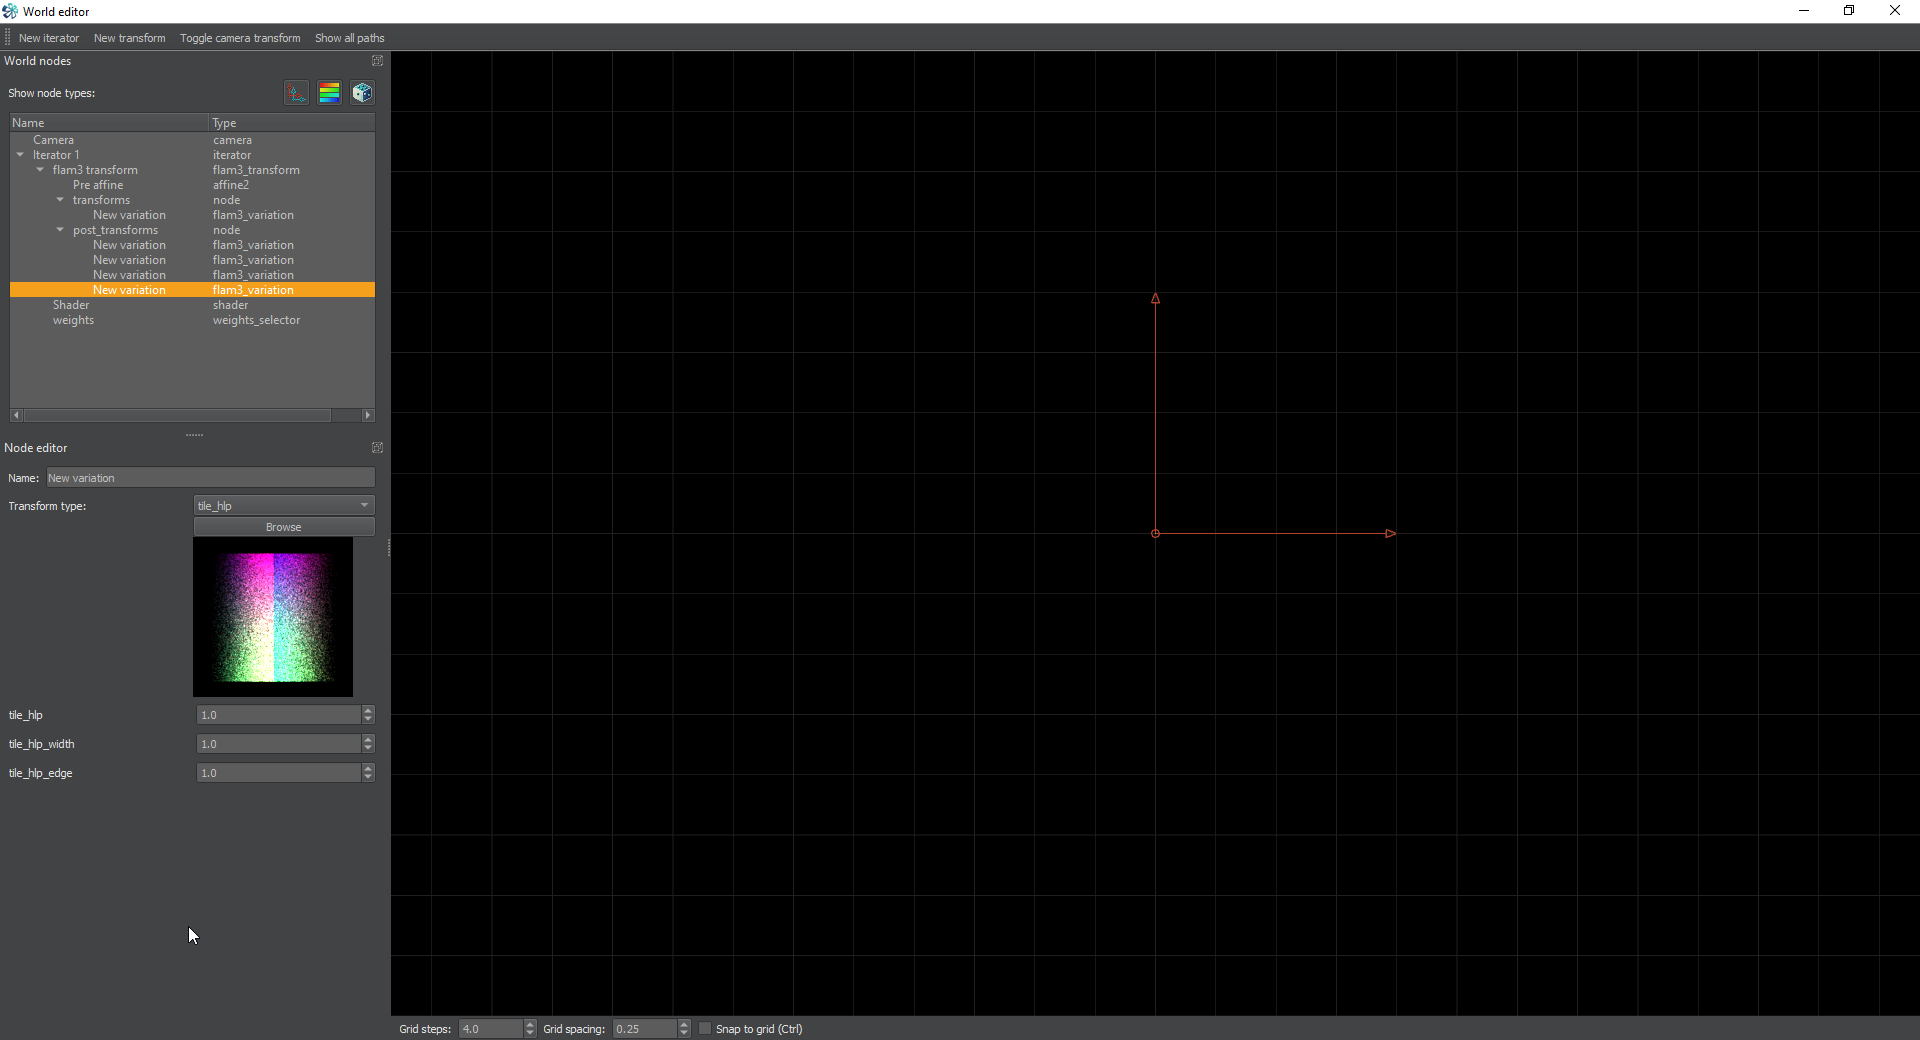
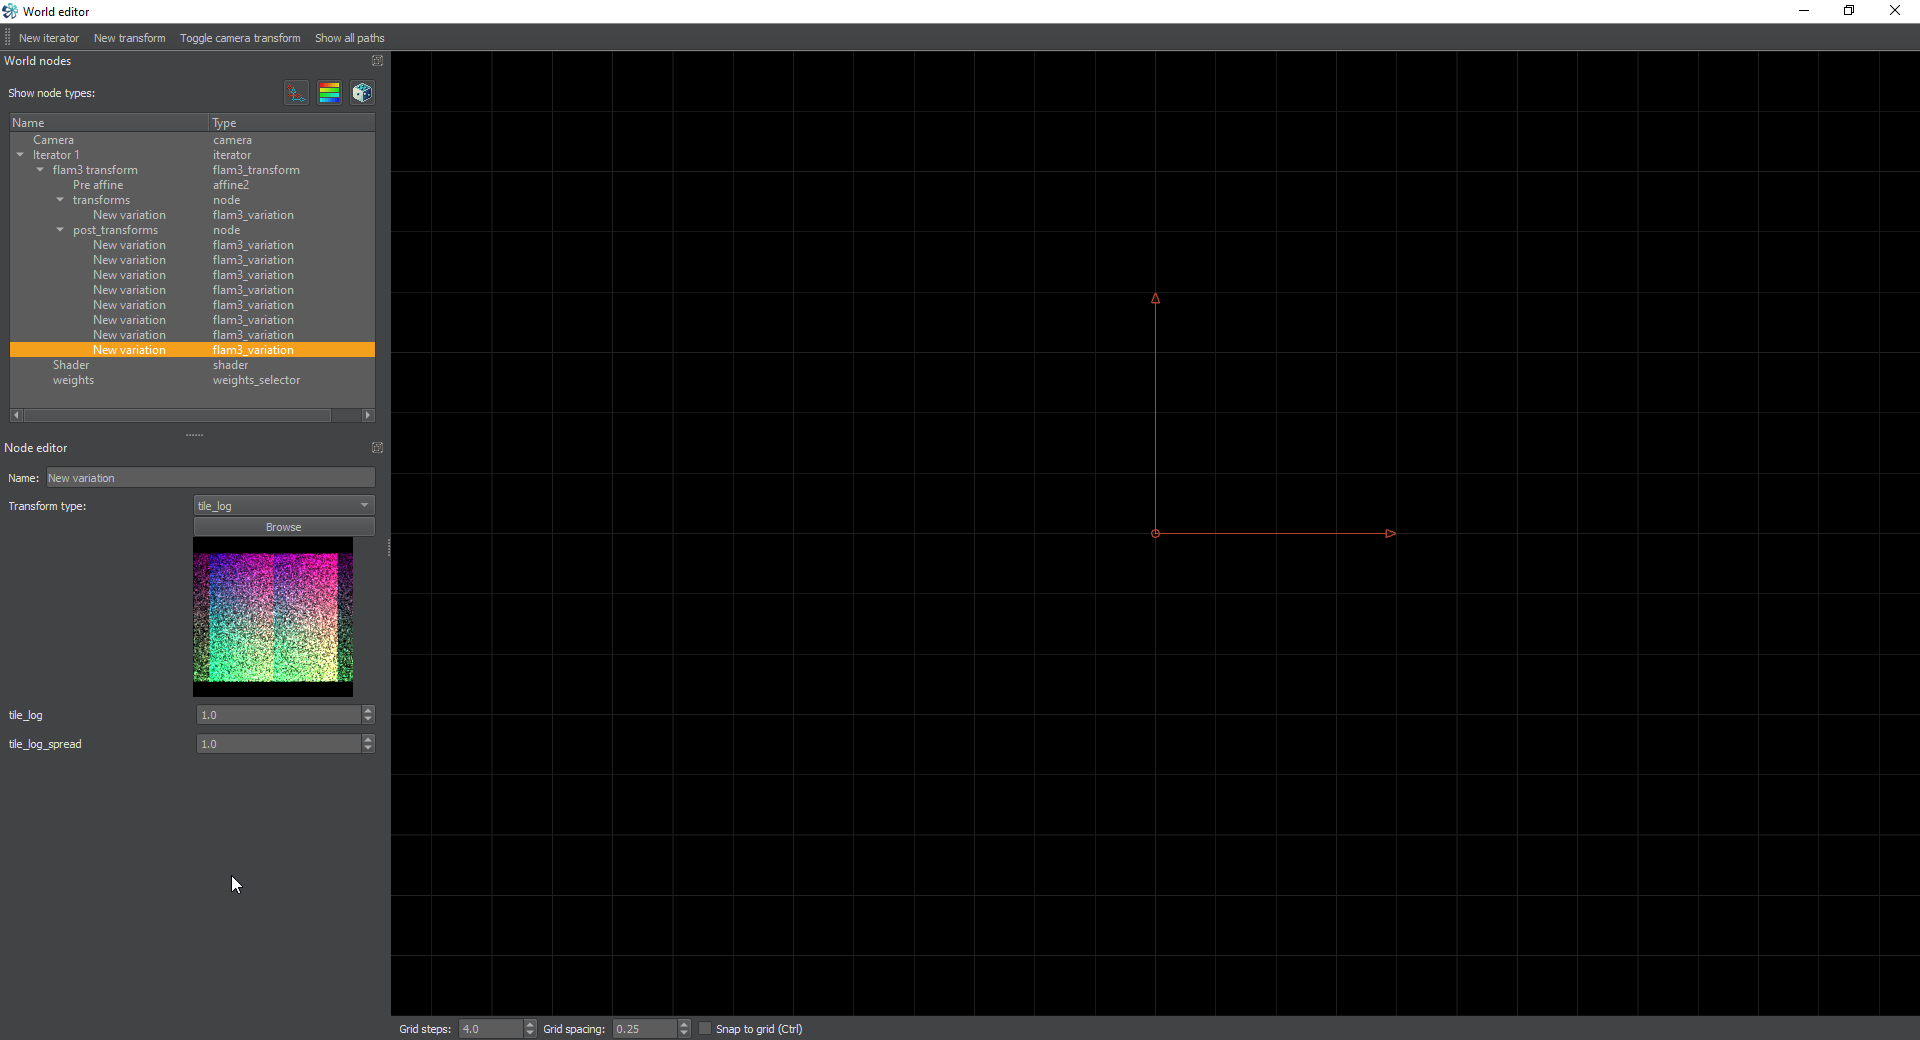
Next create another post-transform and set it to tile_log. This transform will tile the target both left and right and you can use the tile_log_spread to control how much it spreads out.

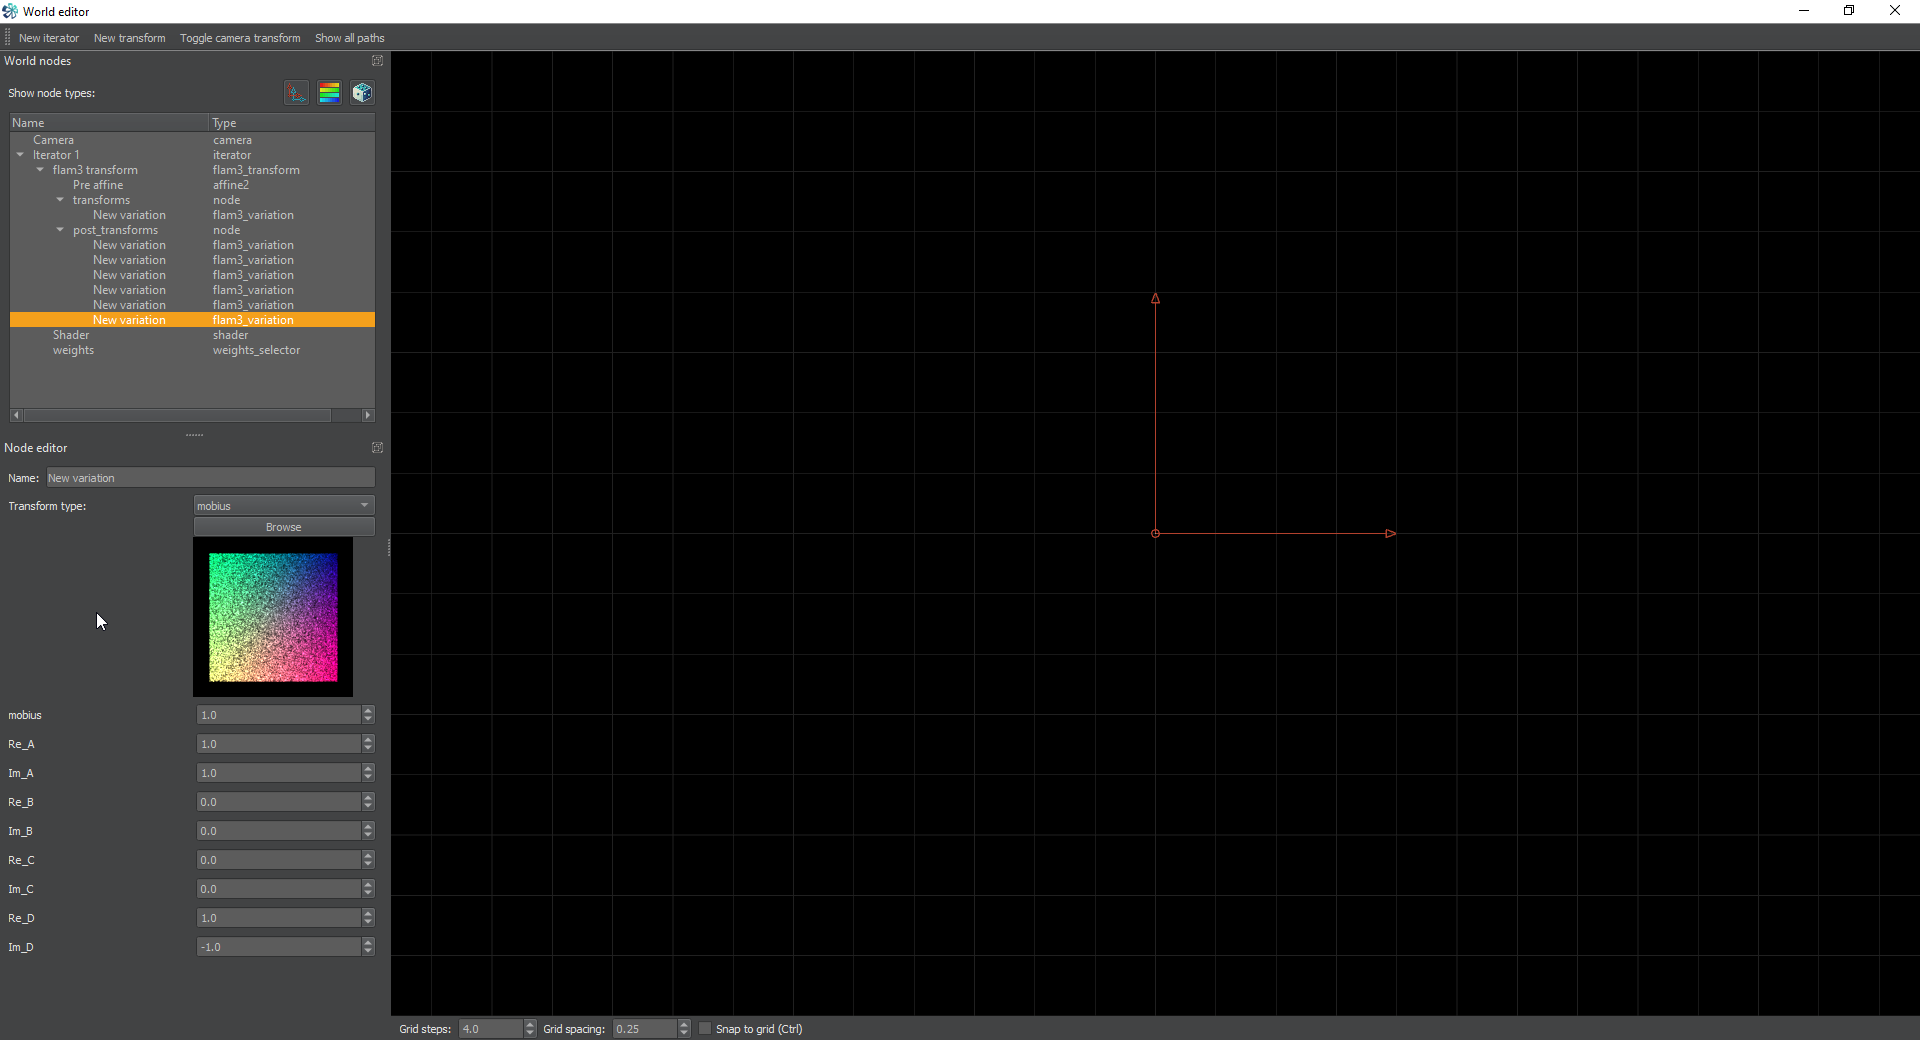
Now comes the fun part. We’re going to create another post-transform, but this time set it to mobius. Mobius is like a linear, but we can do a lot of nifty things with it. it’s extremely useful, but in this specific case, we’re going to use it to rotate the entire tile 90 degrees. Set the Im_A to 1. This will make it larger, and rotate it 45 degrees. Next set the Im_D to -1.0. This will lower the size back to normal, and finish the rotation to a full 90.
For more information on Mobius, check the calculator here: Desmos Calculator
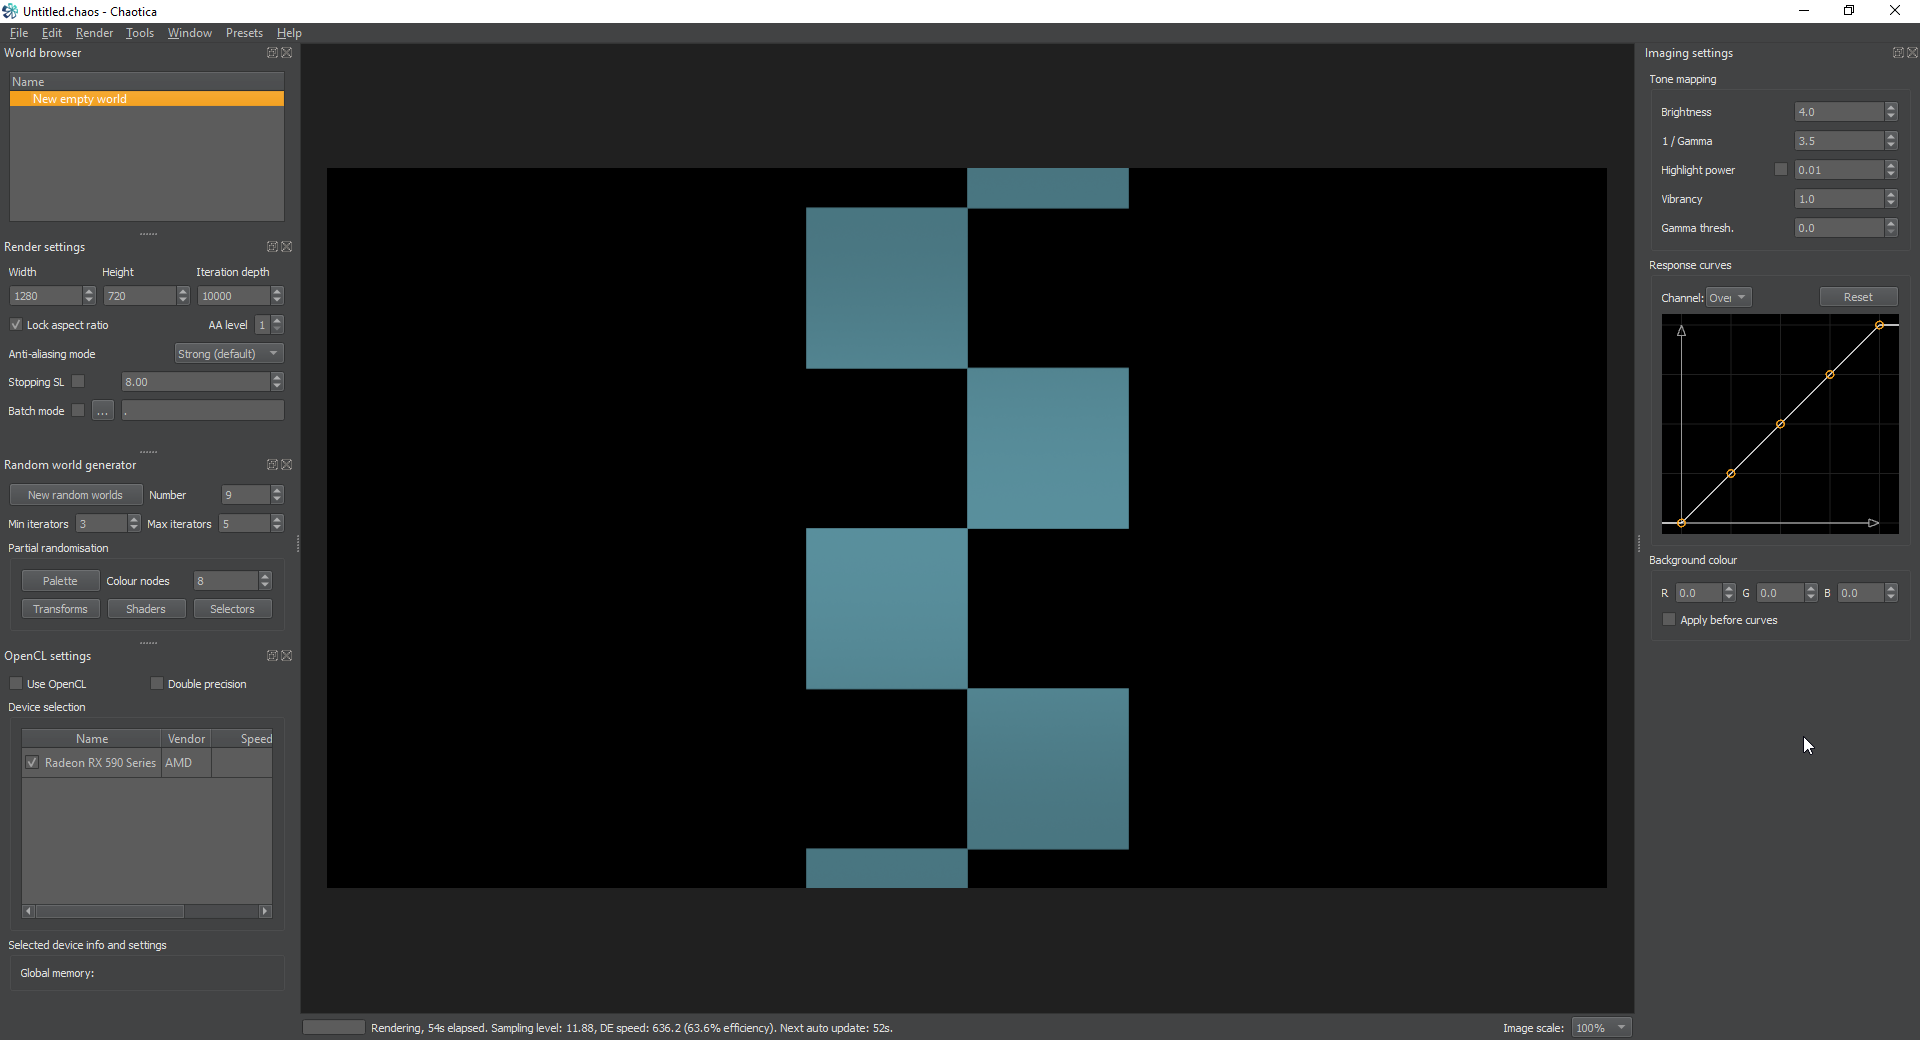
Next, create two more post-transforms. Can you guess what they will be? We’re creating a checkerboard, so we have to tile it the rest of the way. It will be a tile_hlp and then a tile_log. This will complete the checkerboard pattern.
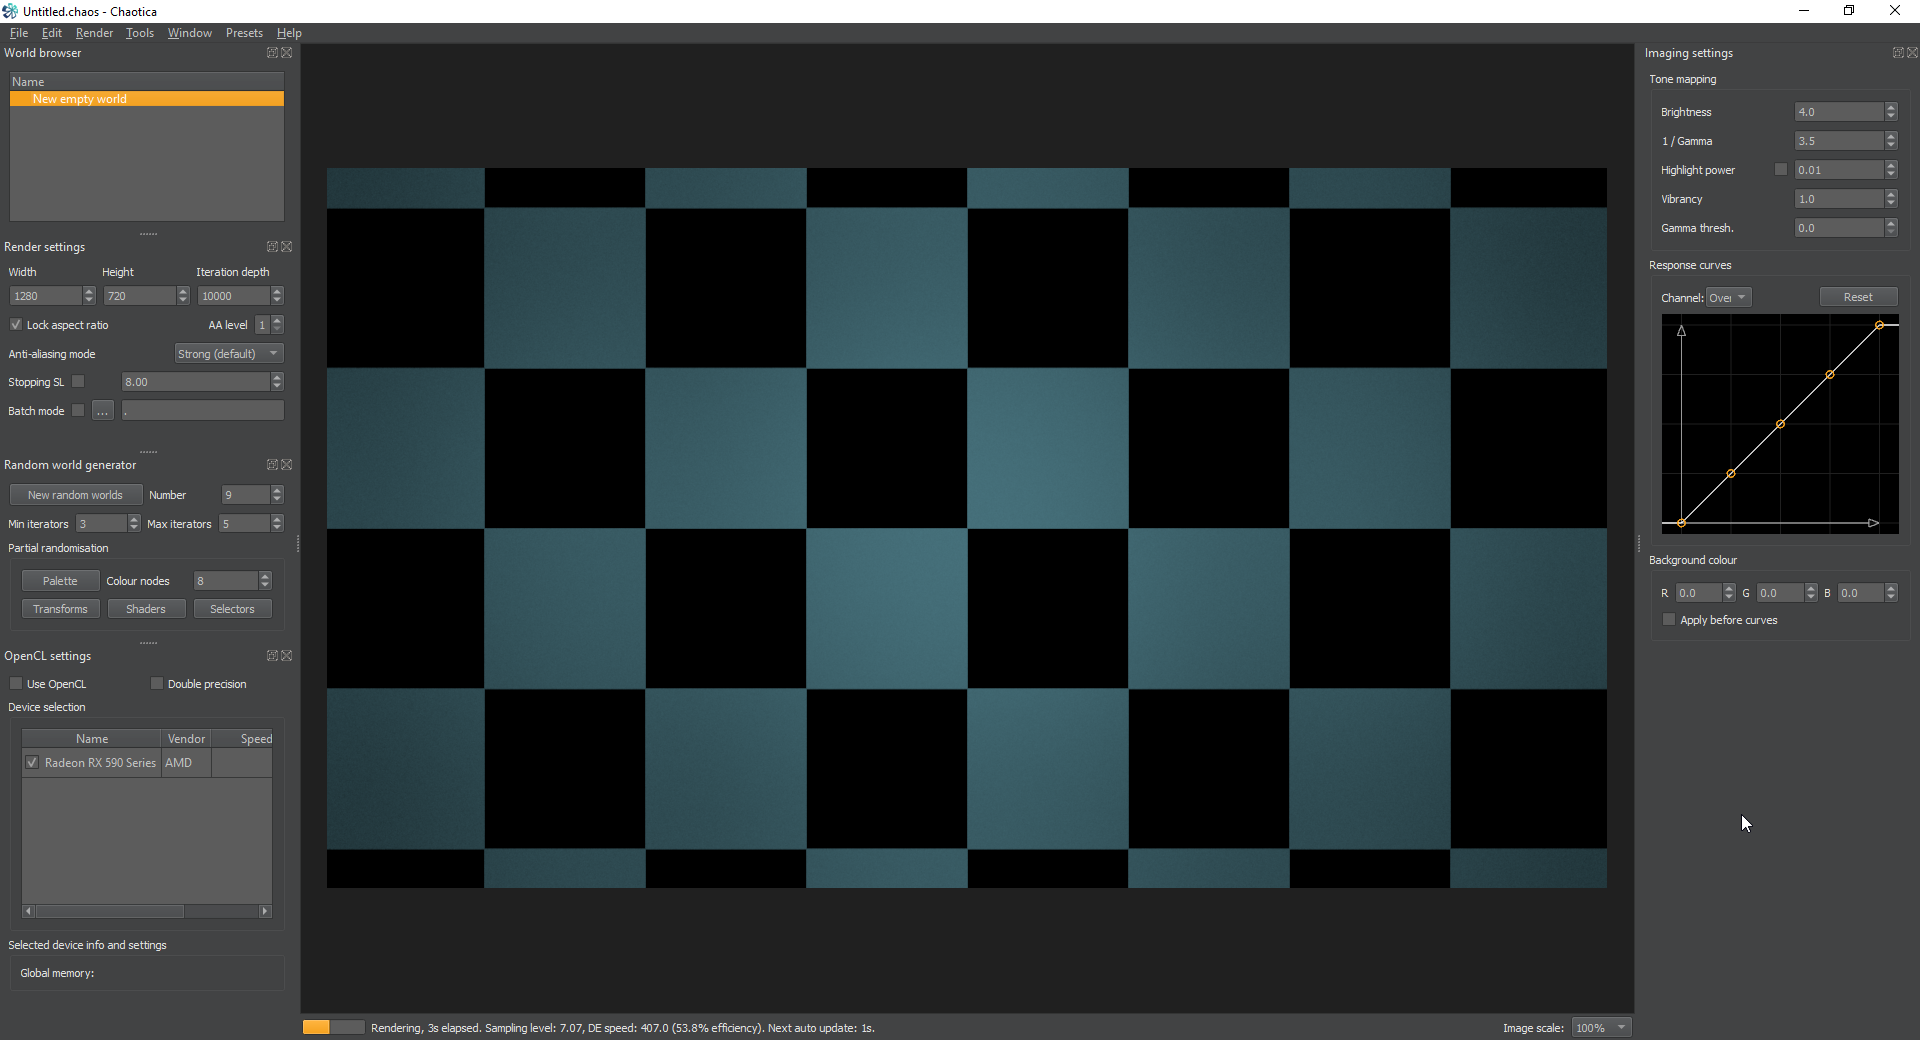
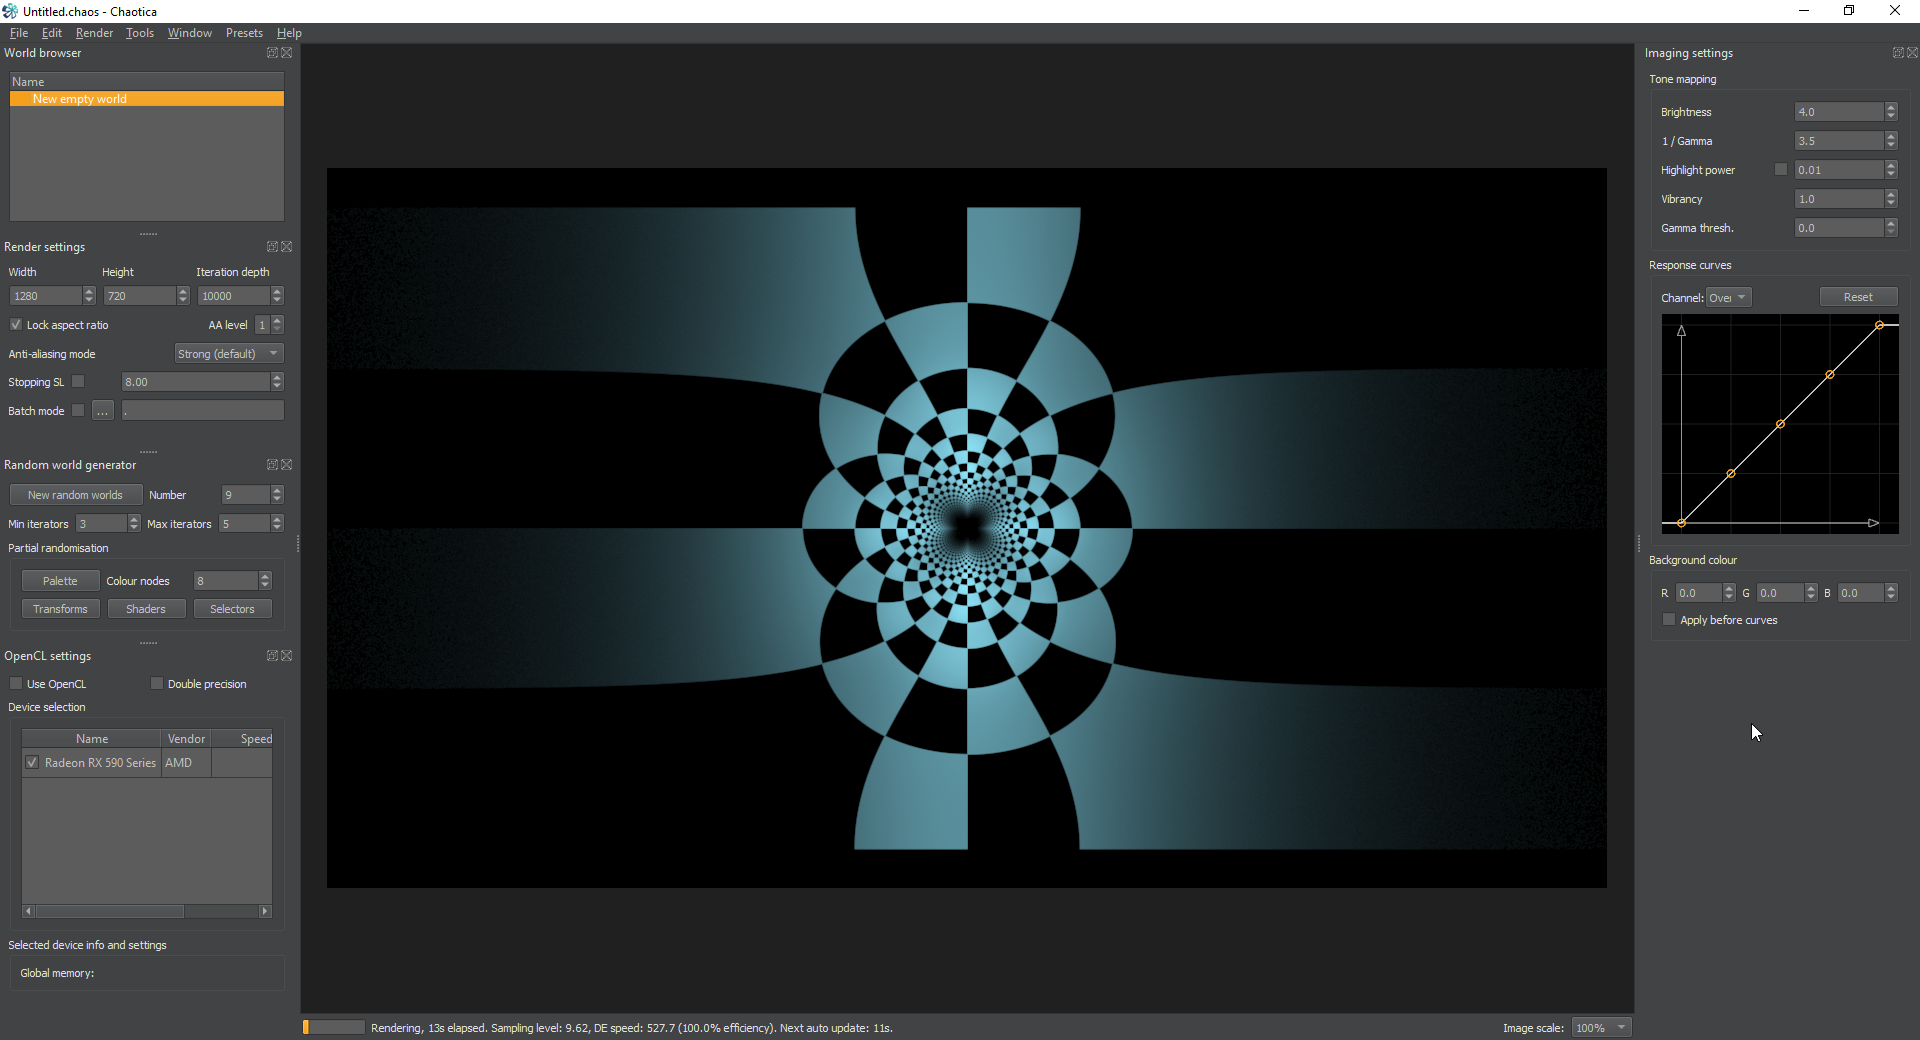
Checkerboard Complete!
Ok, now we know how to create a checkerboard pattern with a single iterator. The techniques illustrated here may be useful later in many things. Where does that take us though? You’ll find out, we’re almost done. I promise!
Camera Transform.
Next, turn on the camera transform. It will default to linear. Start by picking any transform. This setup is ideal for seeing how transforms behave and testing variables. Try bipolar. All you have to do to see what something does is change the camera transform and the image will shift to show you. Simple right? Play, learn and have fun!