Chaotica: Elliptic-Splits Part 2
Introduction
This tutorial will build on the Elliptic Splits tutorial. If you haven’t read it yet, please check it out first as this starts where that one leaves off. Start with Method 2 from the previous tutorial. Once you’re there, make a save so we can come back there at a later point. It’s a very good habit to get into. I tend to create a basic effect and then save at a point where I can start modifying. That way I can come back to that point and take it in new directions and play with various effects.
Credits
This is a collaboration between myself and Crystalize but a huge thanks to the fractal community is also in order.
If I have seen further than others, it is by standing upon the shoulders of giants. - Isaac Newton
Beginnings
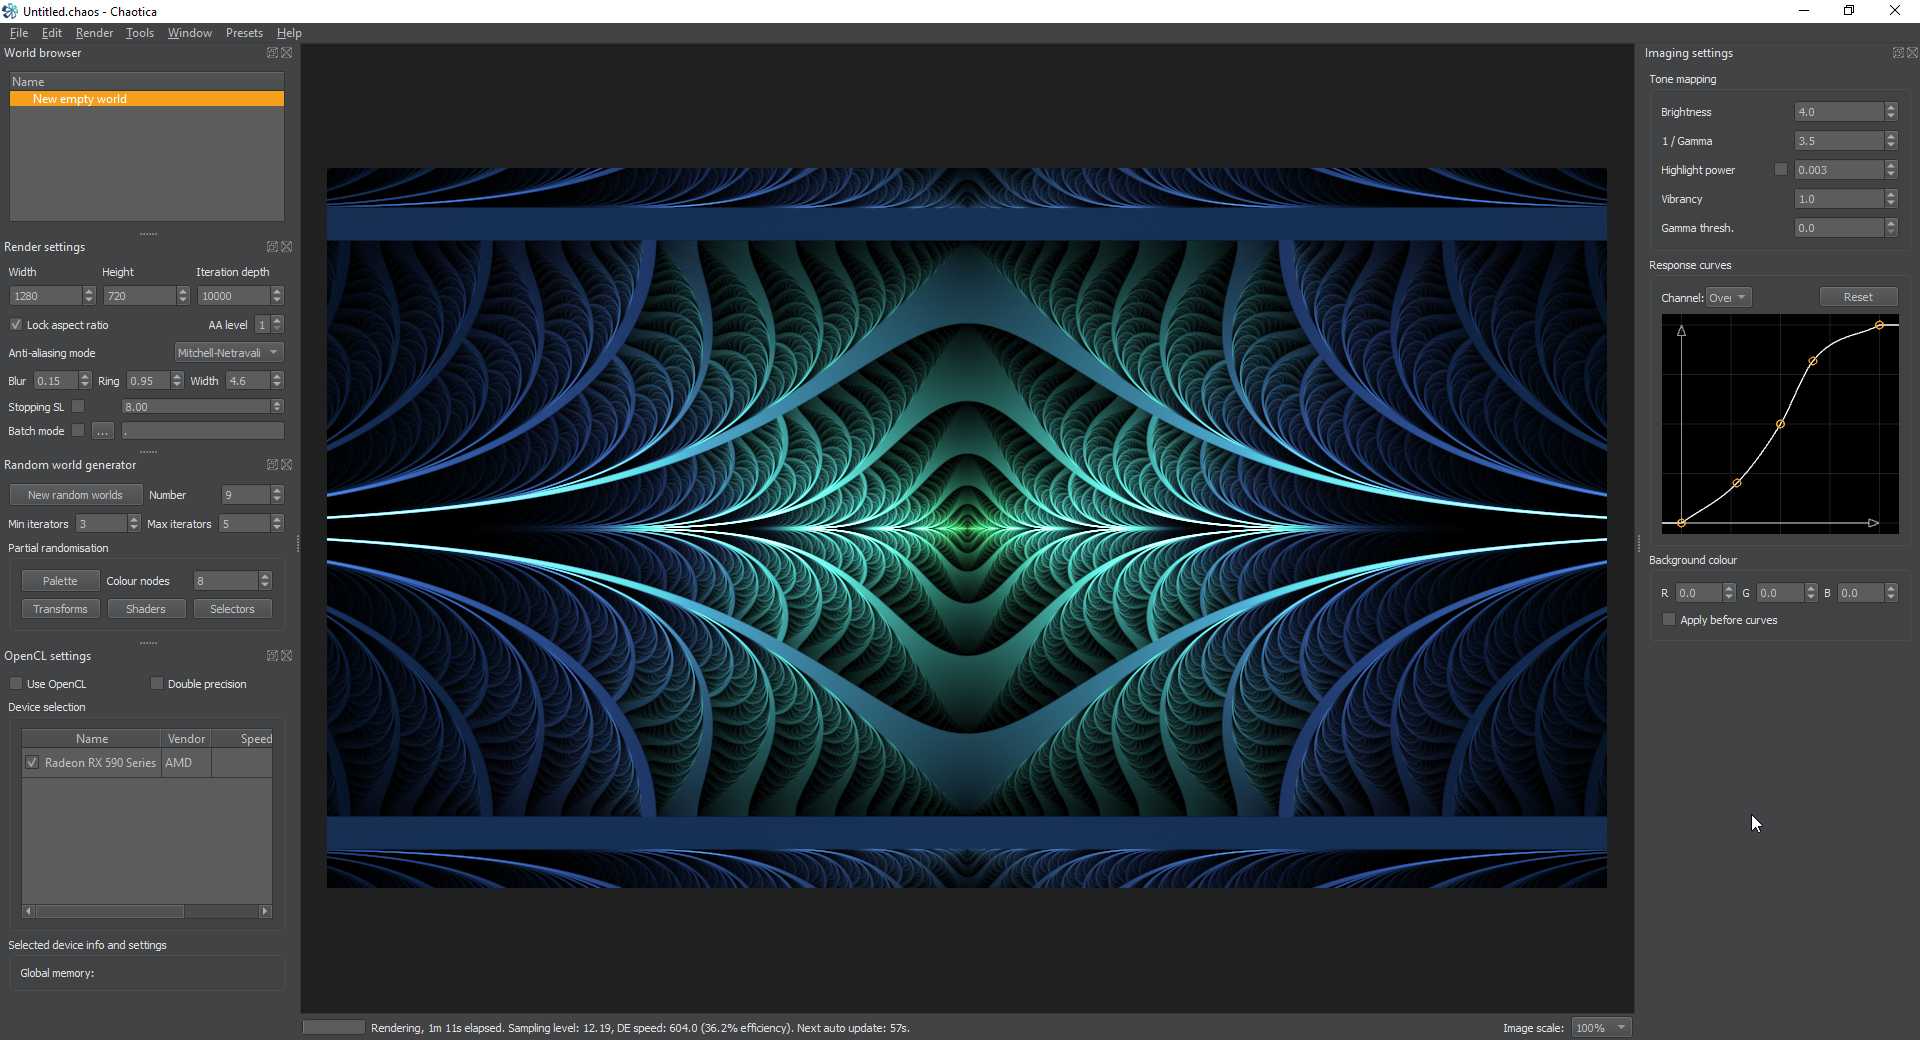
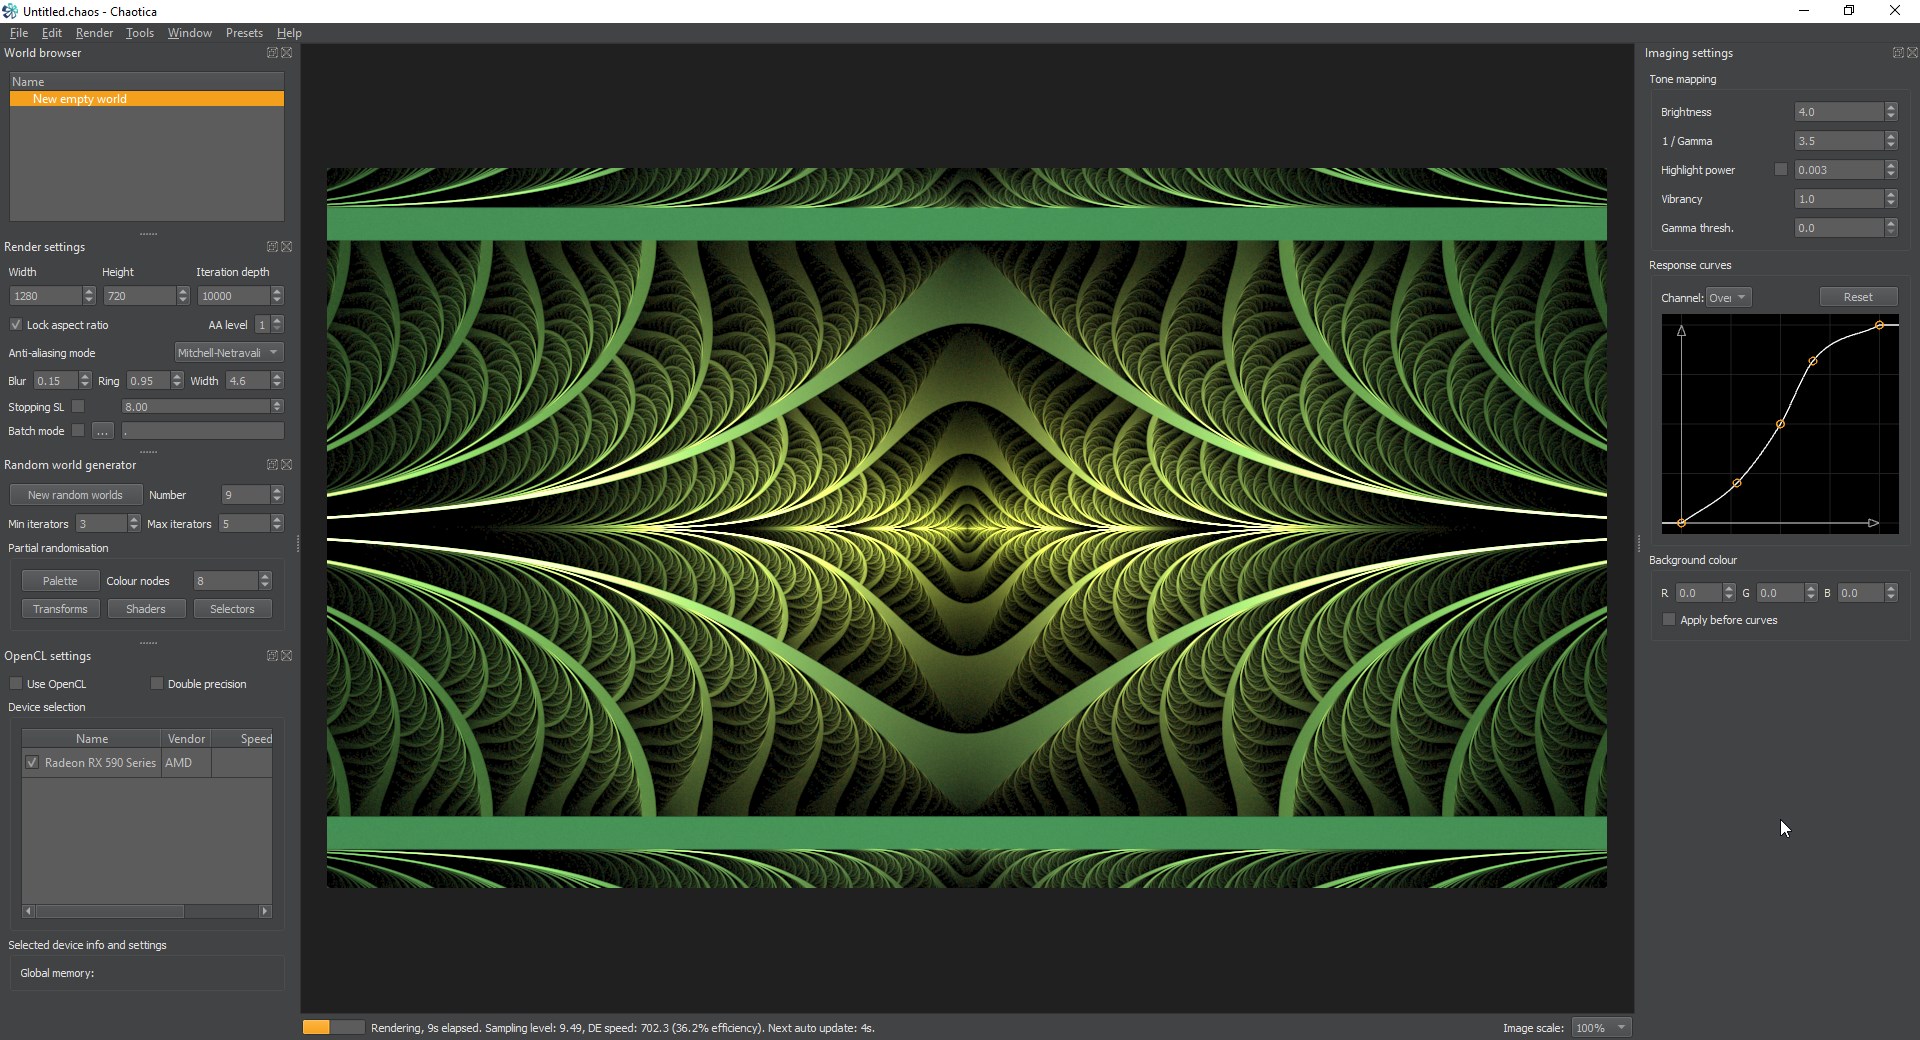
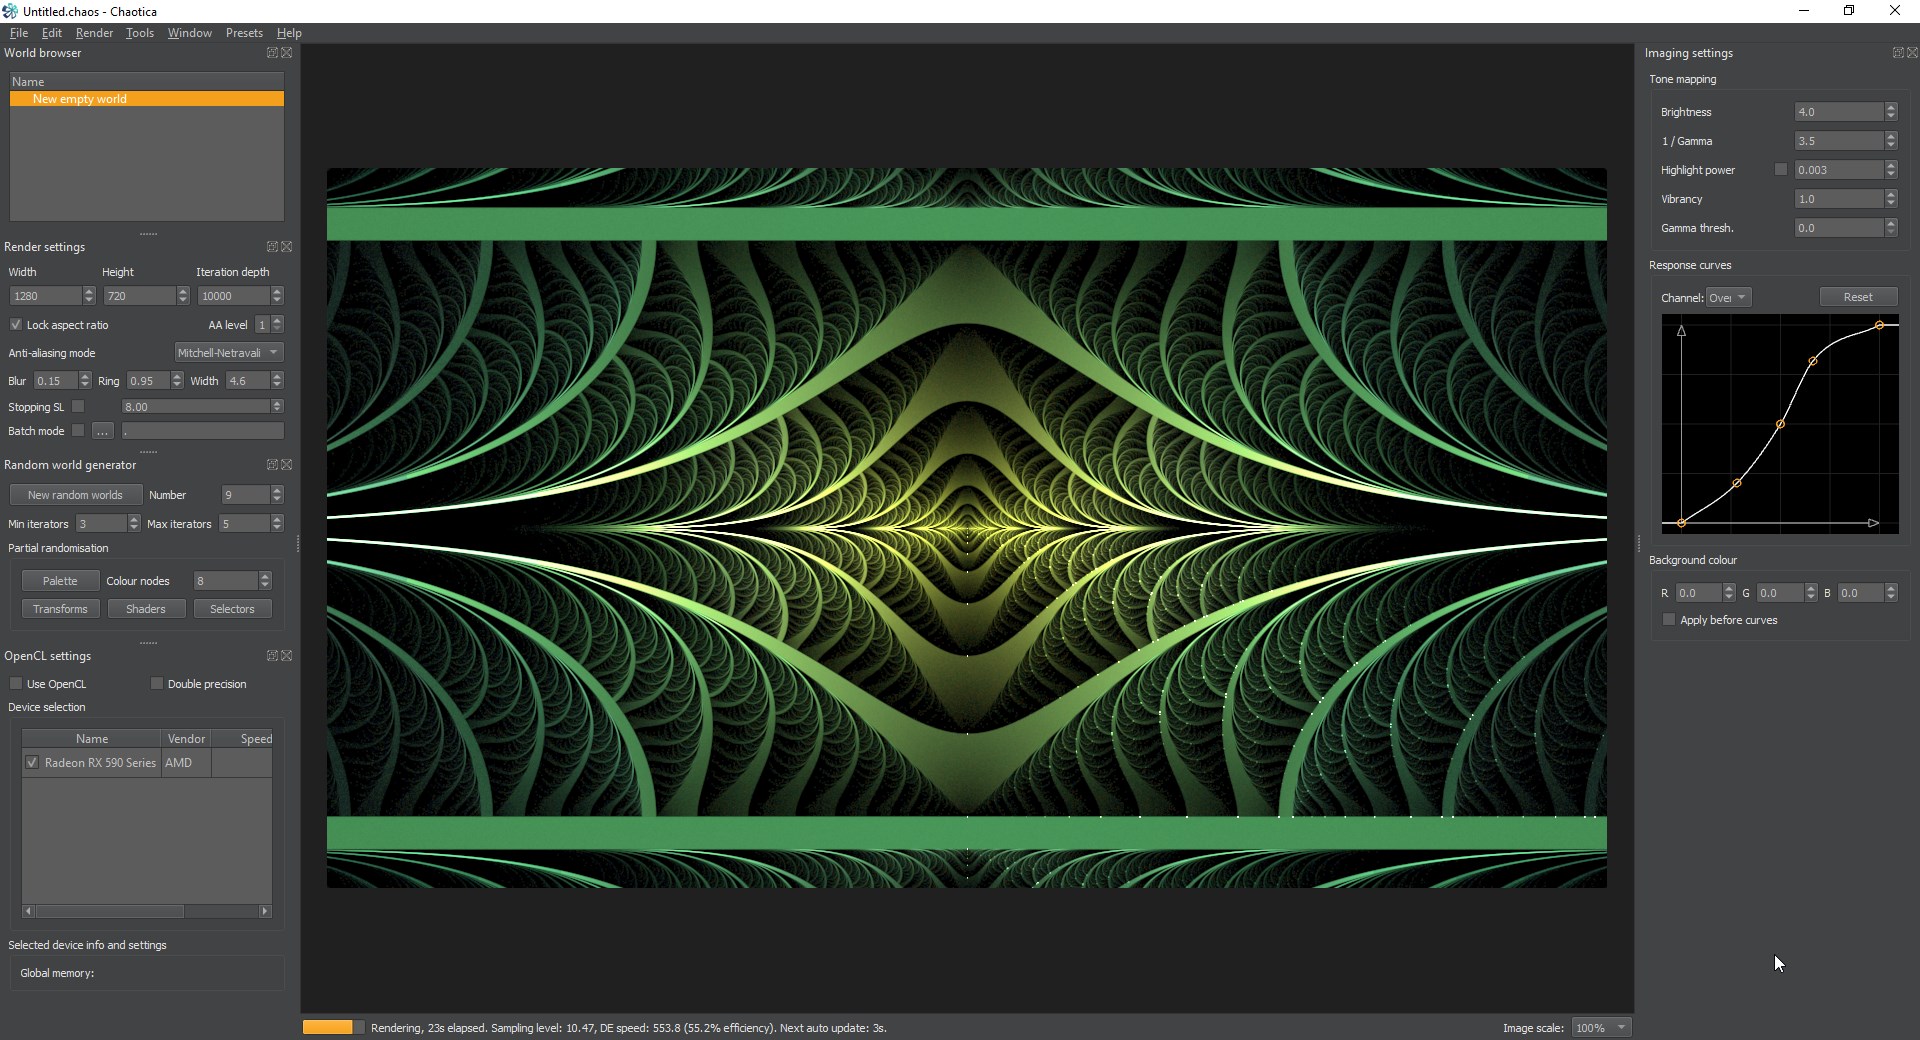
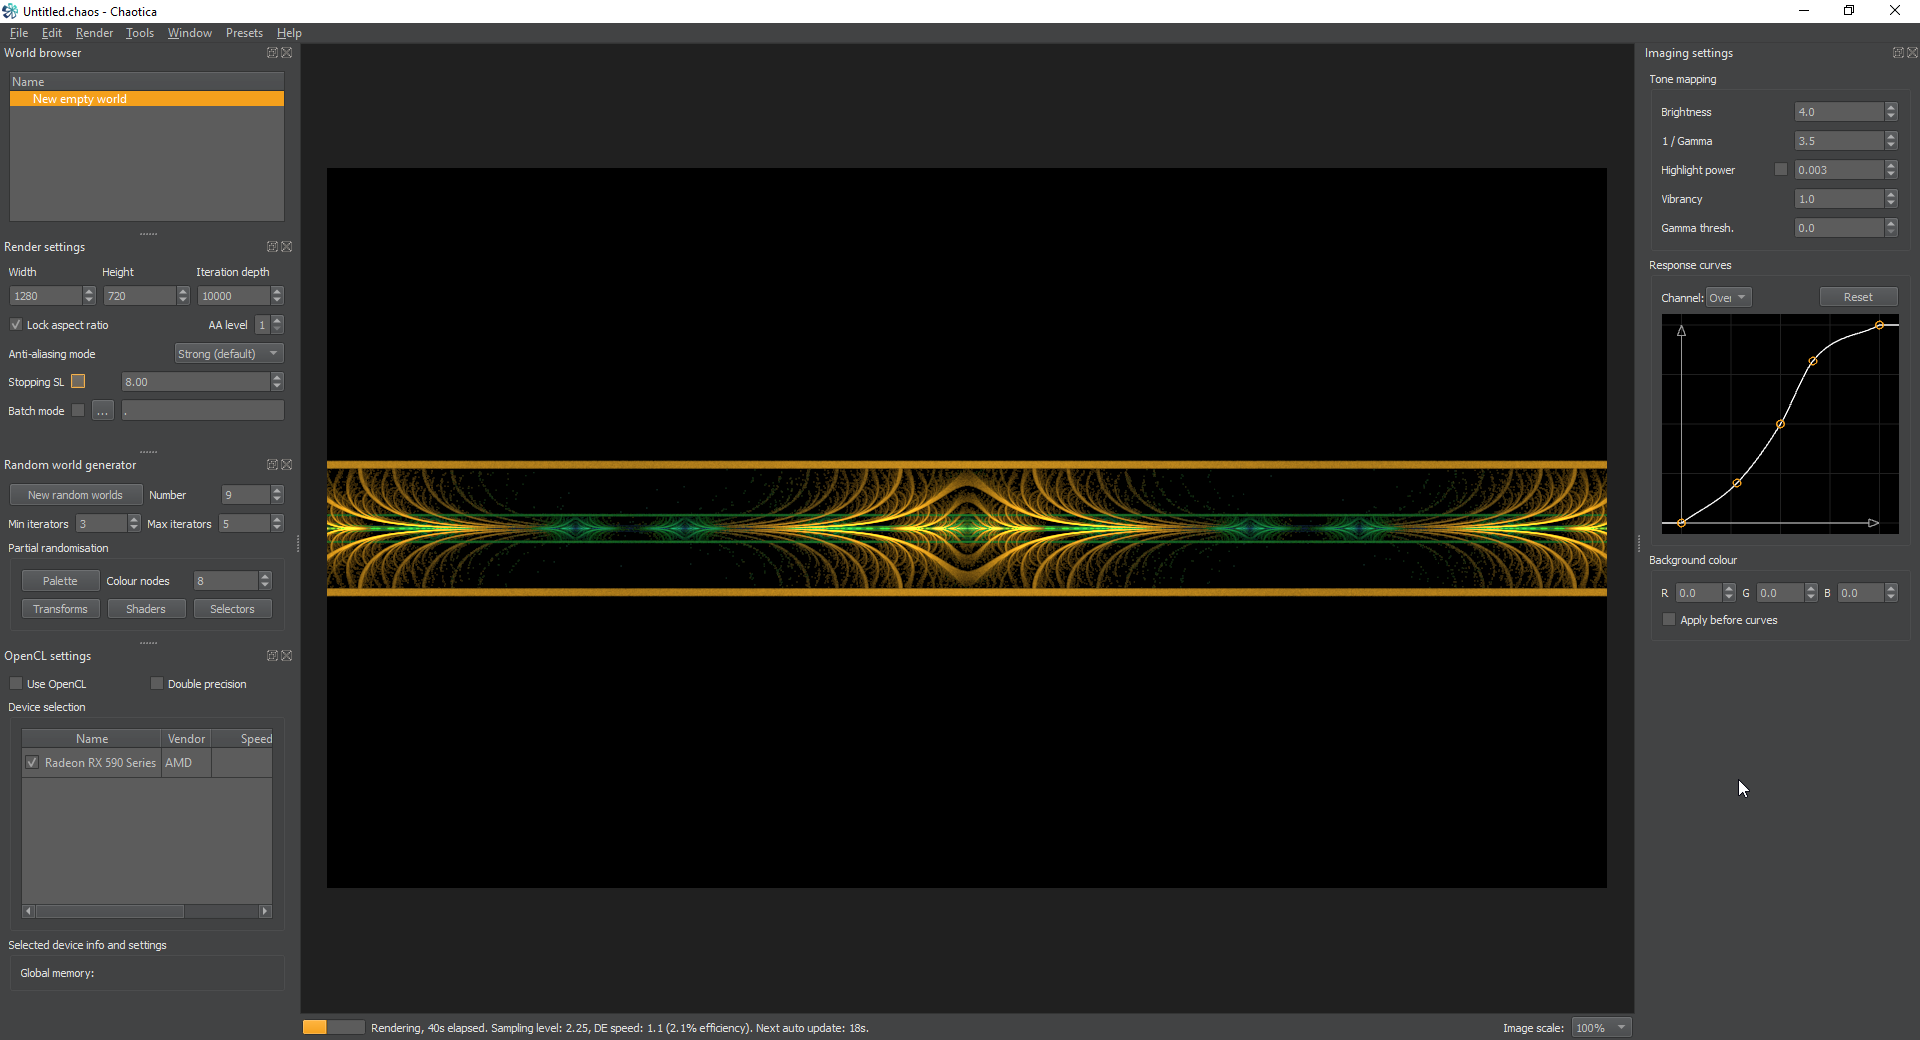
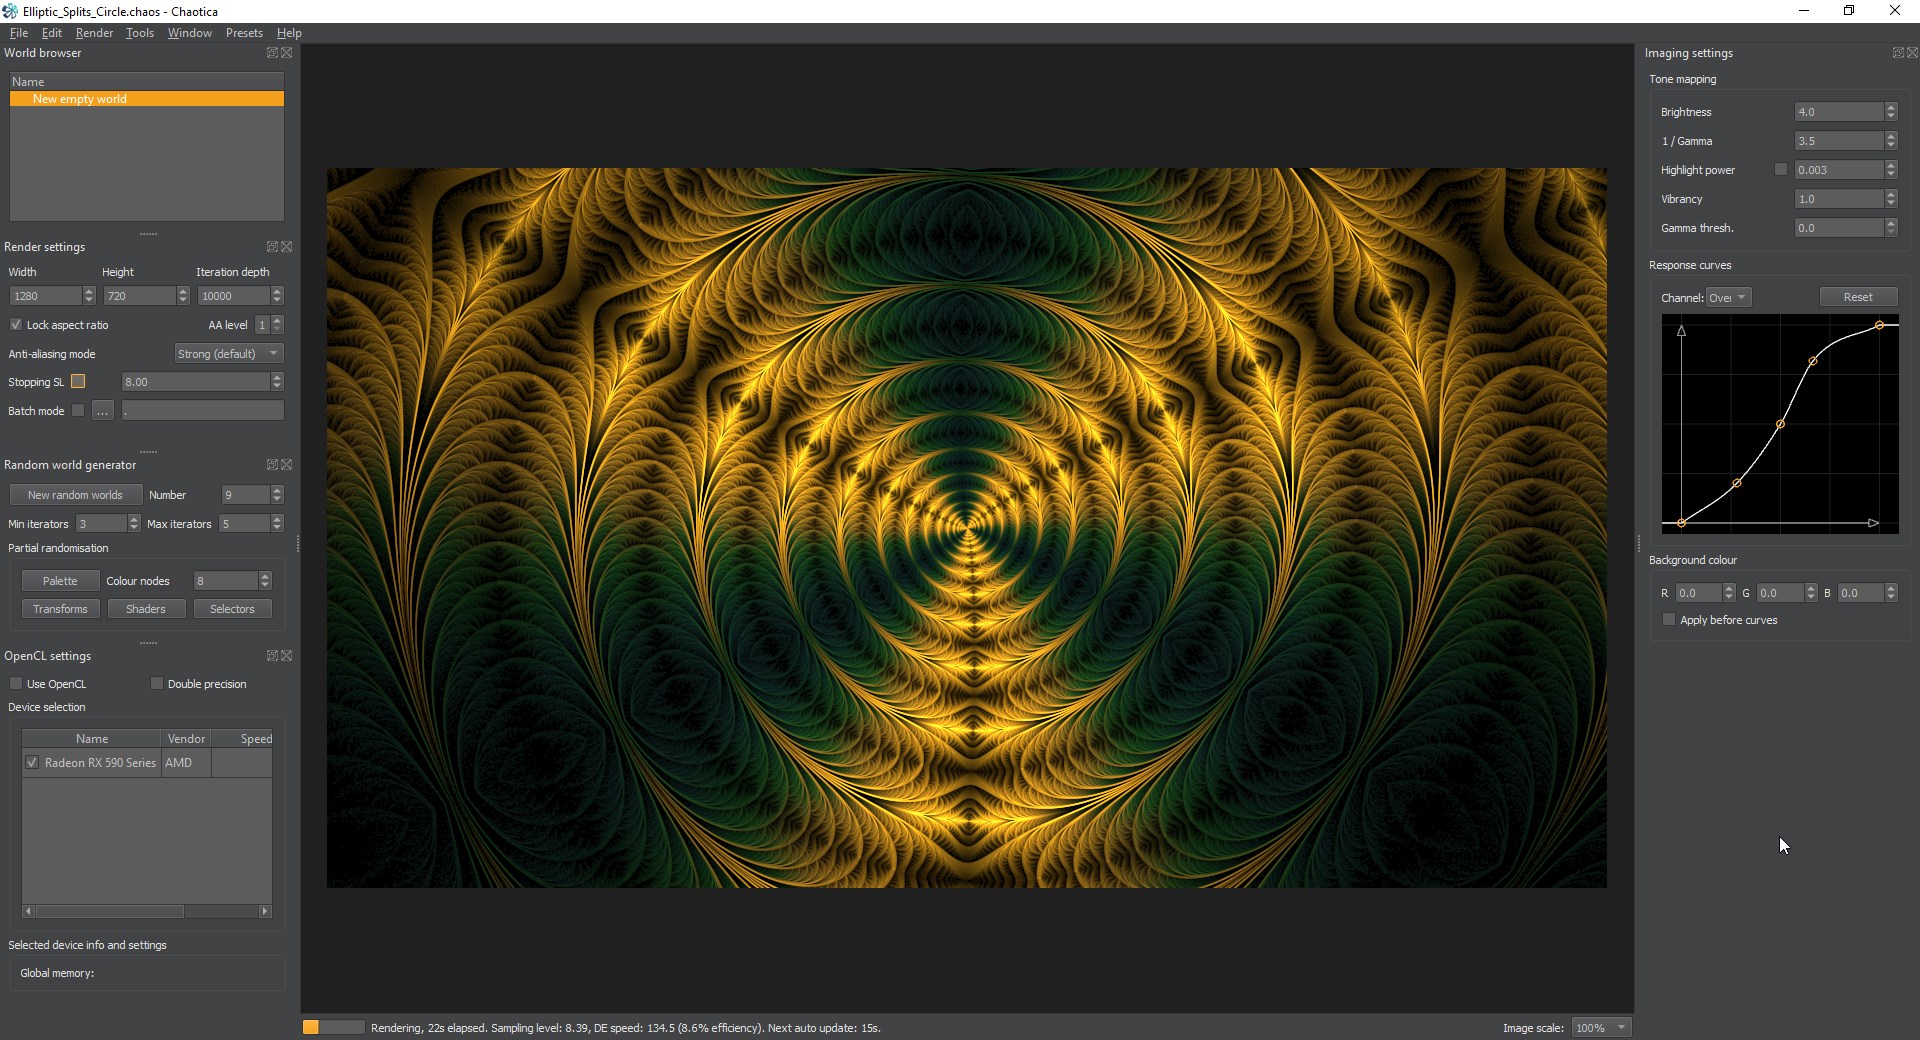
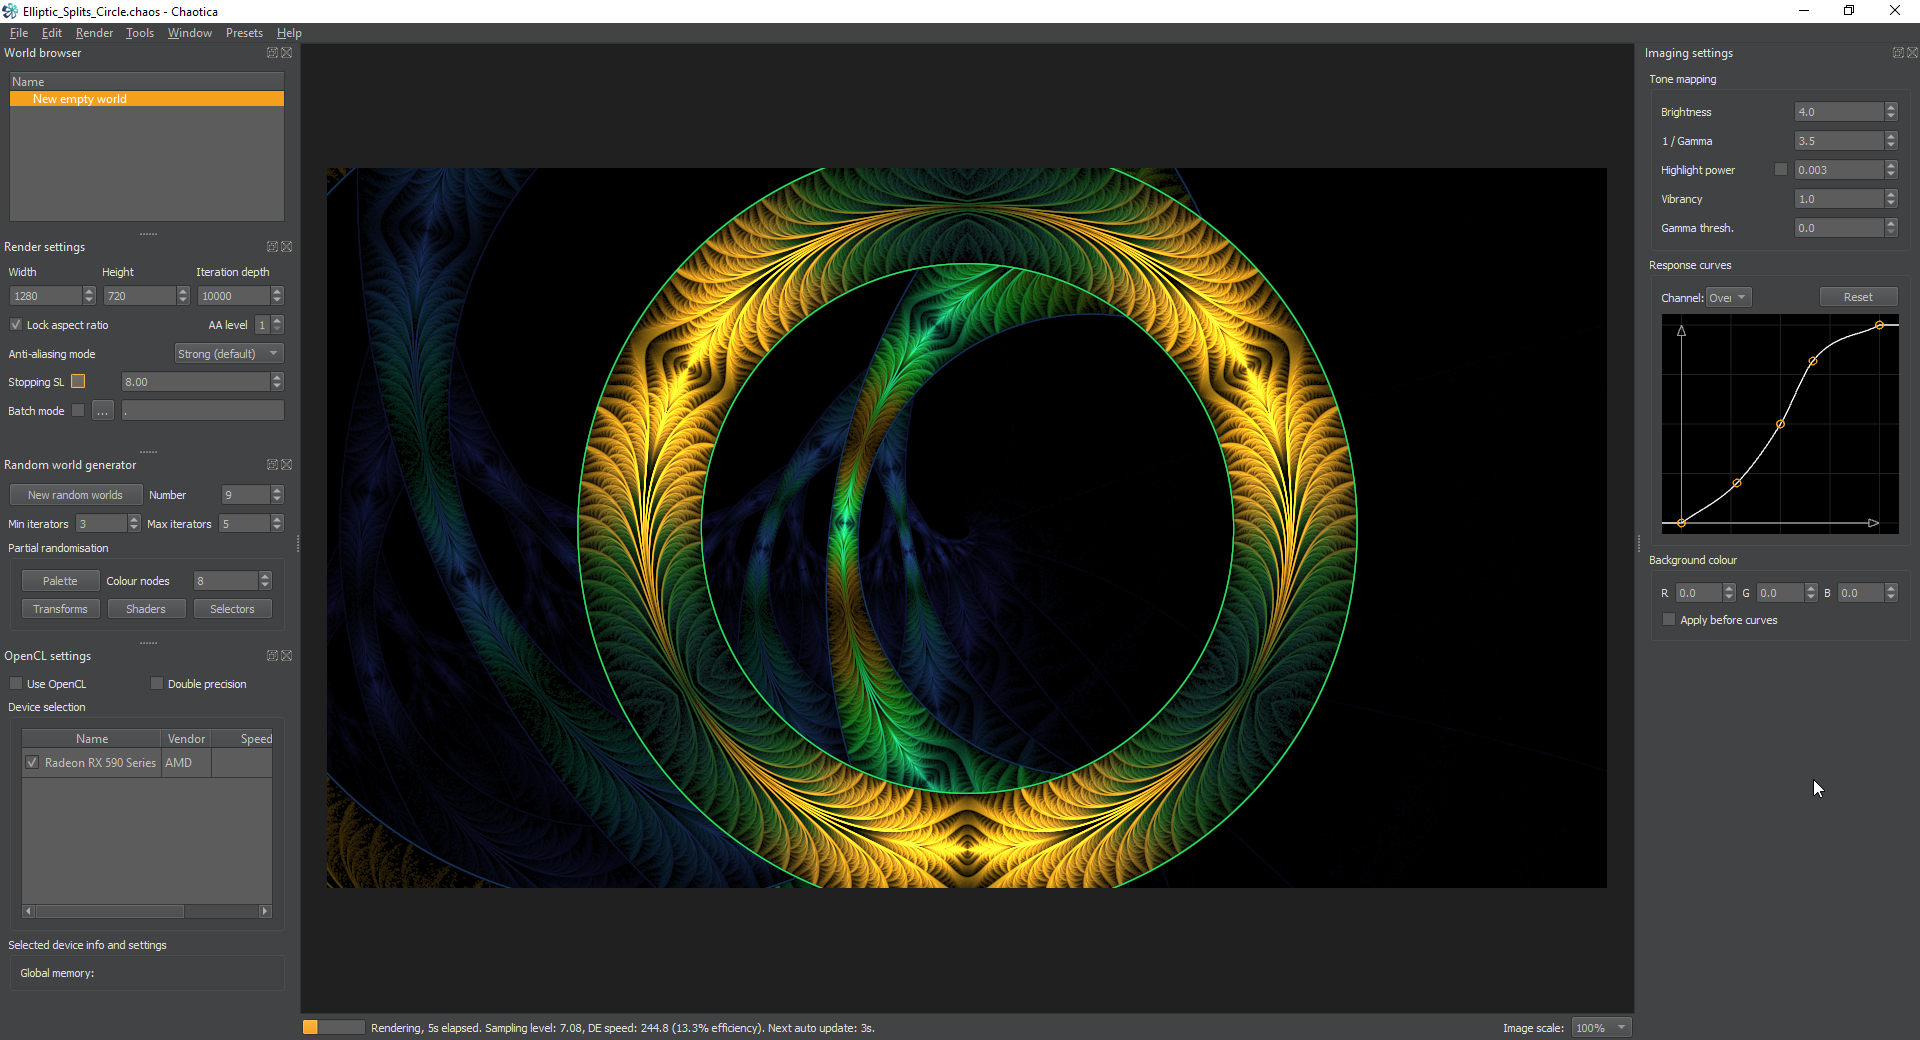
To start off with, you should be at roughly this point with no modifications.
We’re going to use another iterator to wrap this into a circle.
Circle wrap
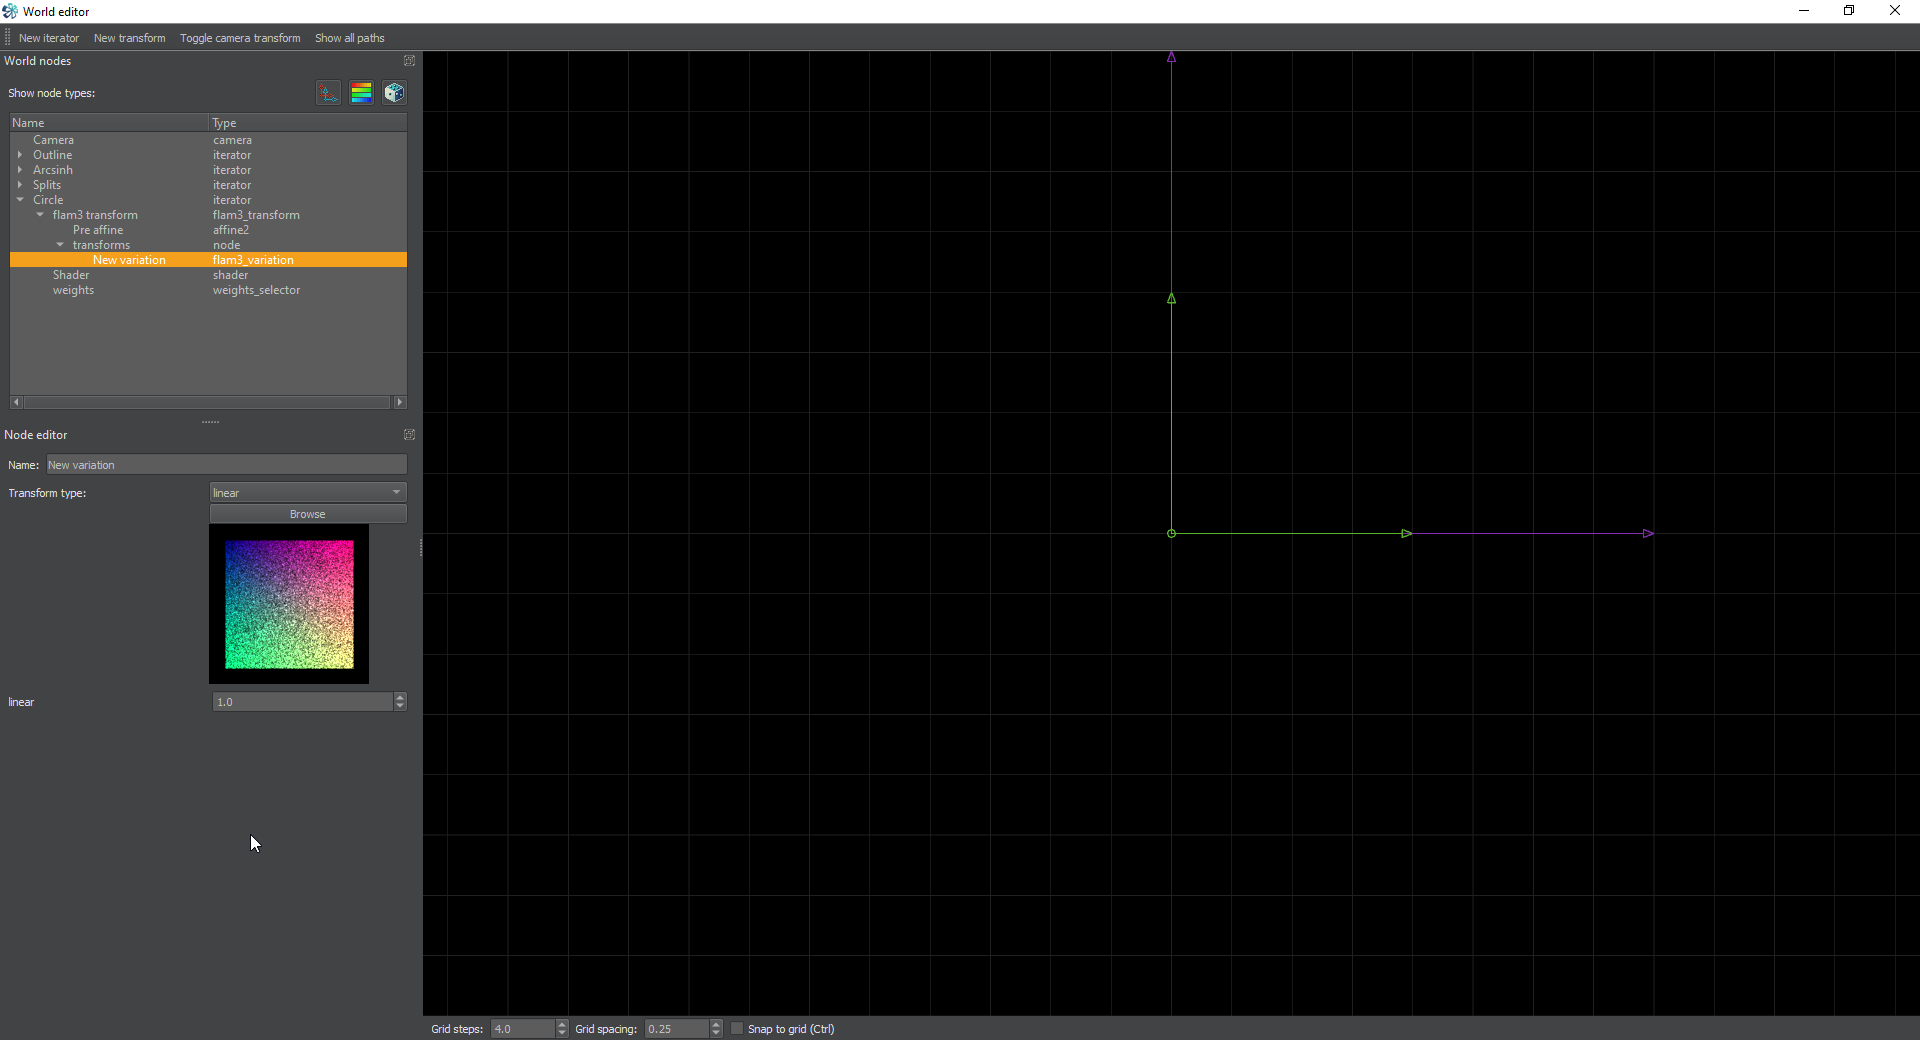
Similar to other tutorials, we’re going to create a circle out of this. However, for this one we’re going to use an iterator instead of a camera setup. Start by creating a new iterator and setting it’s transform to linear. We’re not going to make it do anything other than wrap the previous set of iterators into a circle, so setting it to linear is like telling the fractal that we’re going to take everything and start translating it, but if we don’t move the pre-affine, nothing happens beyond what we do in the pre and post transforms. If you think that’s complicated, just set it up and play with it and you should get the general idea.
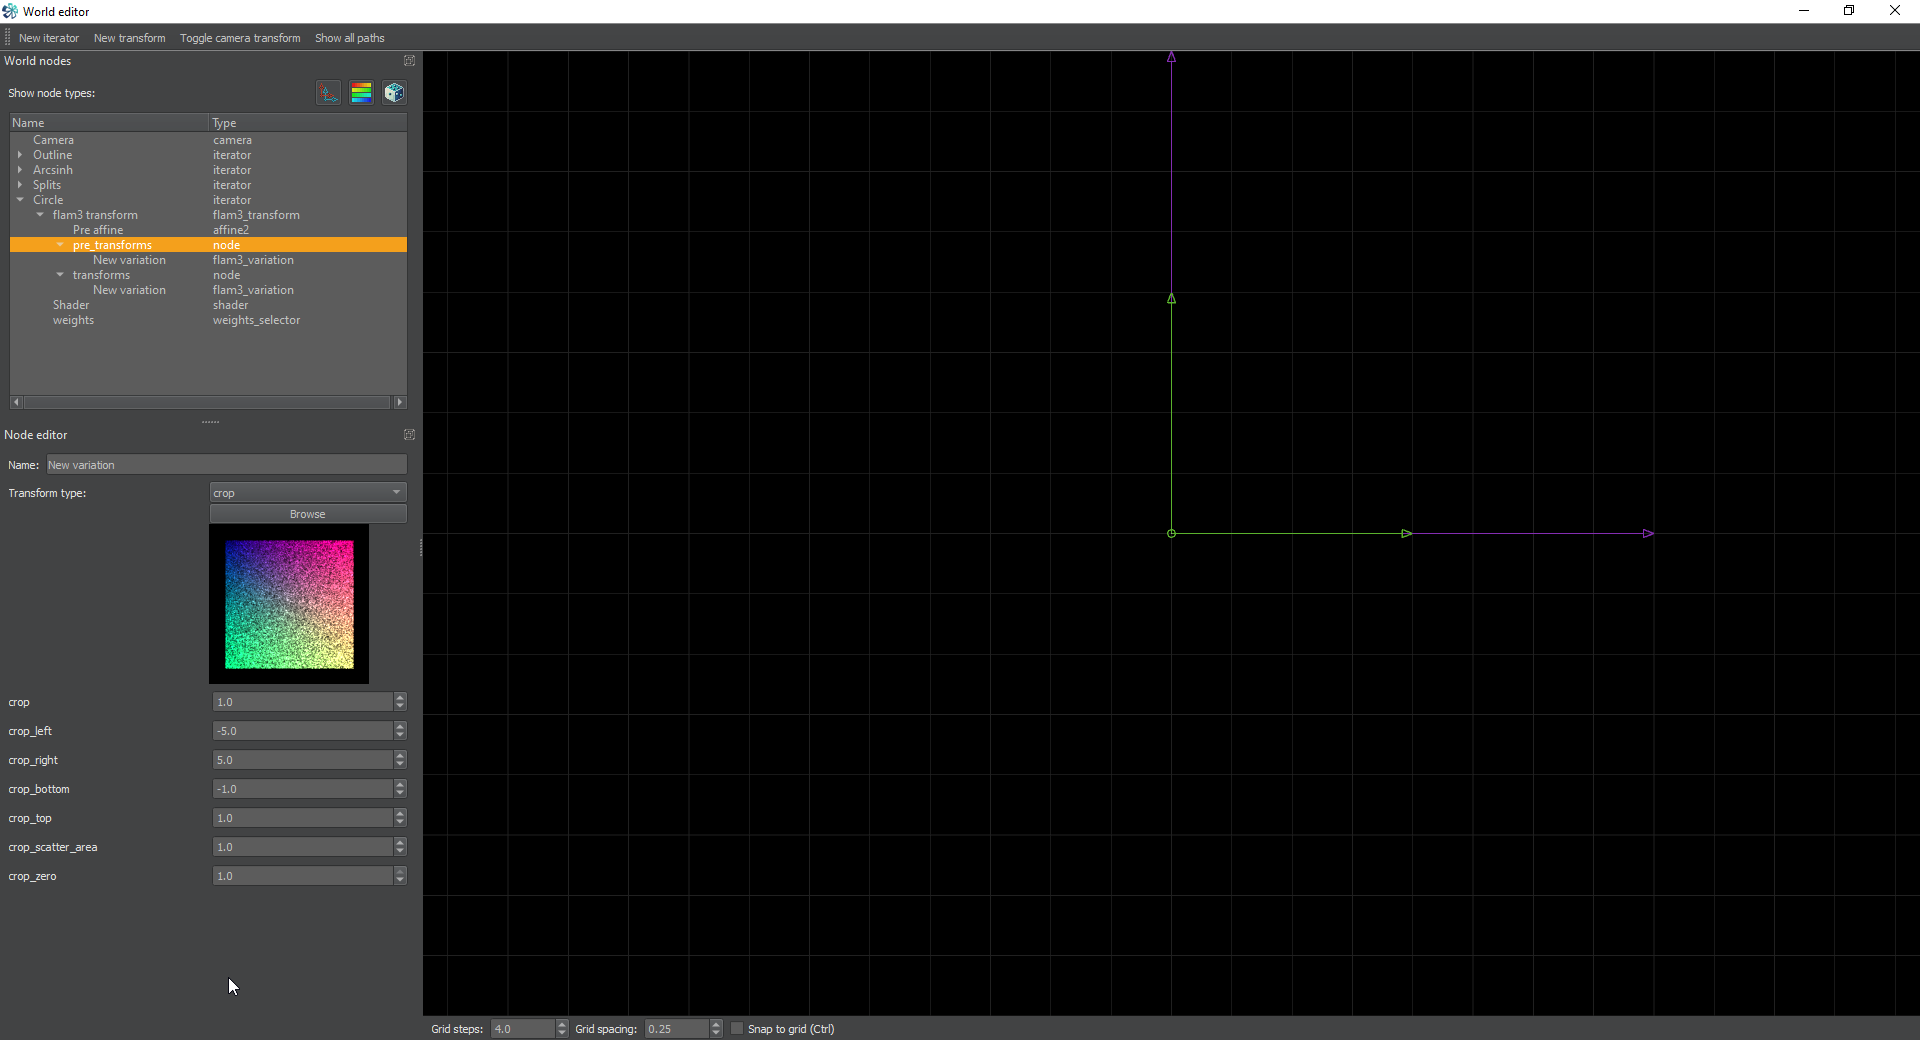
Next, start a pre-transform for this iterator and we’re going to start by adding a crop transform. It’s going to look a bit weird, but to start off with change the variables like so.
transform: crop
    crop_left: -5.0
    crop_right: 5.0
    crop_zero: 1.0
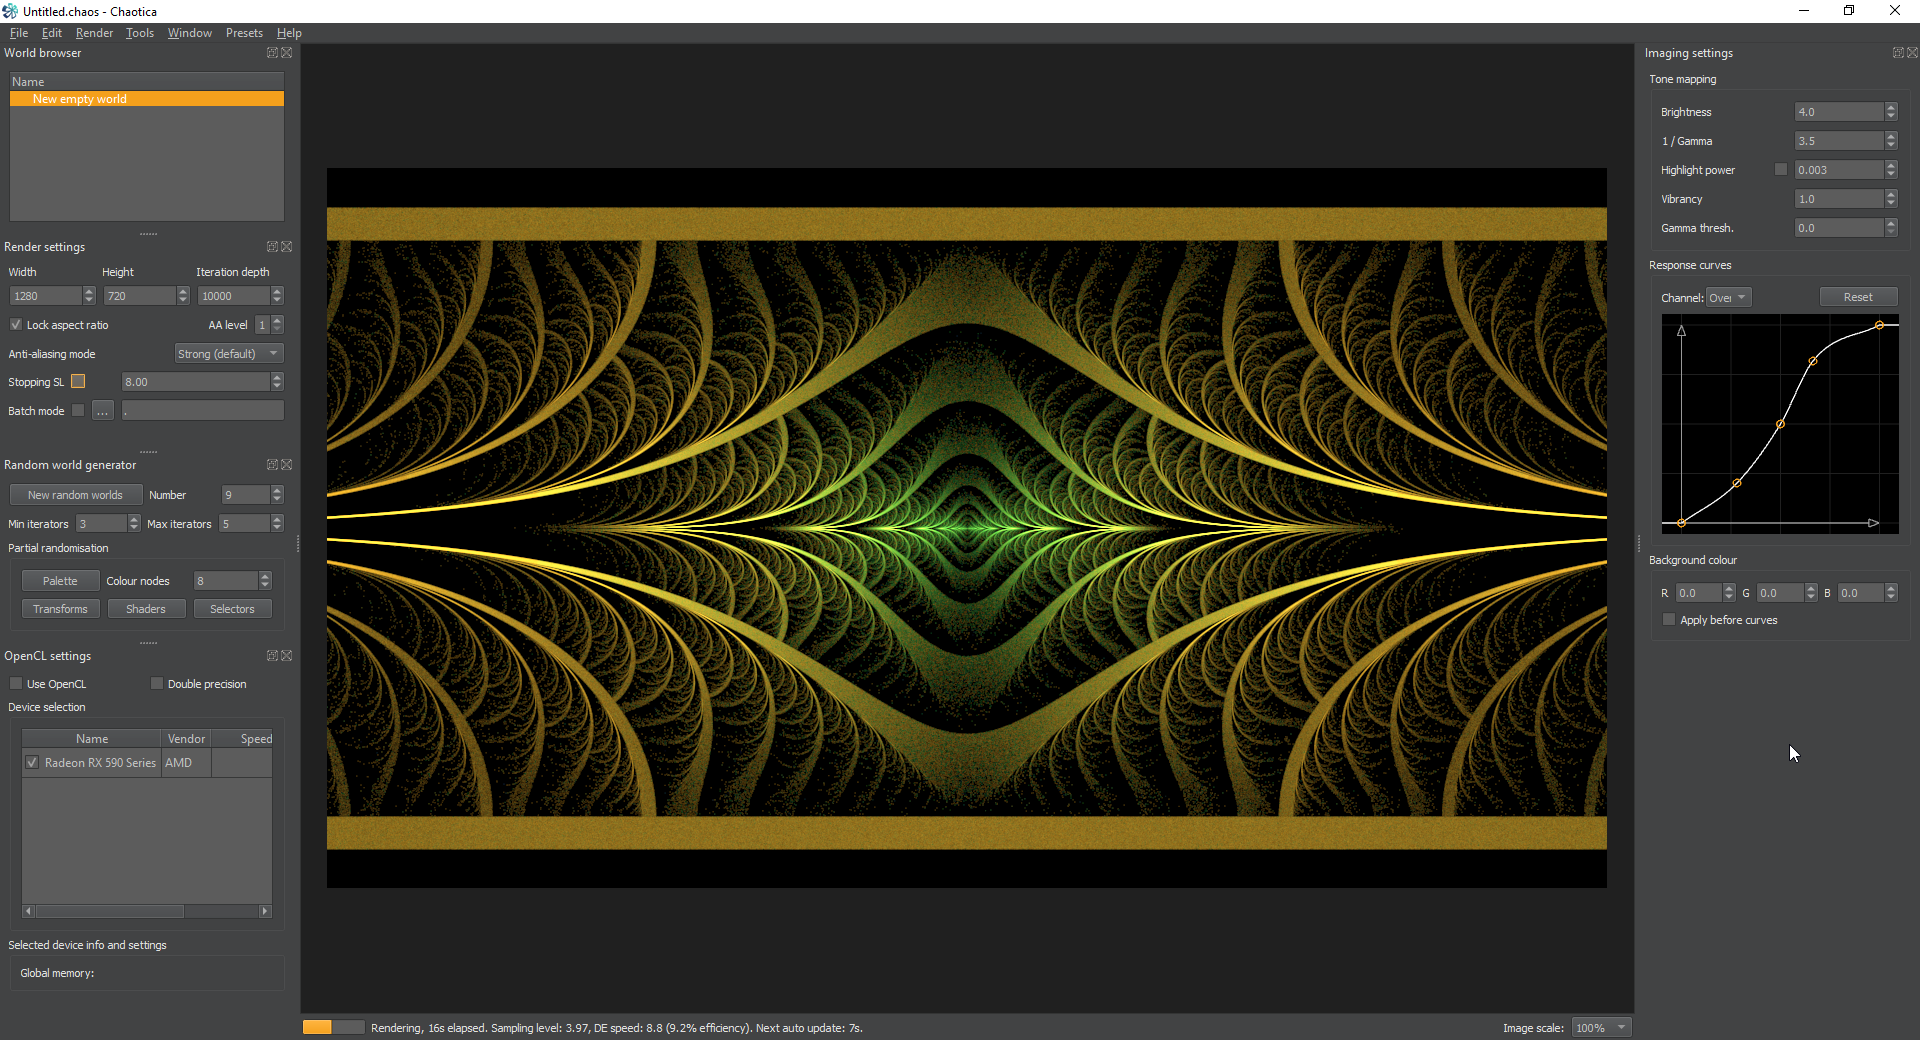
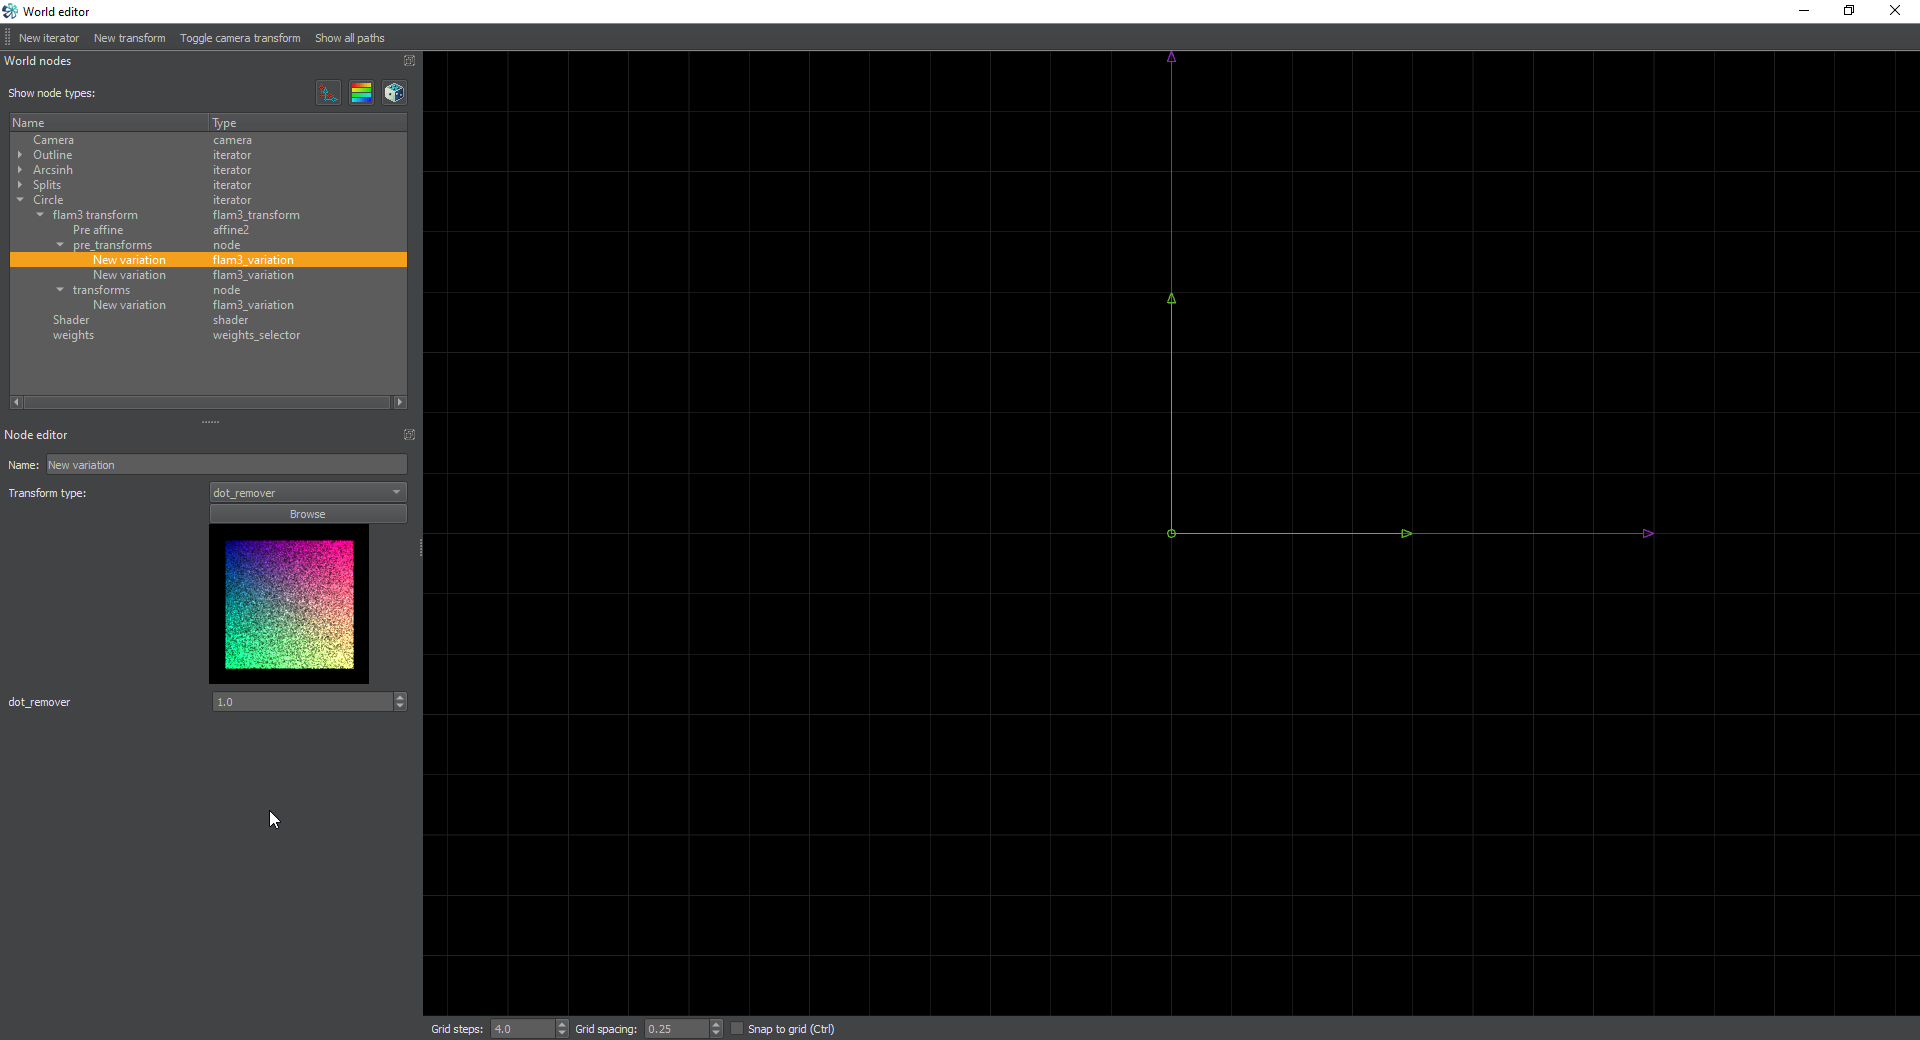
You’ll notice at this point that we have a lot of white dots scattered all over the place. The crop transform puts them everywhere. At this point I’m going to do two things. I’m going to turn the opacity on all the other iterators to 0 and then I’m going to add a new pre transform called dot_remover. You don’t have to use the dot remover. It simply cleans up the image. It’s one of Crystalize’s xforms and it comes with one caveat. It doesn’t work with OpenCL. That means that if you’re going to render this with a GPU, don’t use it. At the time of this tutorial, I’m moving it to the main branch on the code repository, so you may have to download it if you already have his stuff installed. The last thing i’m going to do is drop the value of the dot_remover down to 0.1 to make everything line up later. If you’re not using the dot remover transform, you may have to lower the size of your pattern to get it to where we need it. A linear transform can substitute.
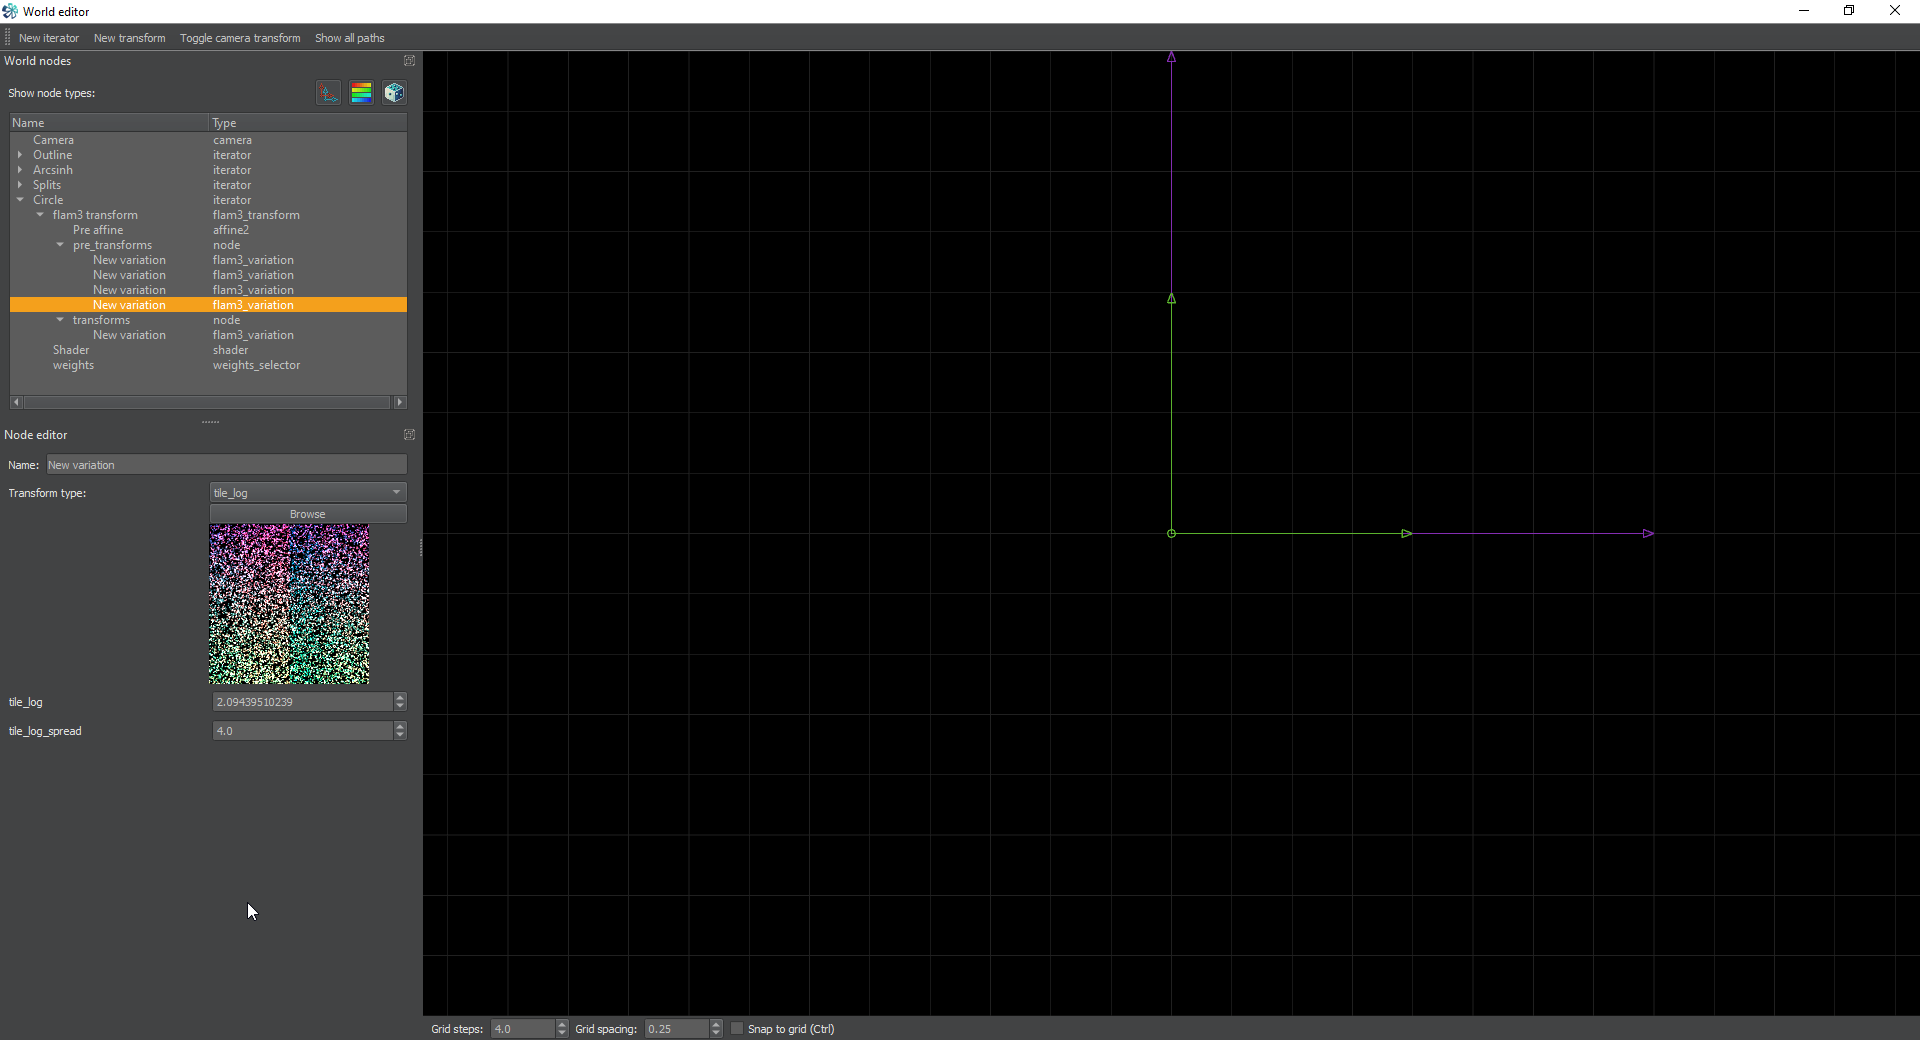
Let me pause a moment here and explain what we’ve done. This crop has taken the output of the other iterators, which are now invisible, and cropped it 5 units wide and 1 unit tall. Then it’s had the white dots removed. Next we’re going to tile it left and right with tile_hlp and tile_log. So make two more pre transforms, the first tile_hlp with default settings, and the next tile_log with a spread of 4. Last, since we’re going to be making this into a circle, change the value of the tile_log to 2pi/3 or 2.09439510239.
Now if you’re paying attention, you can see a little copy of the whole thing in the background already. Lets fix that. This is going to be the first time I’m using weights in a tutorial, but it won’t be the last. We are going to tell the iterators which ones they can jump to. TIP: Naming your iterators is insanely helpful when dealing with weights. It lets us see what effects what without having to trace it back in our heads.
Weights Intro
Ok, now we’re going to go into the weights node for each iterator. I named my iterators as follows.
Outline
Arcsinh
Splits
Circle
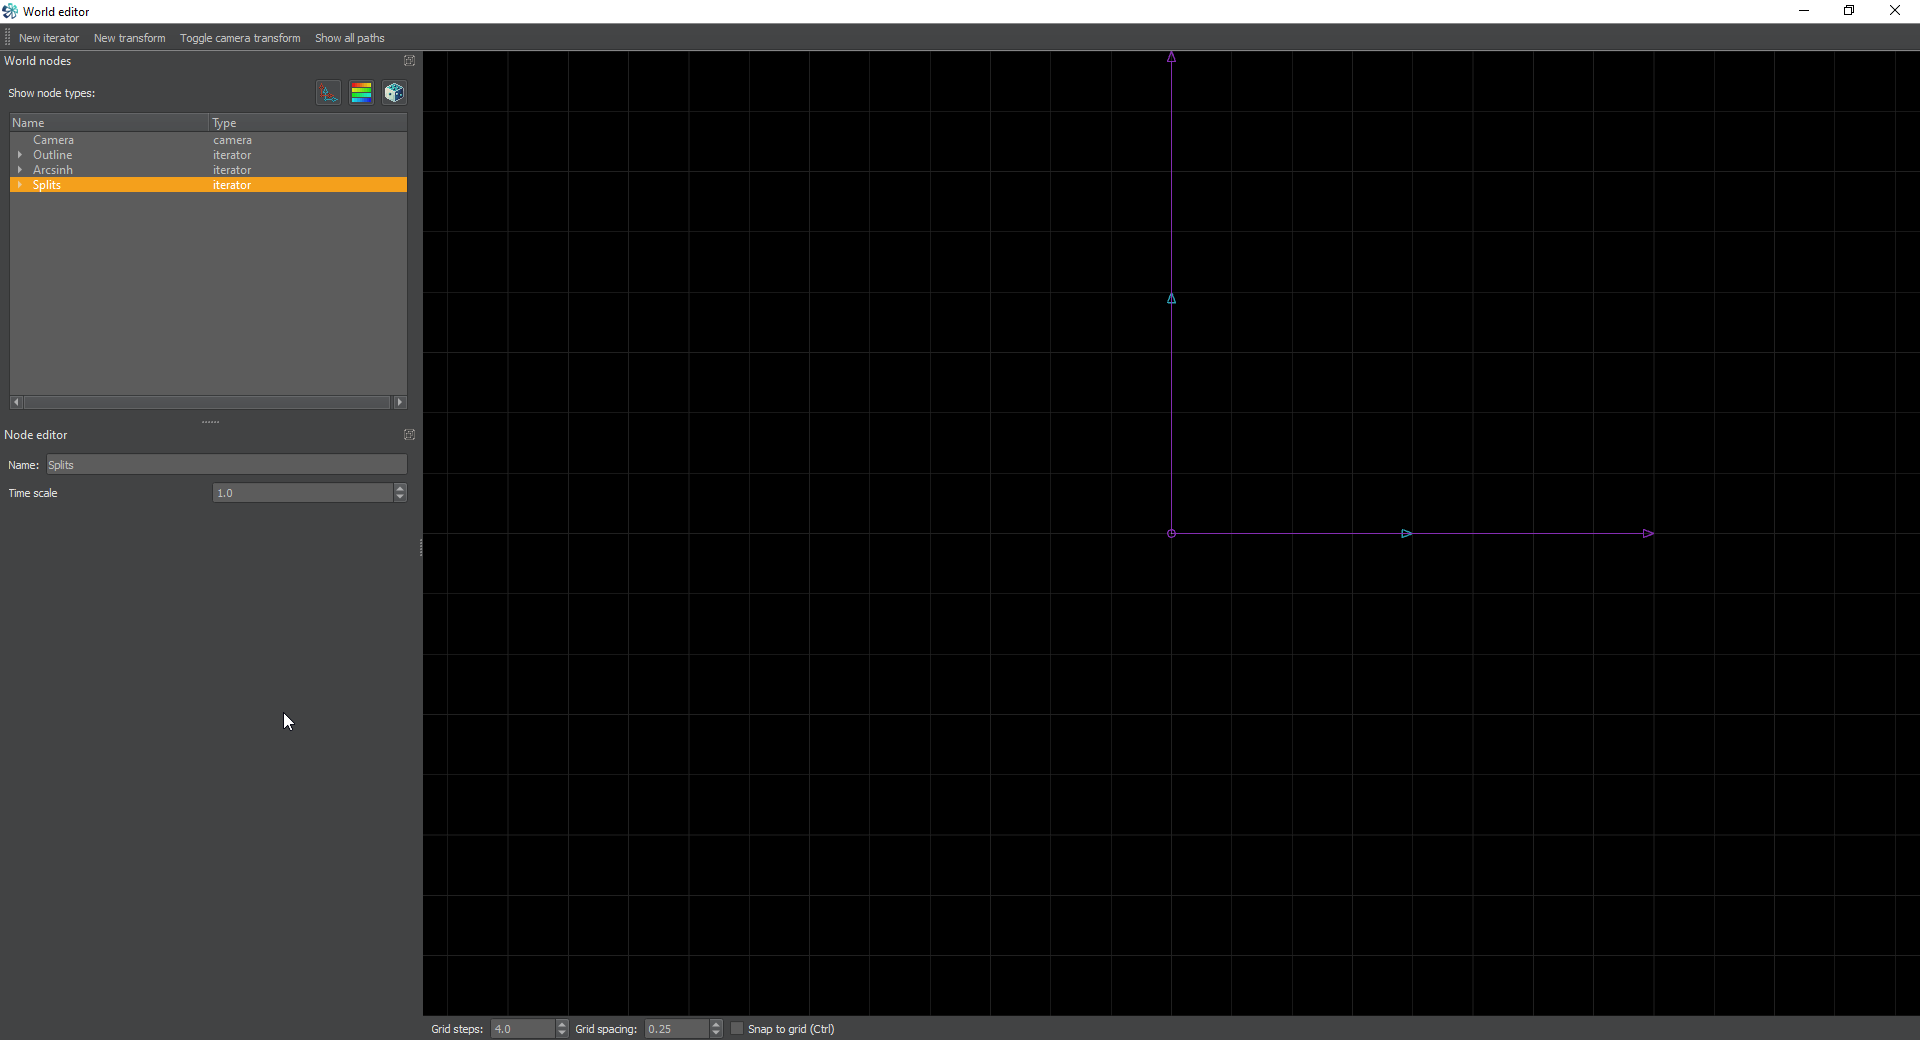
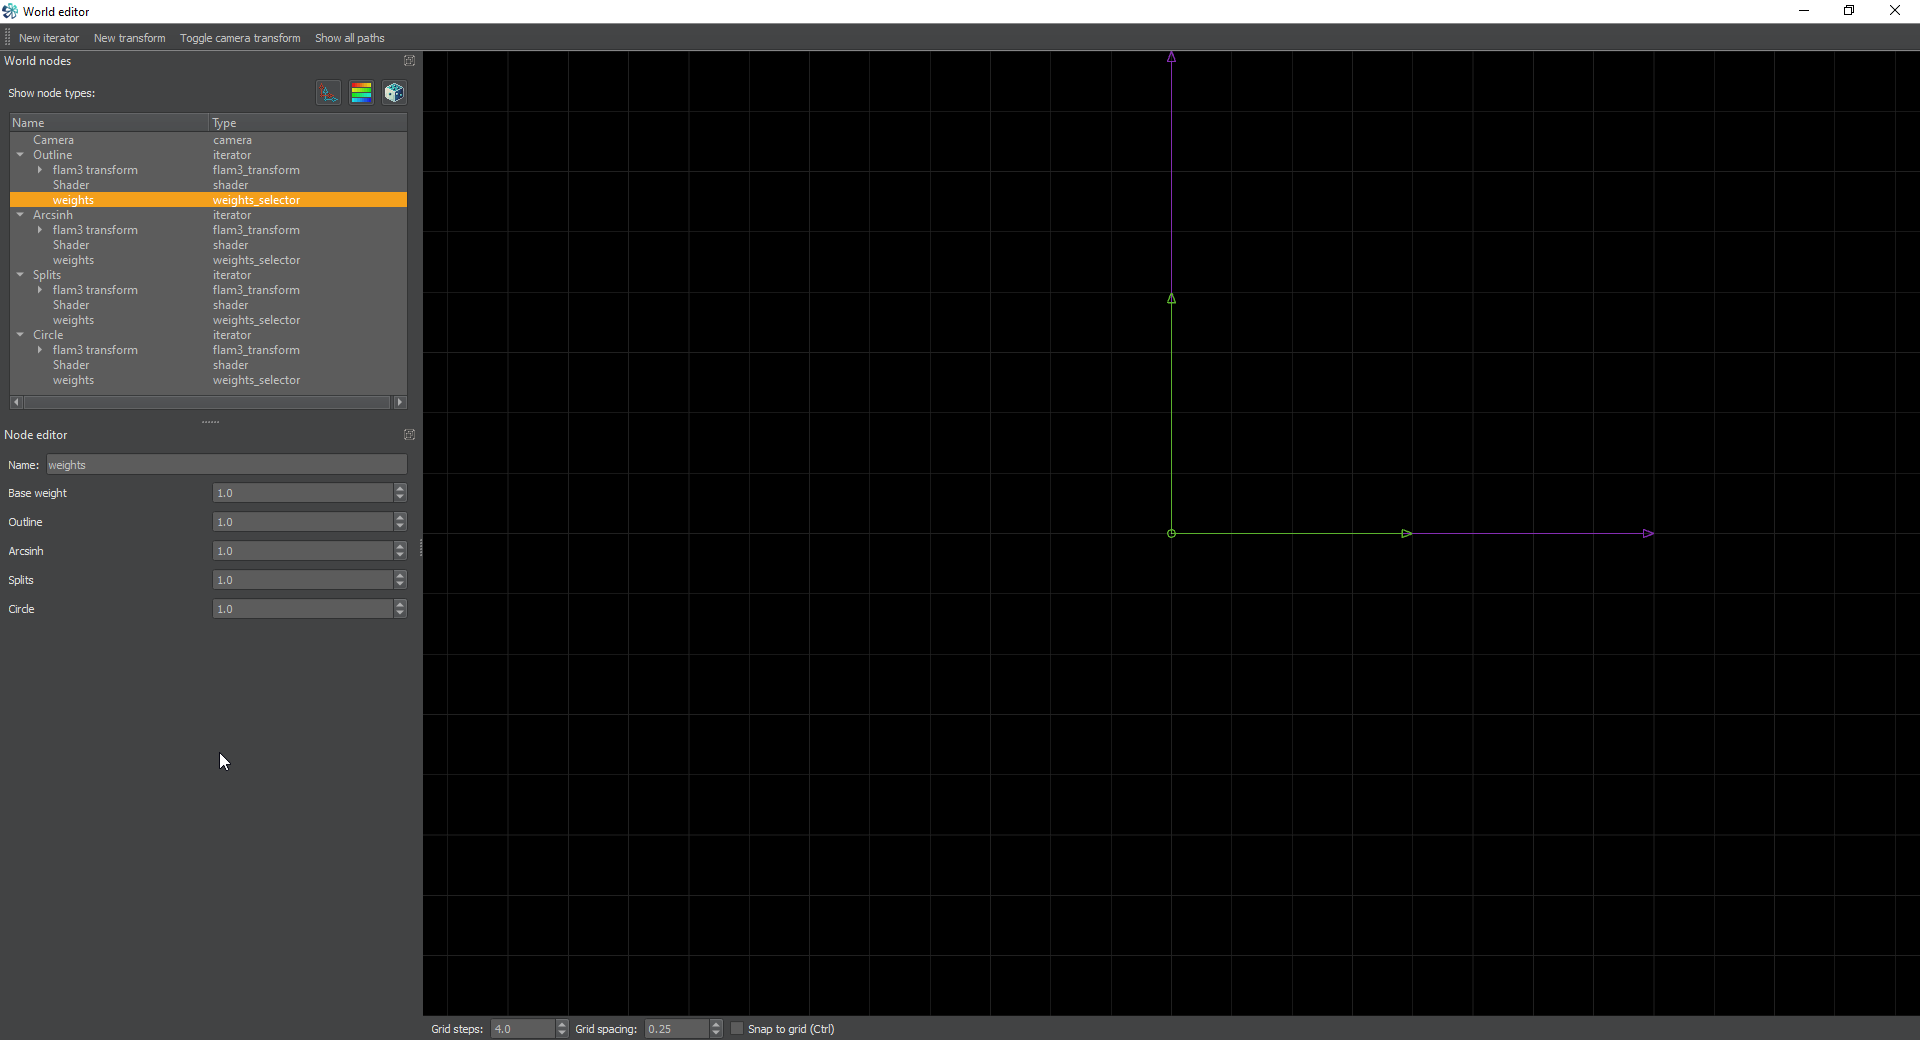
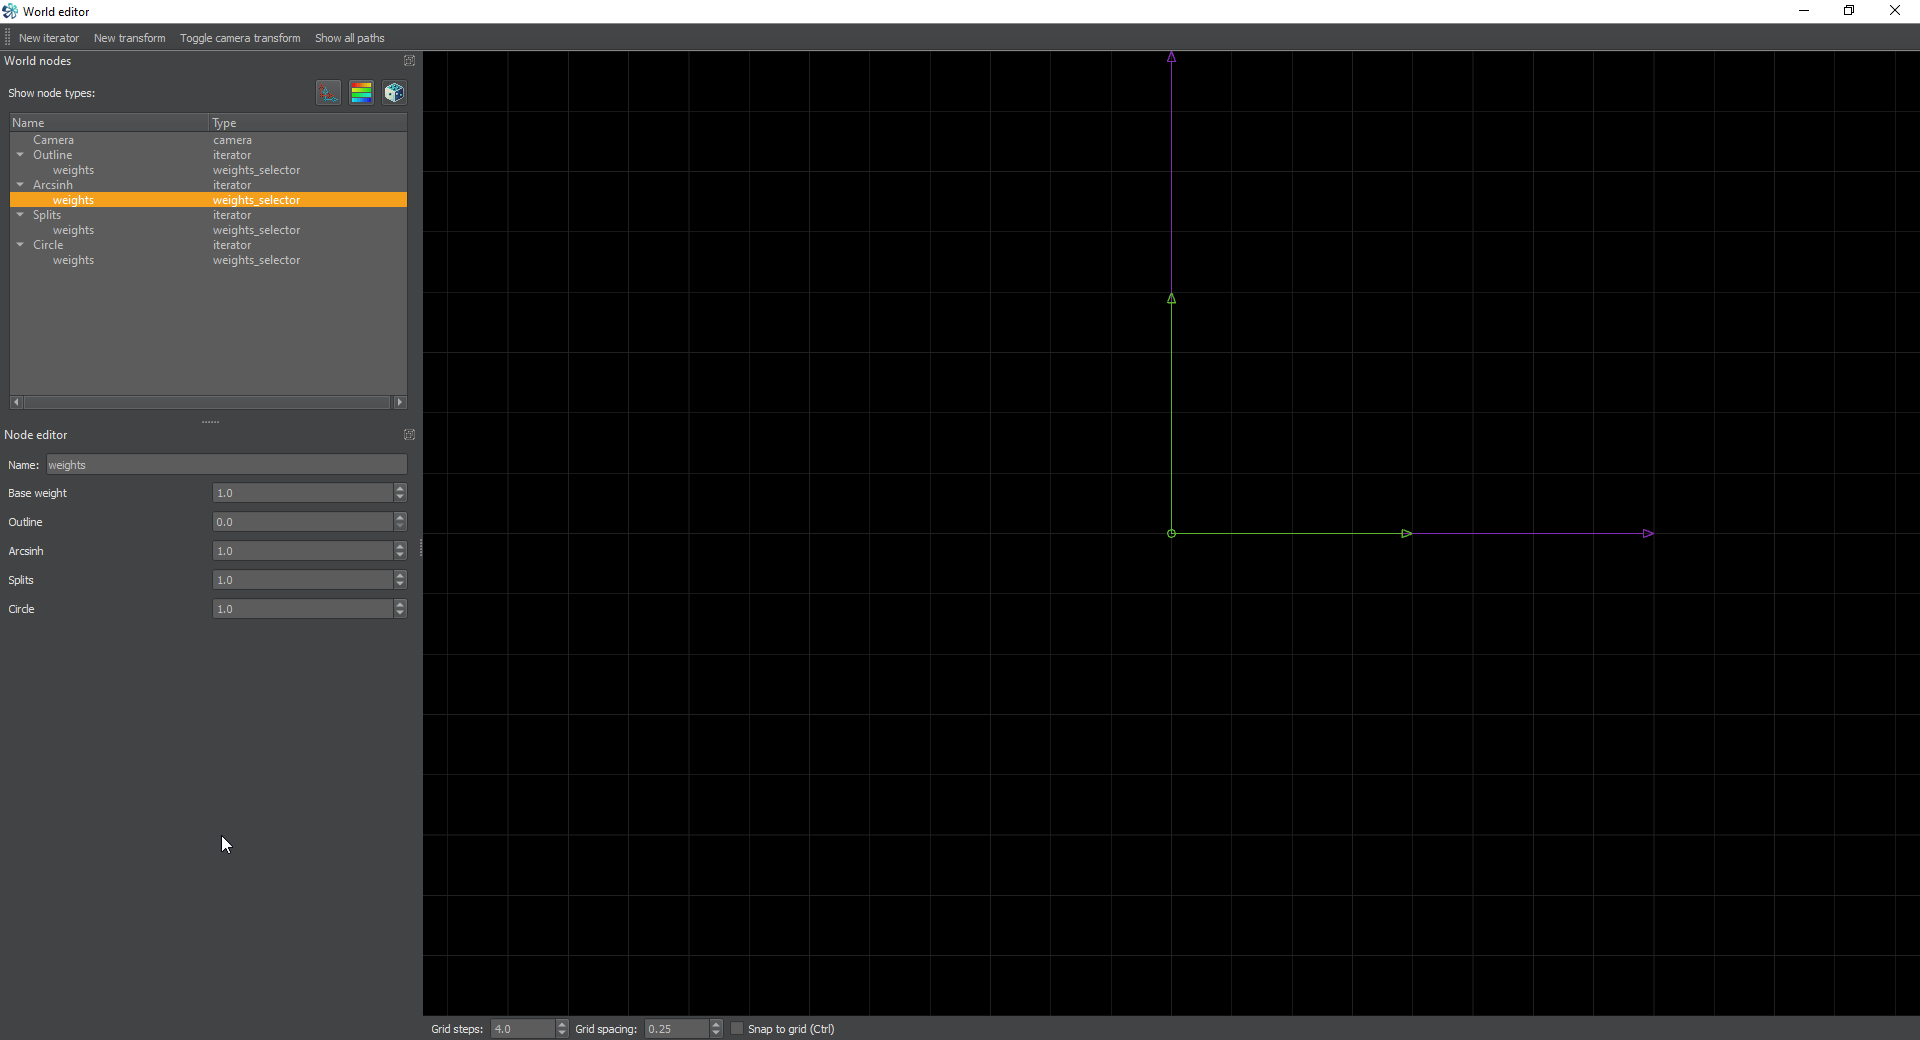
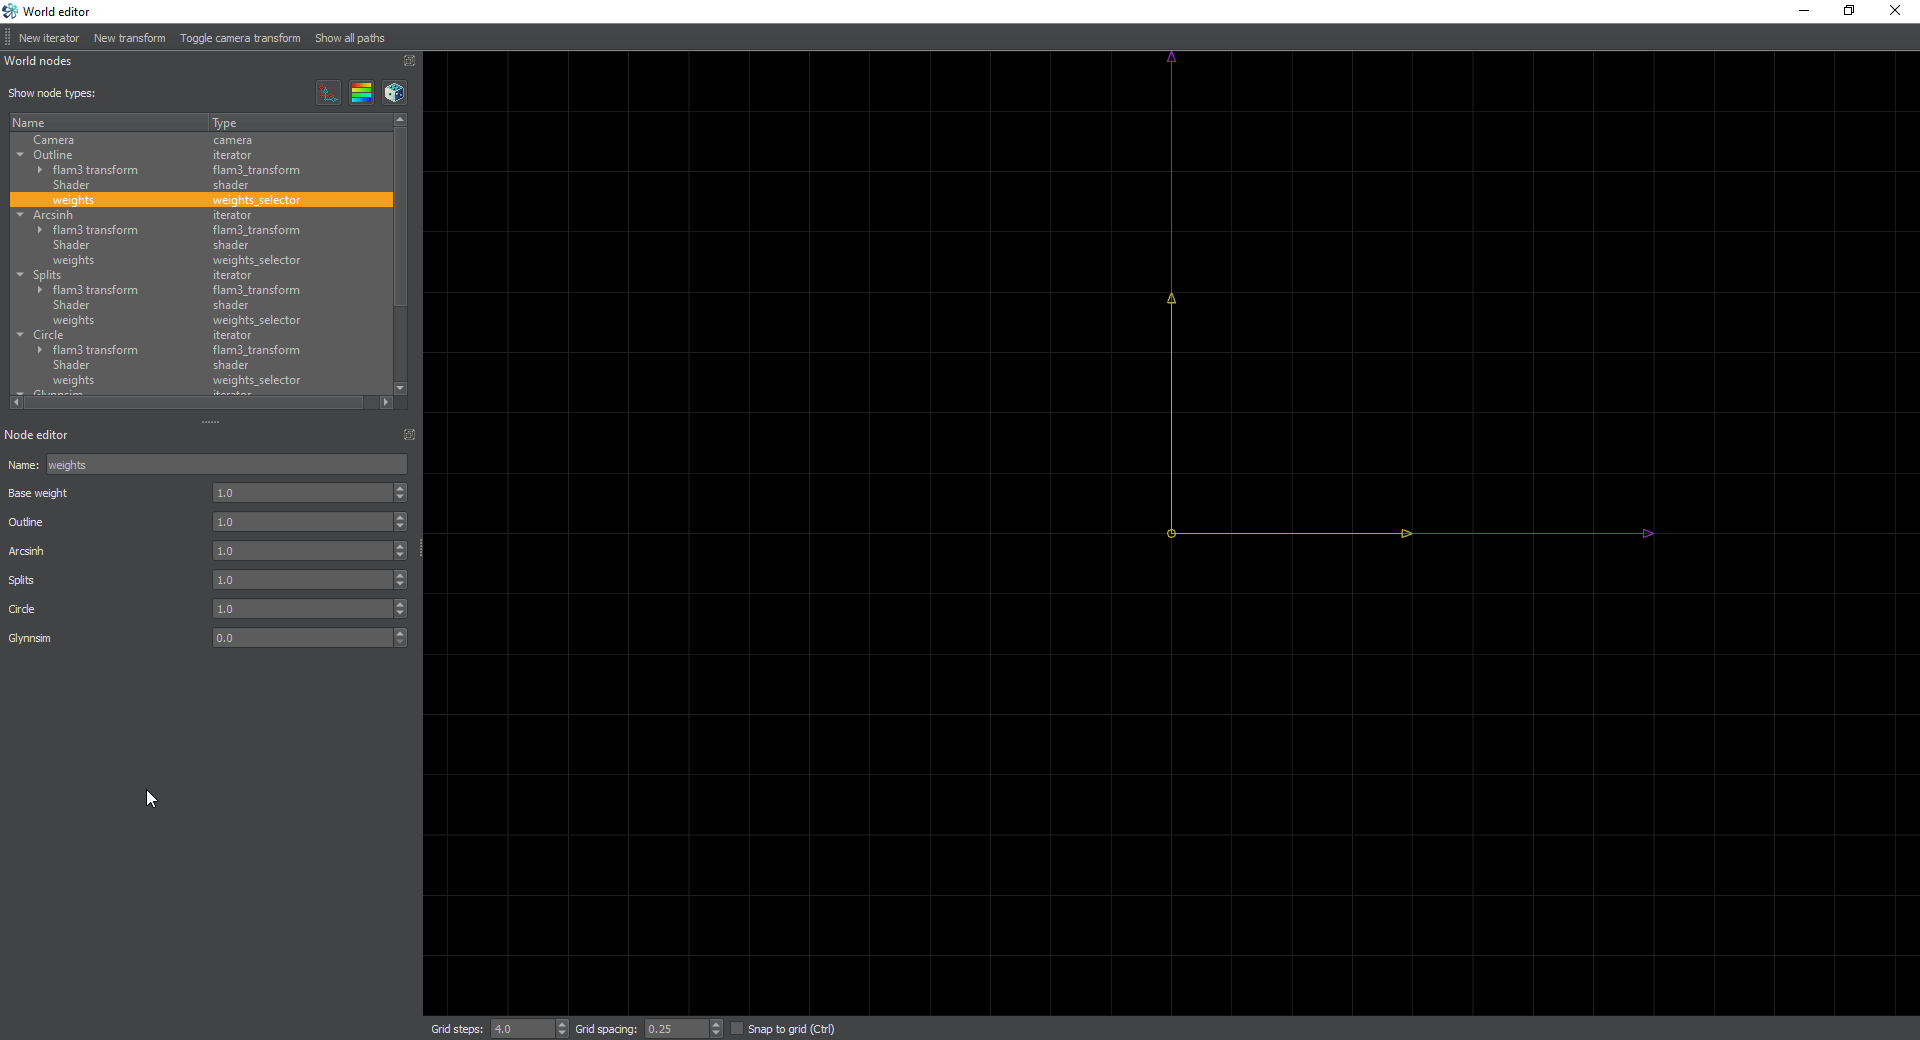
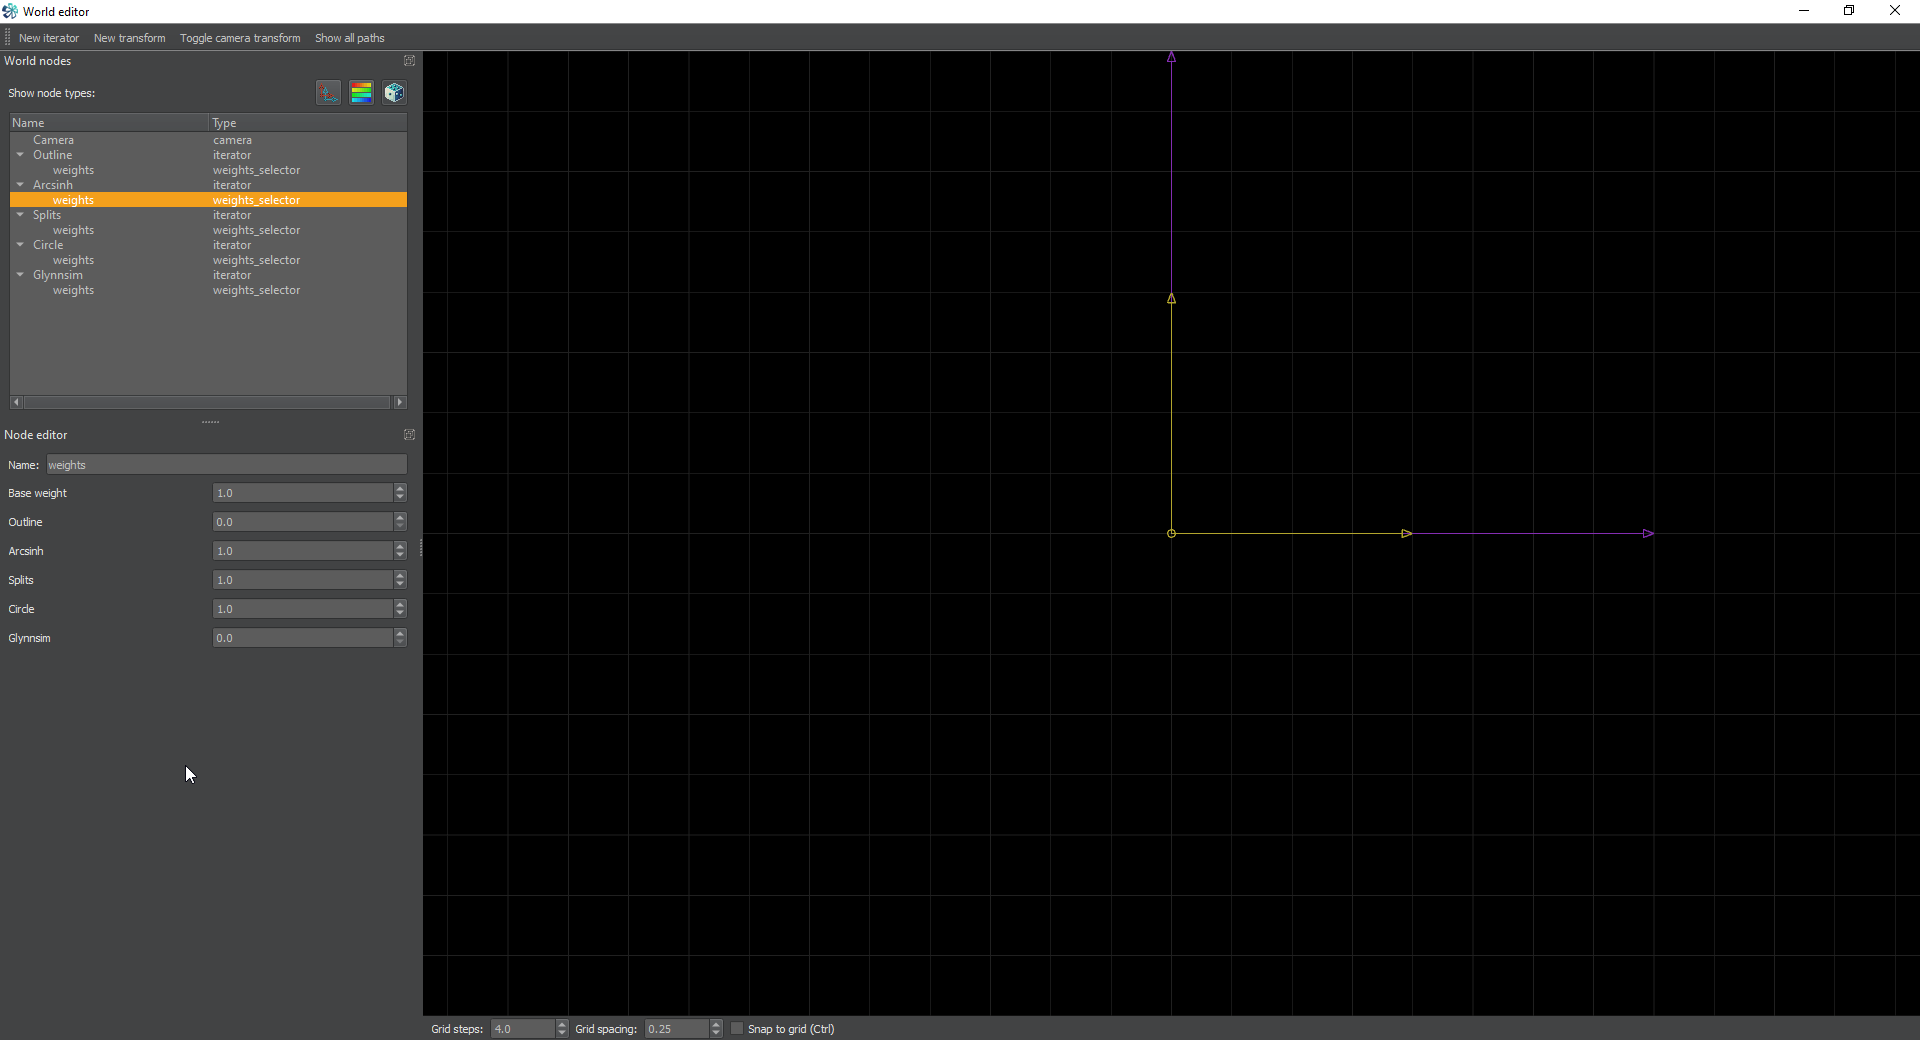
If we click on the weights node for Outline, we will see the base weight, and all the weights of the other iterators. We can turn these weights to 0 to prevent this iterator from jumping to another one. This is how we specify weights. For Outline, It’s going to be allowed to jump to Arcsinh, Splits, and Circle. So We set it like this.
Next, we’re going to go to the weights for the arcsinh iterator and we’re going to allow it to only go to Arcsinh, Splits, and Circle.
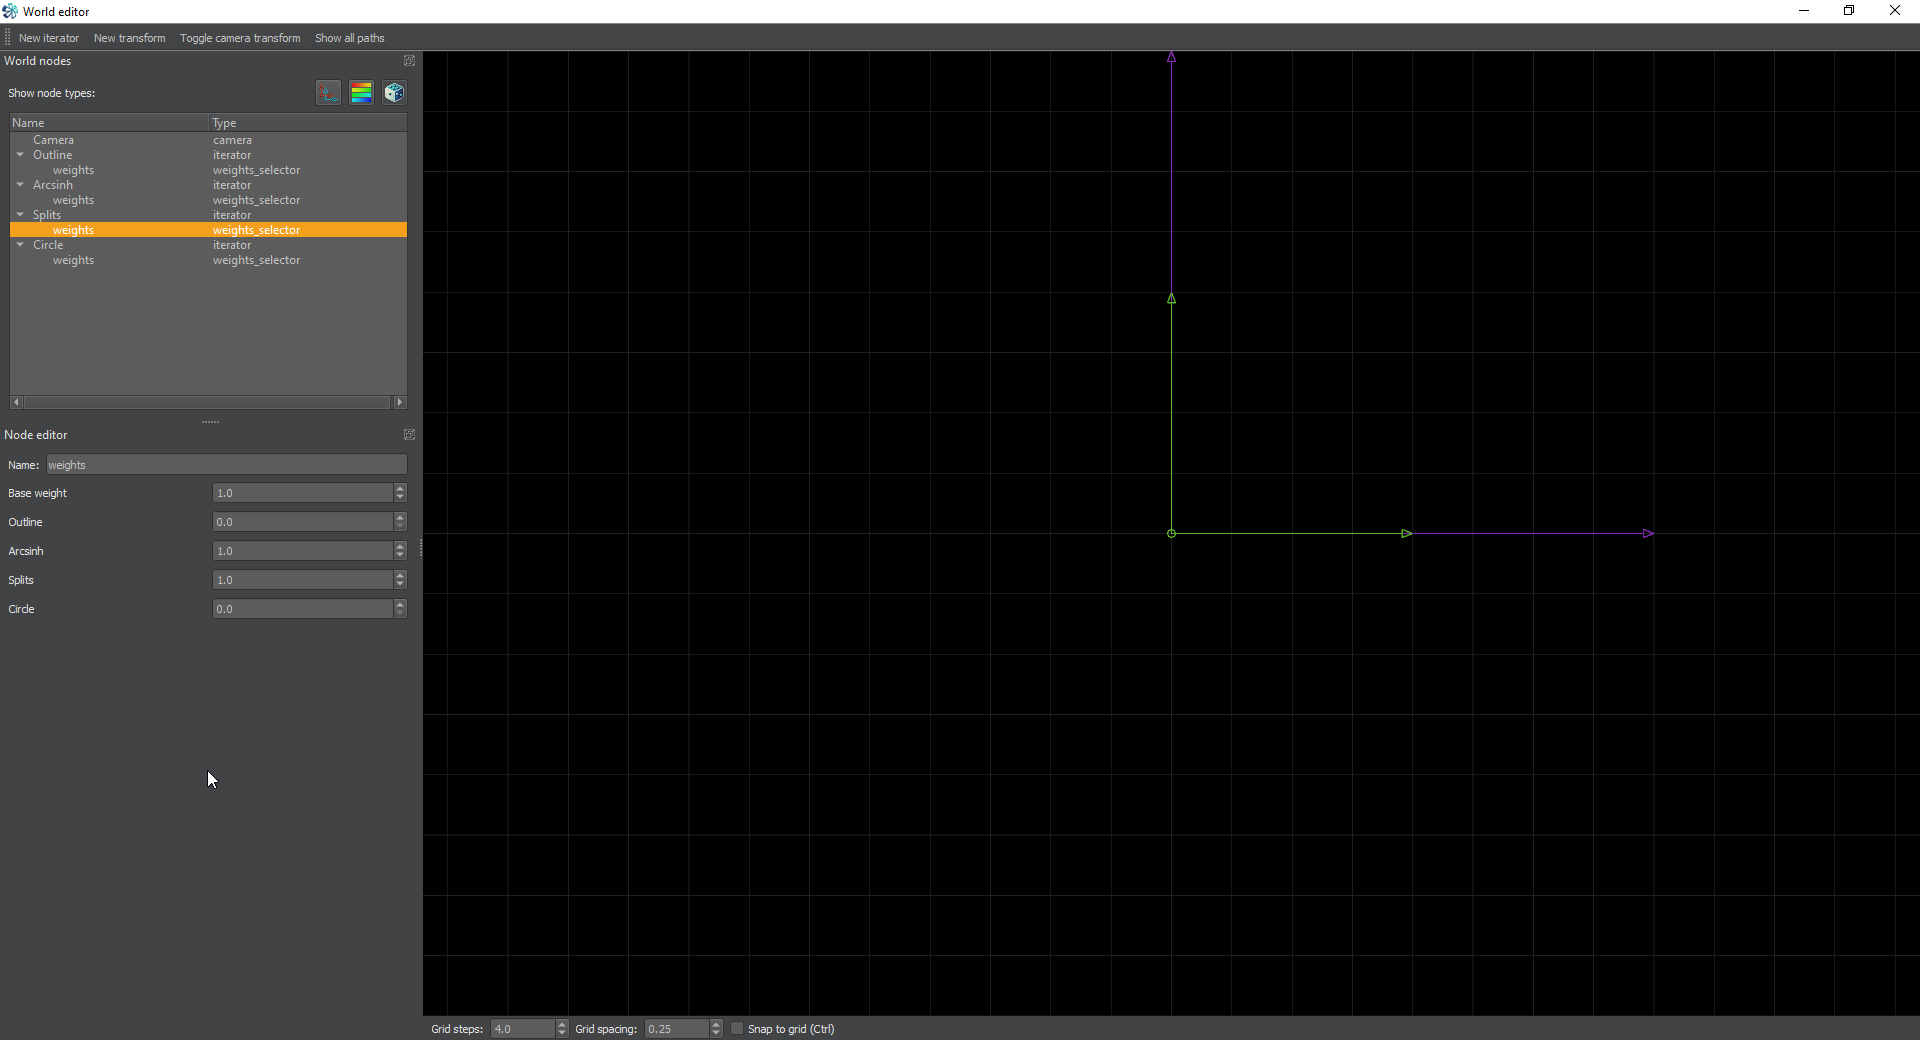
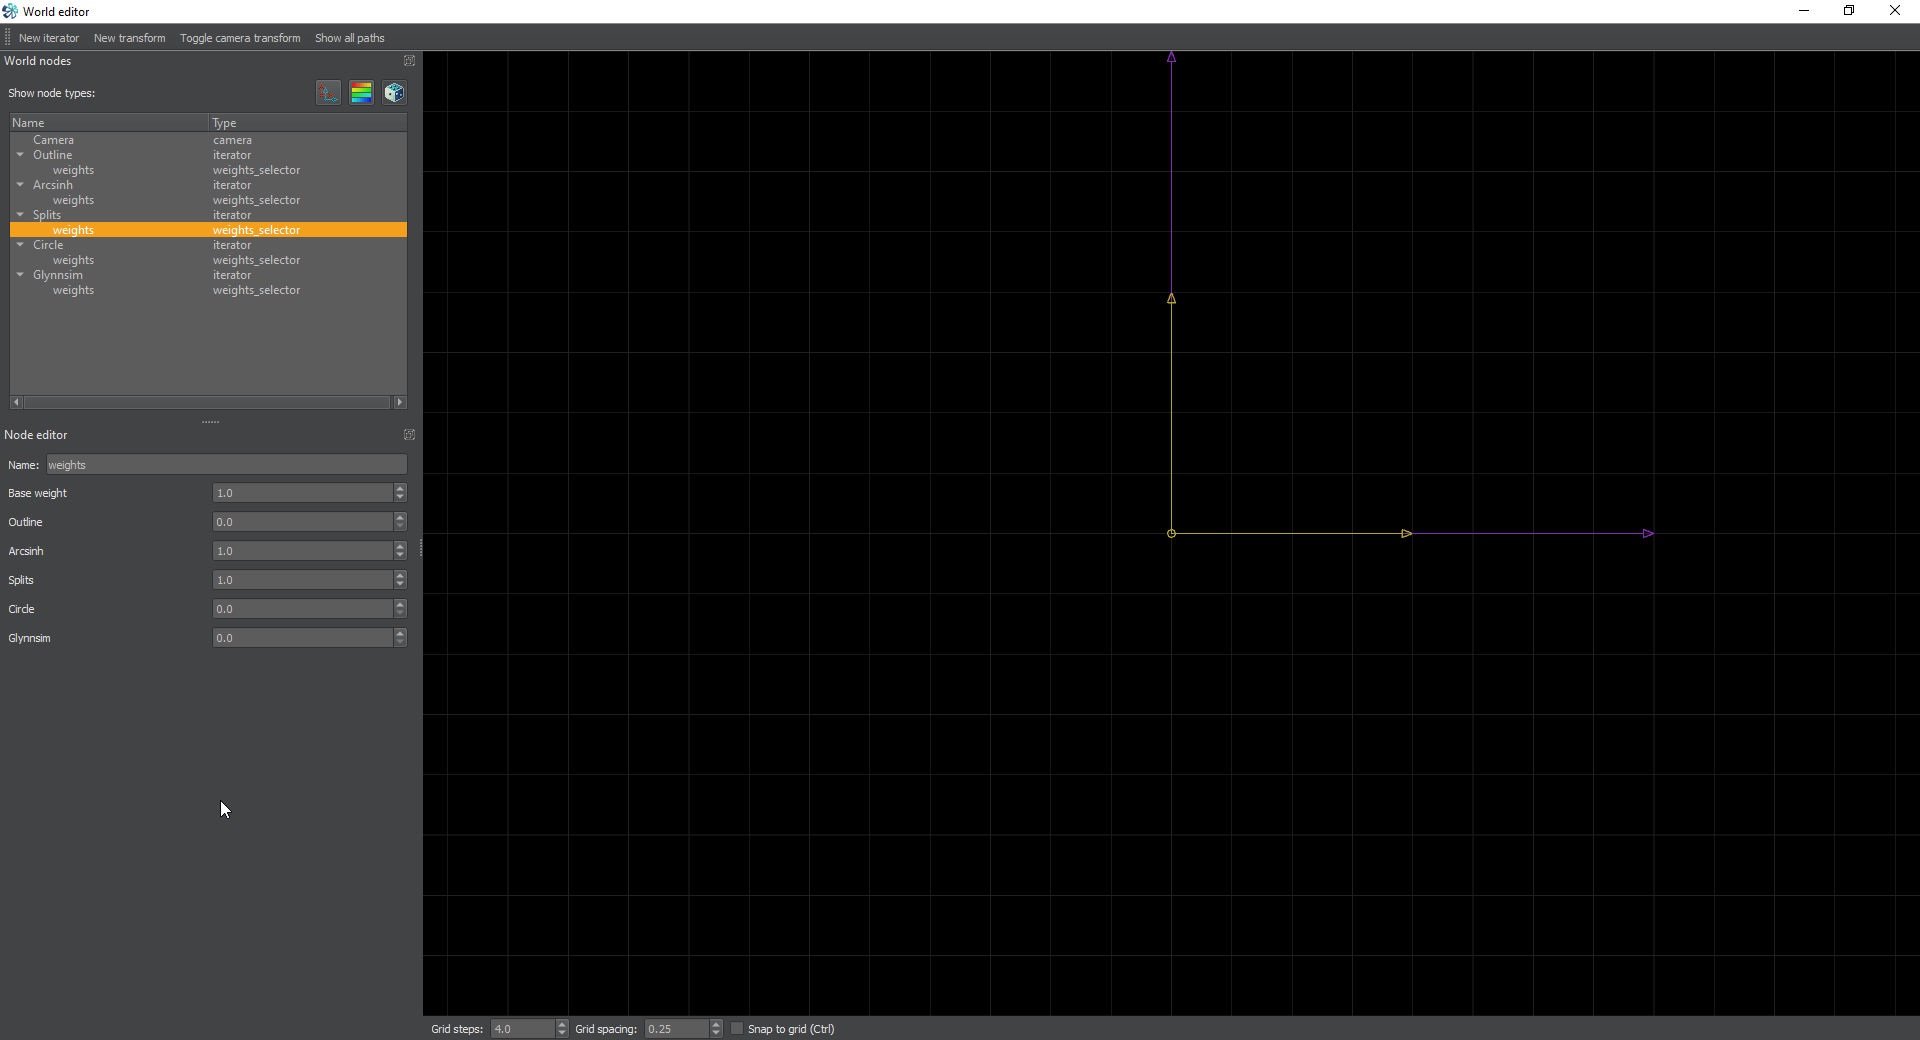
Next we’re going to go to the Splits iterator and only allow it to go to Arcsinh, and itself (Splits)
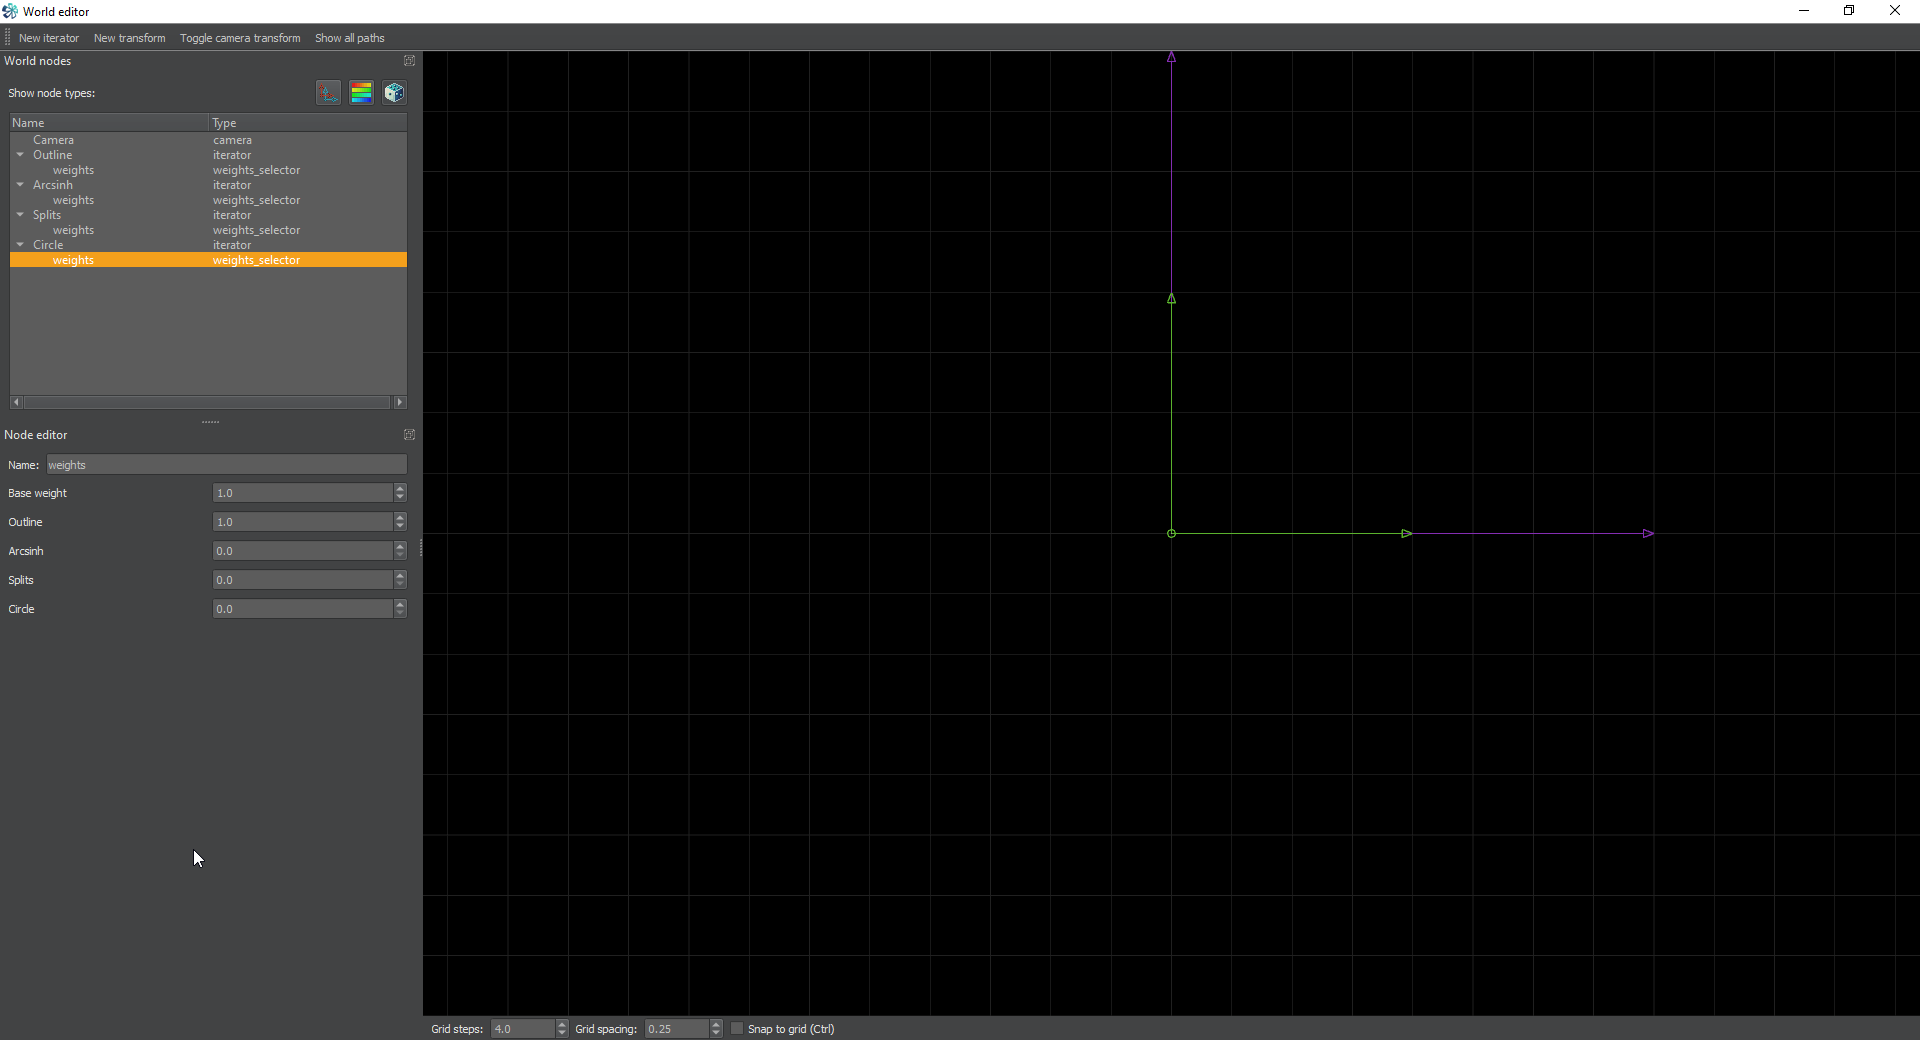
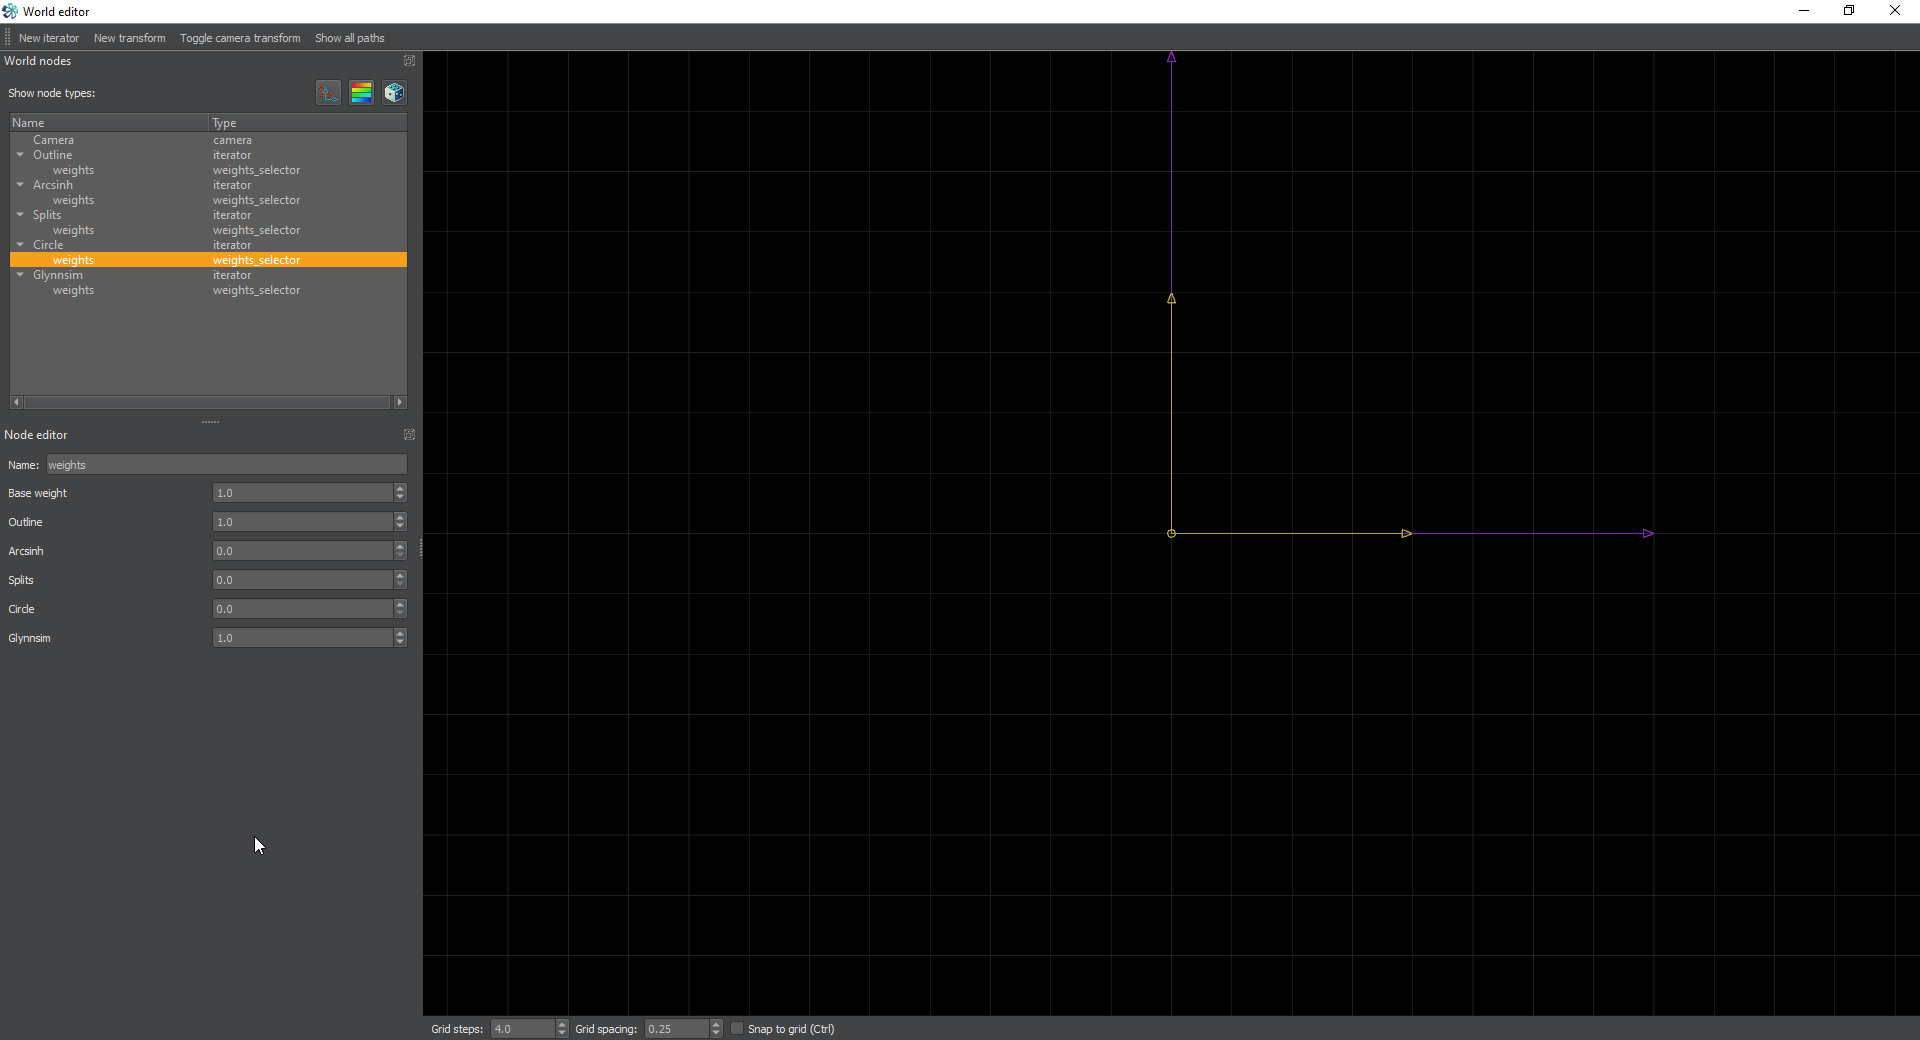
Finally we’re going to go to the Circle Iterator and allow it to go to outline for now.
Weights Background
One way to think of it is like this. When you create a pre or pre transform chain, you’re only allowing the order of transforms that you choose to happen. You specify the order. You can use weights the same way but with whole iterators. You can tell one iterator to go to the next and then go to another, and finally back to the beginning. NOTE: There must be a way back to the start or the whole process only happens once and the result fails. Chaotica inserts the default weights when an iterator is created. I could have gone over this whole process at the end, which is where you usually setup the weights, but I wanted to illustrate something. When we add the next iterator, Chaotica will automatically insert weights for the last iterator into the others and we will need to go back and correct this. You’ll see what I mean in a moment. The point is that this is something you’ll need to watch out for when you’re playing with weights. I personally find it way easier to create a flow chart on paper of each step and then setup the weights according to that.
Back to the fractal
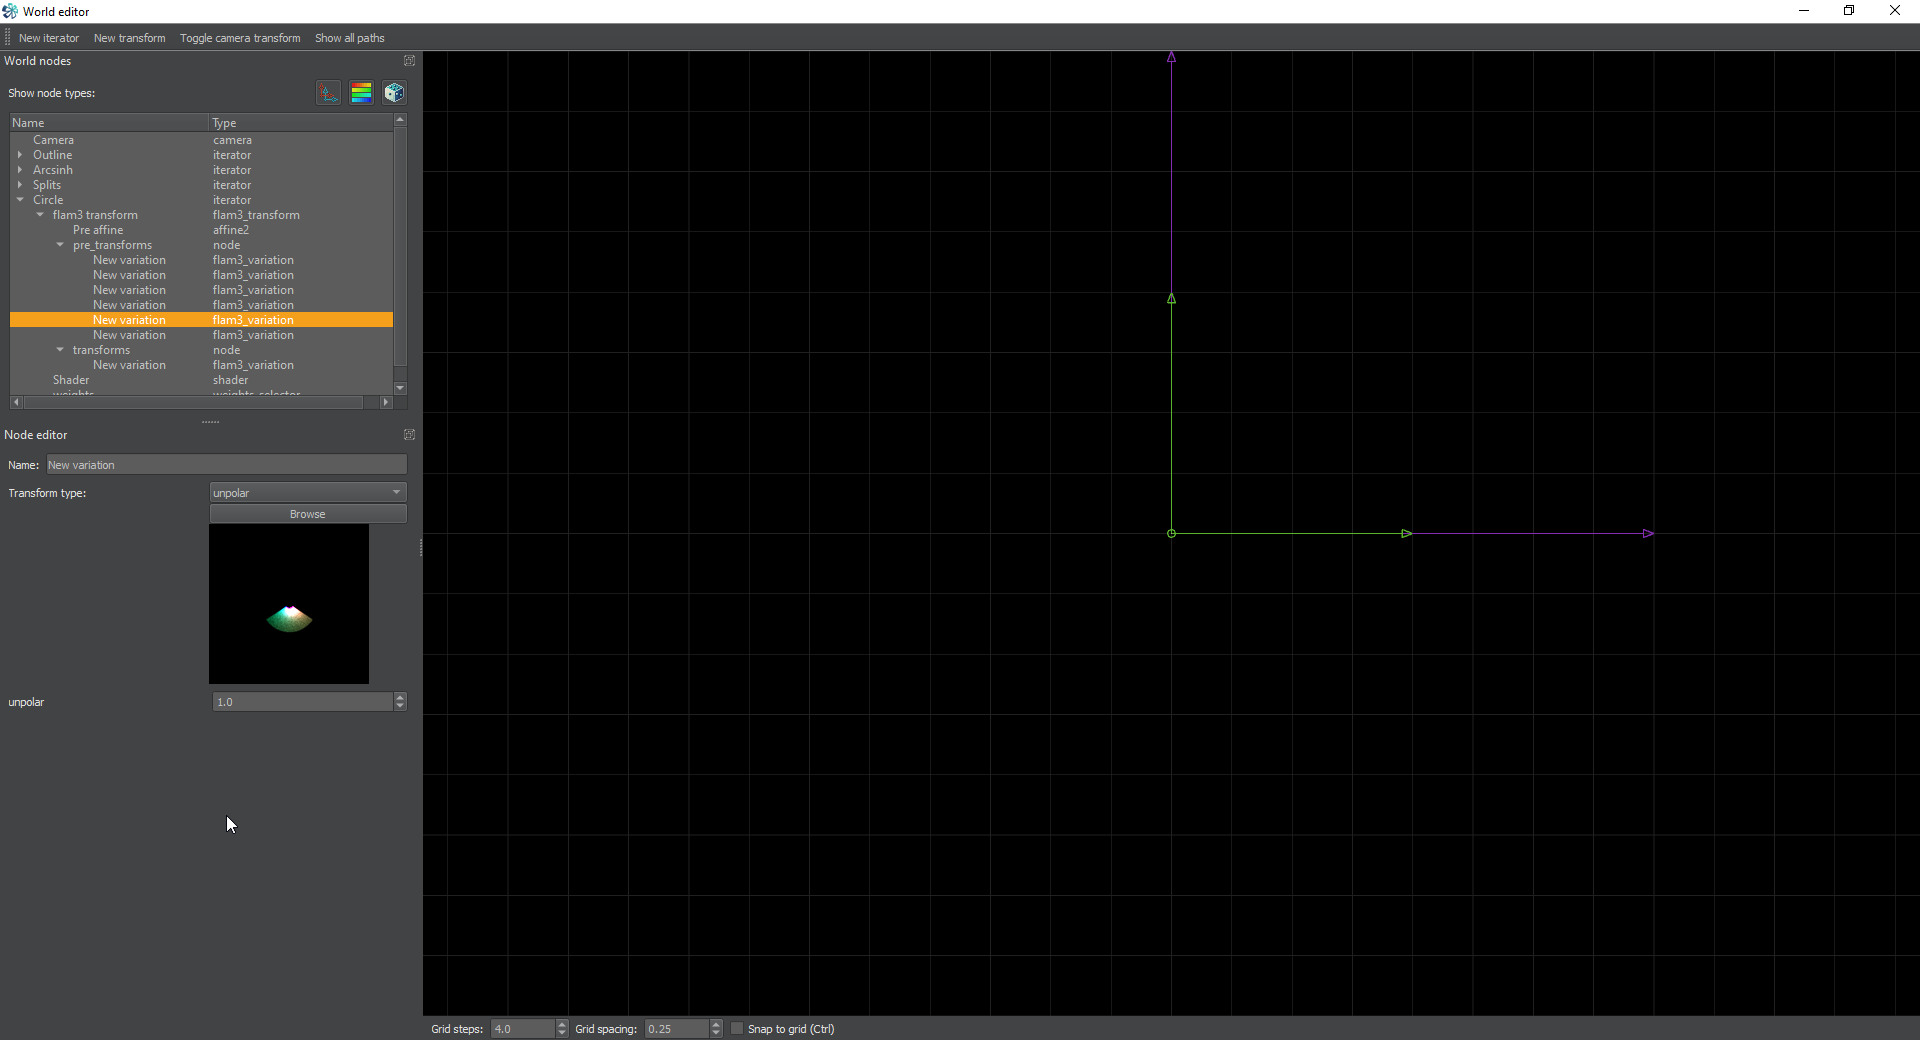
Now the next step is to go back to our iterator and setup a new pre transform. This one will be mobius with Im_B set to 1.84. Have no fear, this is just going to move the whole thing down to compensate for the unpolar, which we’re going to add next. Go ahead and do that, and you should have something a lot like this.
Some of you have asked how I got this number. There’s no complex math involved in this. It can definitely be calculated, but my personal method is to do small tweaks to the values until it’s a close approximation to what I want, and then zoom in and tweak the numbers by very tiny amounts until I get the right value. You can usually tell it’s right when everything lines up and doesn’t overlap. Or if you’re going for a look with overlaps, go for it. The idea is to make yourself happy with what you’re creating.
Final Steps
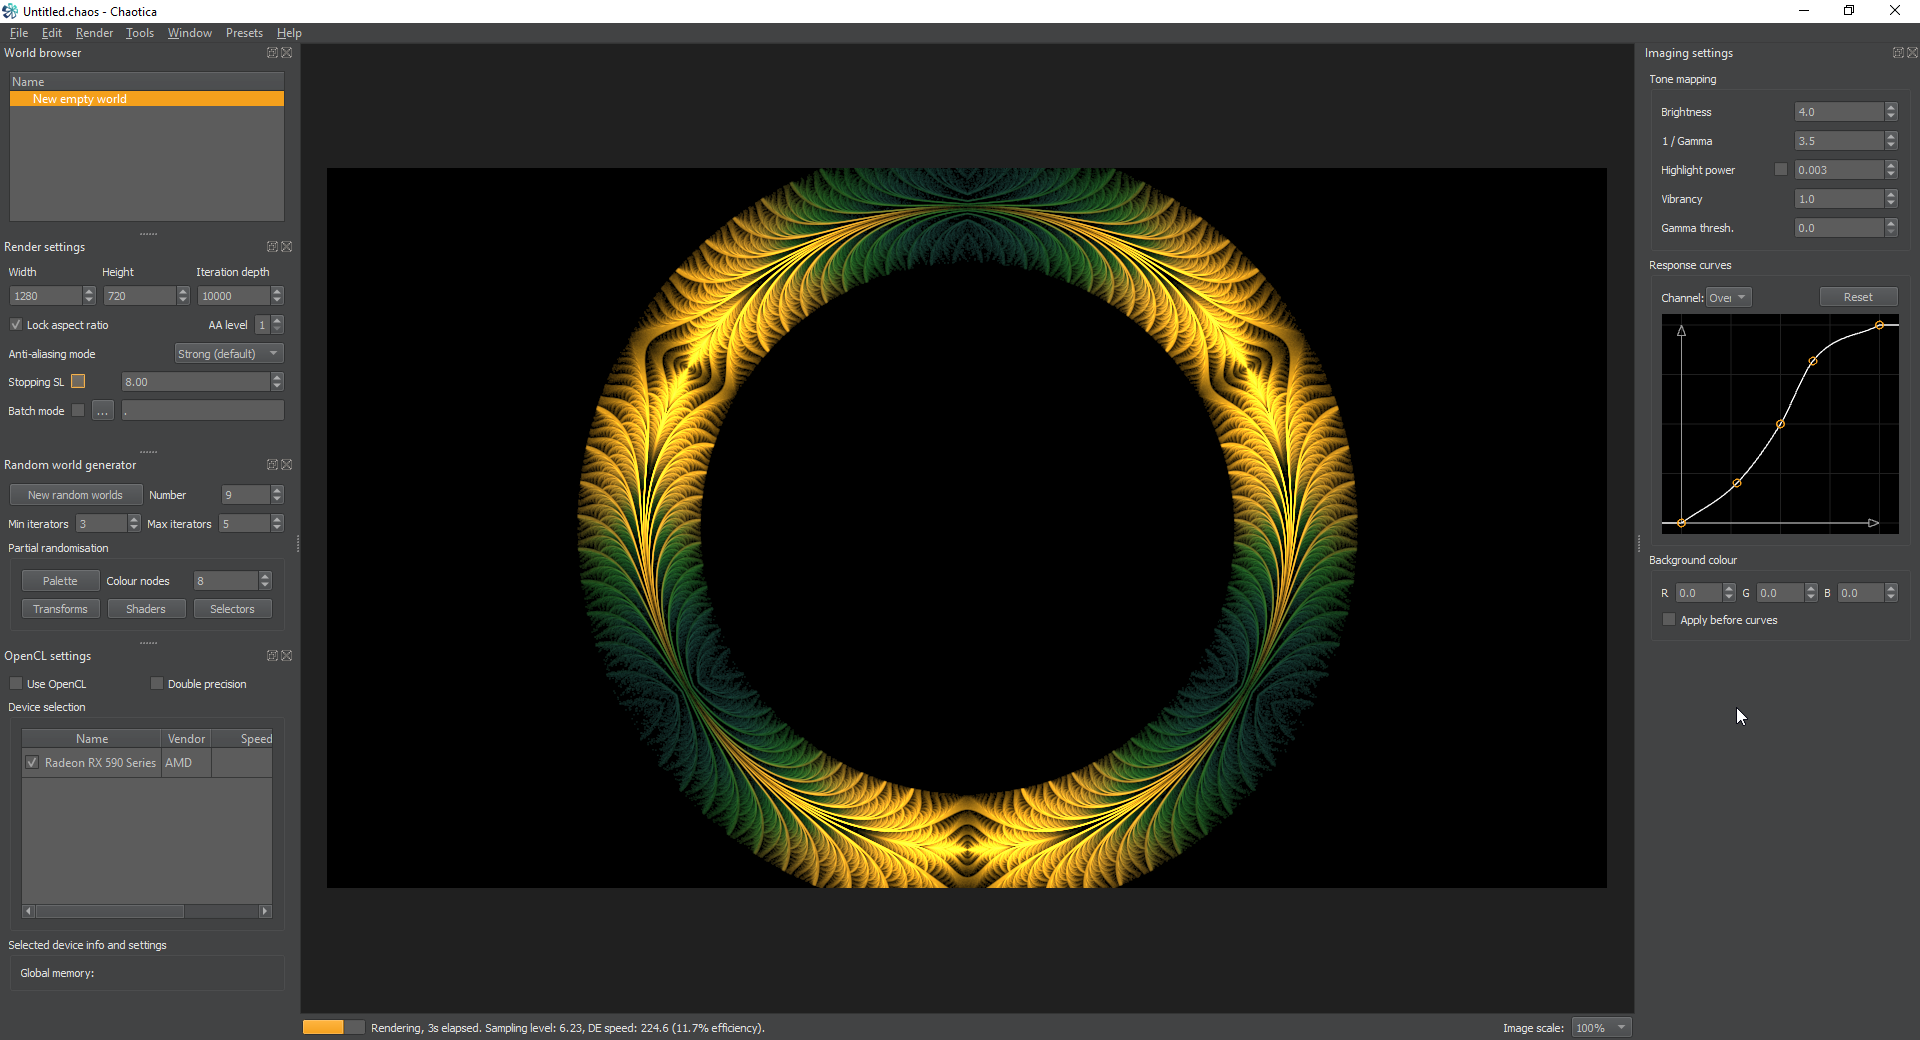
We have successfully turned our elliptic-splits fractal into a circle. From this point there are a lot of things you can do. I’ll cover three possibilities here. The main one we’re going to cover is sending this to circus, but I would create a save file at this point and explore for later. The next three sections are branches and diverge from this point, so saving here is important for you to swap back to this point.
Spiral
The first possibility is spiraling this. It’s covered in the Camera Spiral Tutorial. Feel free to explore that path. It looks a lot like this when you apply it.
Glynnsim
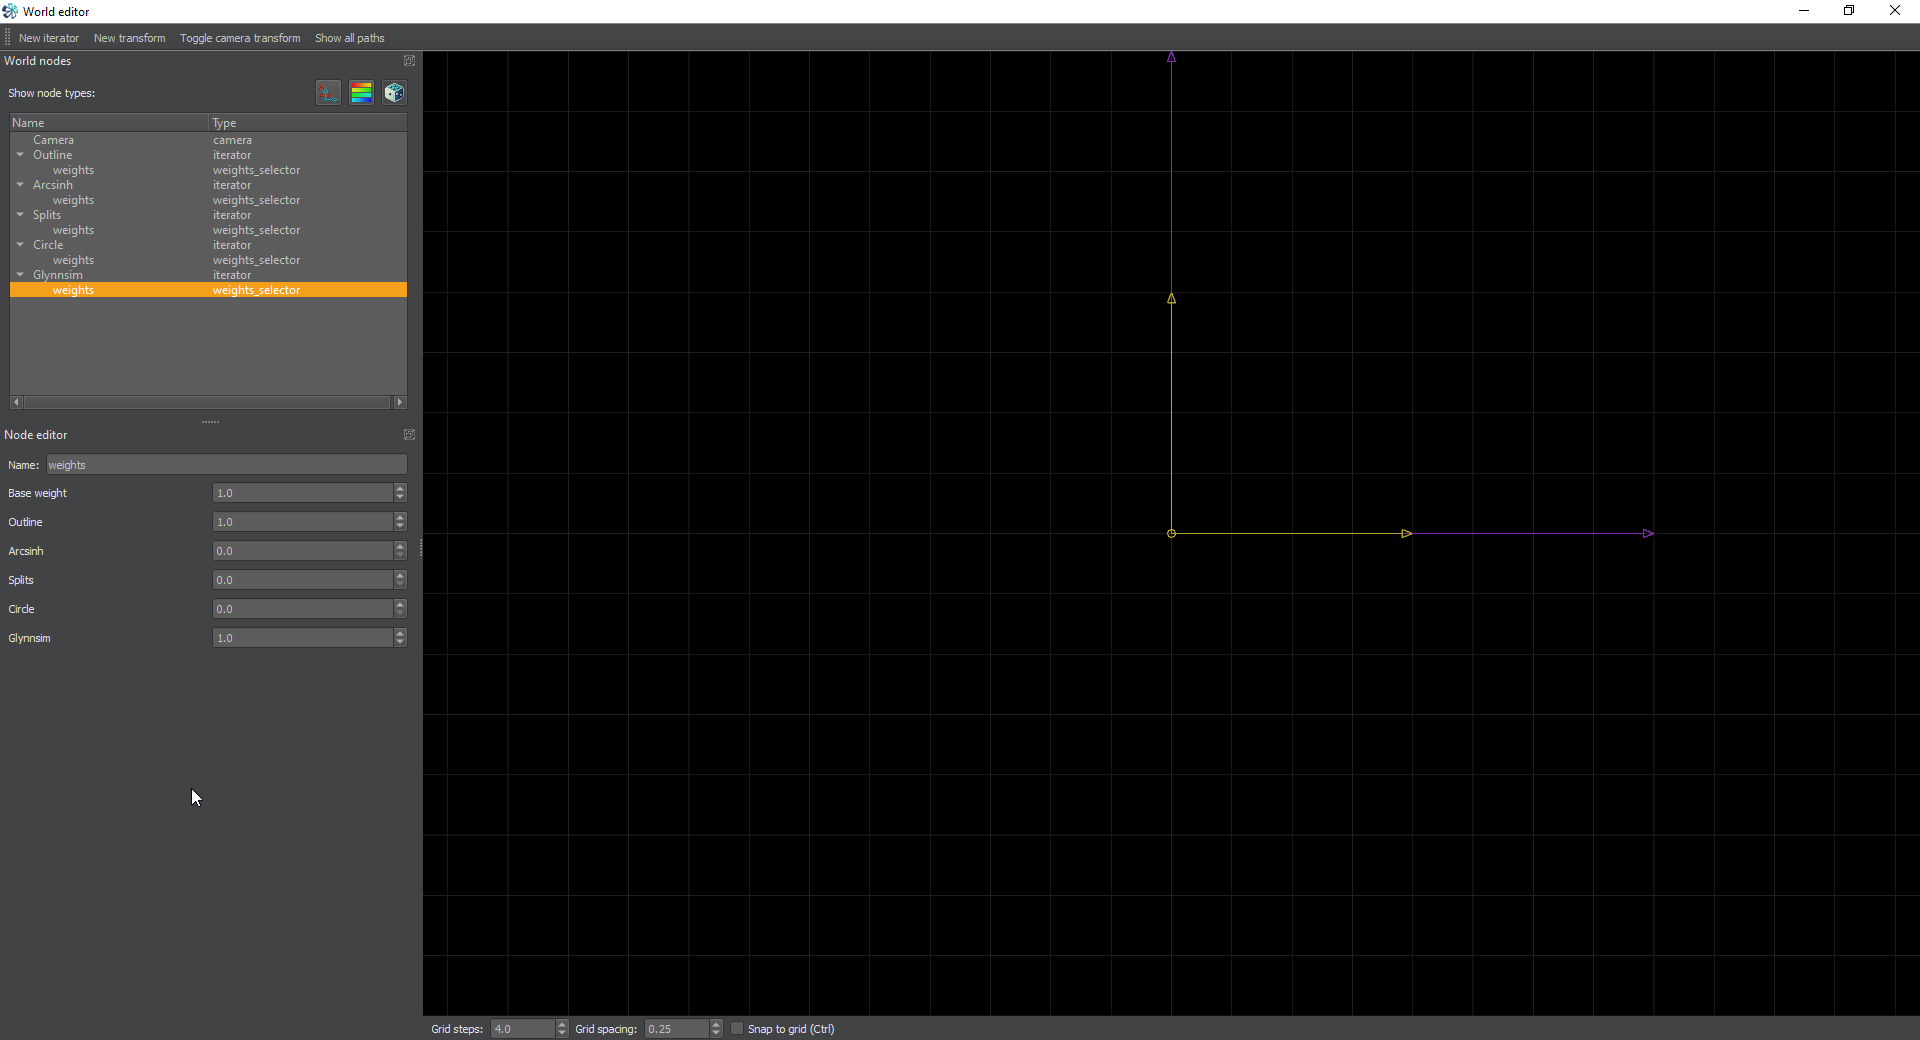
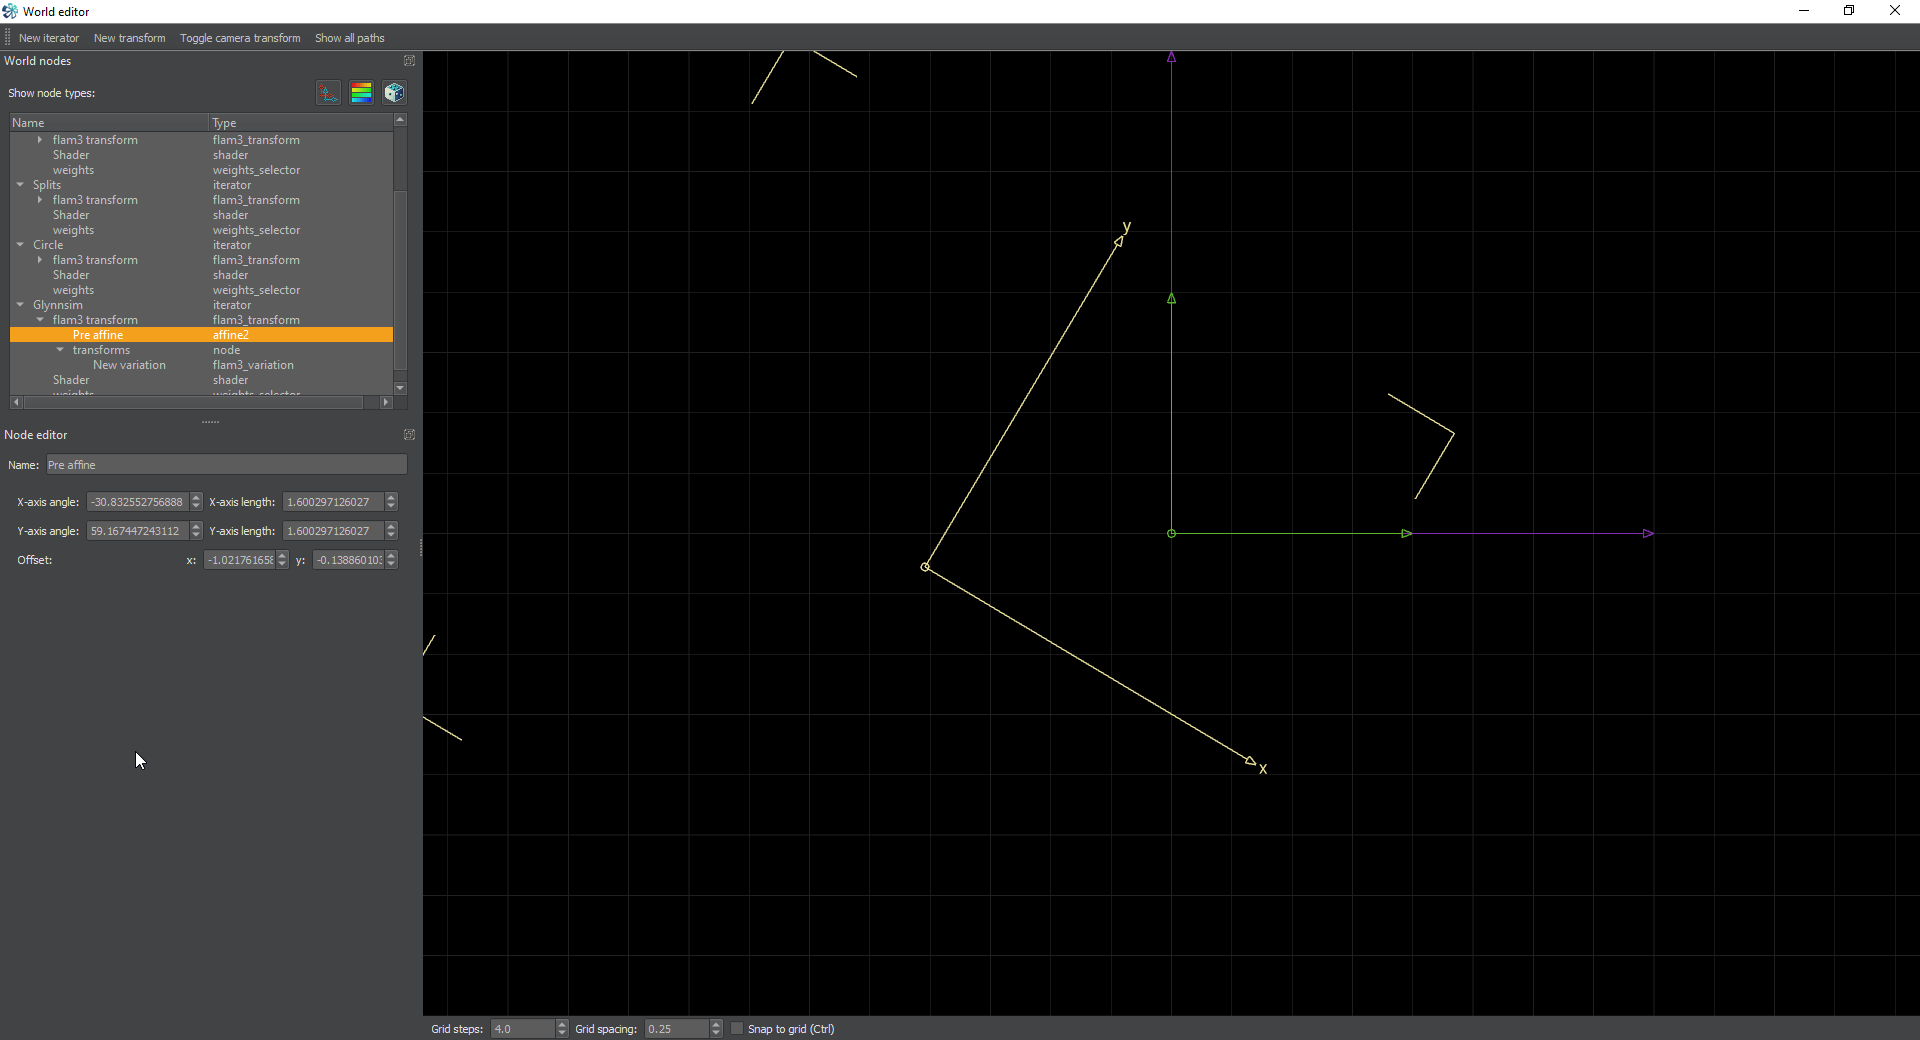
Another Possibility is filling a Glynnsim like we covered in the Transform Chains tutorial. We simply create a new iterator and set it’s transform to glynnsim3. Next we’re going to have to fiddle with the weights so it comes out right. We don’t want to Outline, Arcsinh, or Splits iterators to go to the new glynnsim iterator. So we go into the weights for each of those and disable that link. Then we want the glynnsim to only go to the Outline iterator and itself. So the weights will look like this.
Finally adjust the thickness value to match our ring. Mine came out to 0.24. And then move the pre-affine for that iterator to make pretty circles.
Circus
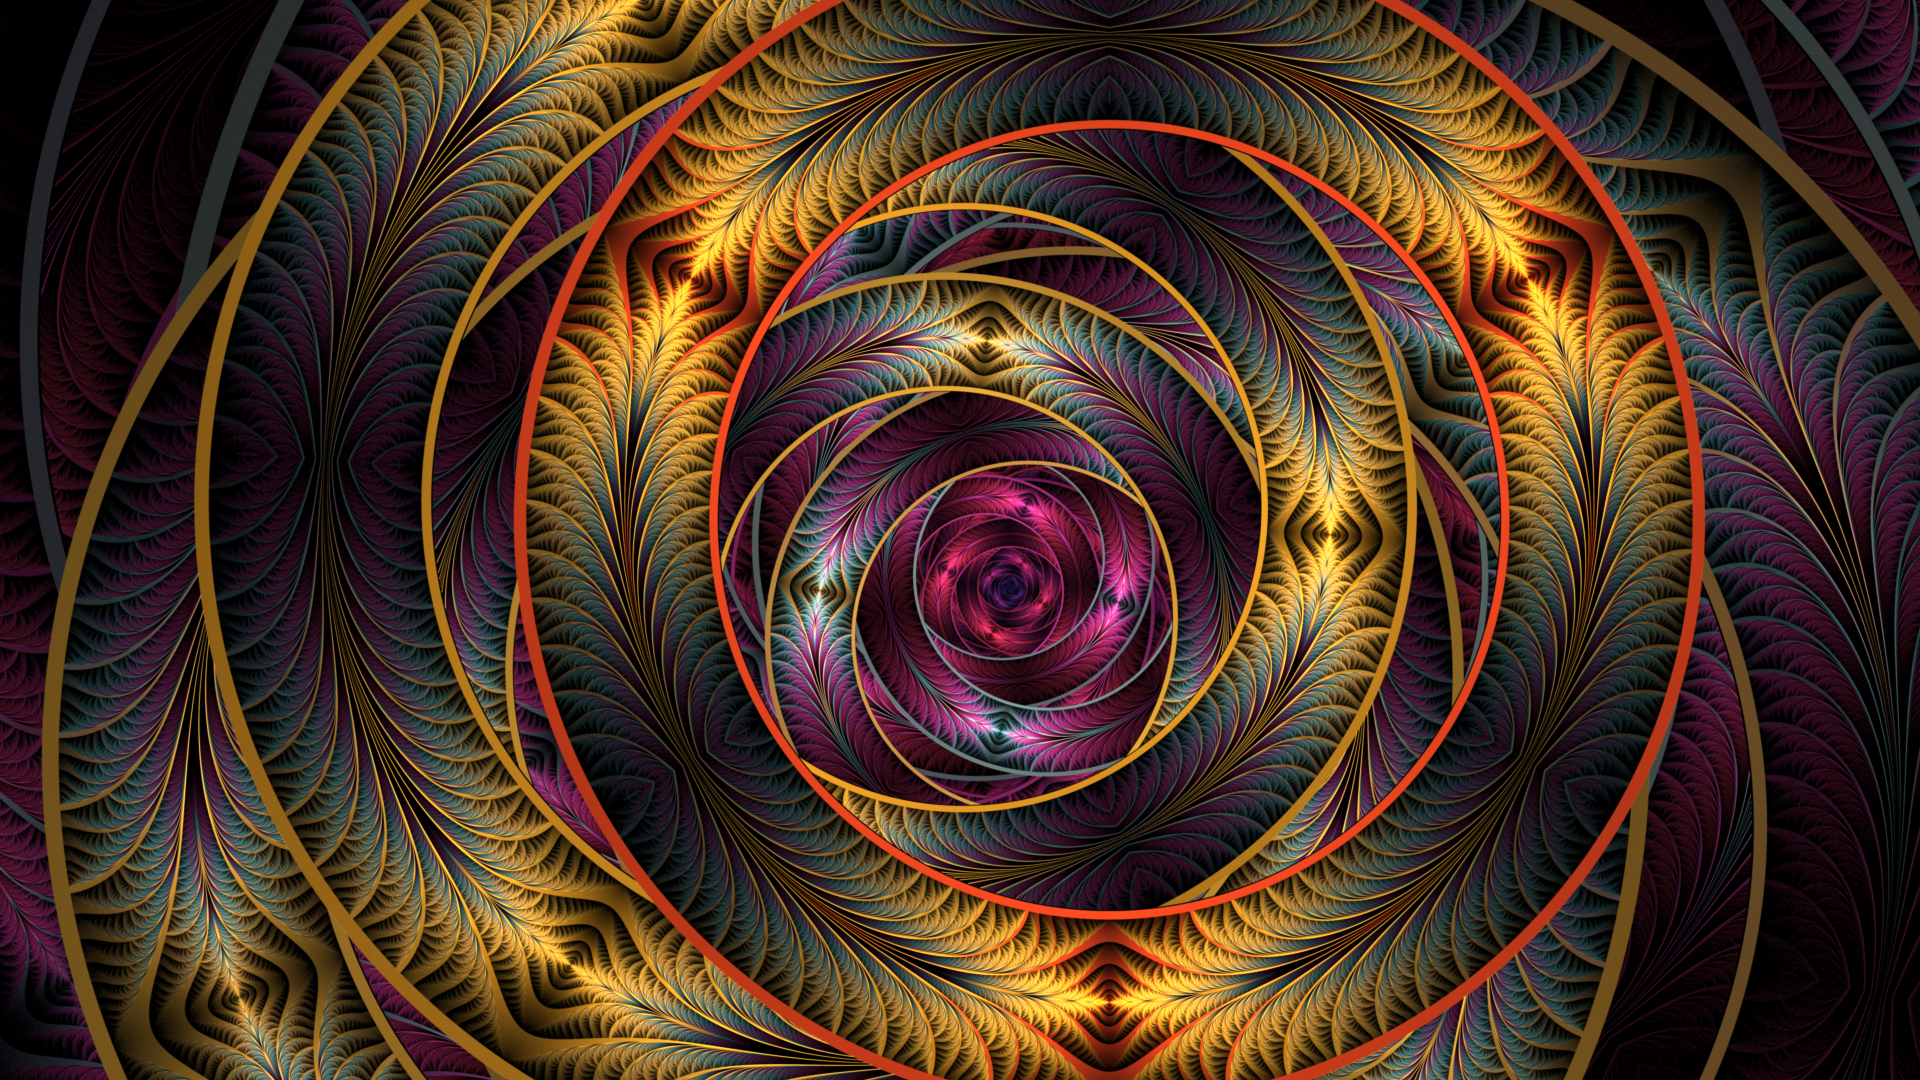
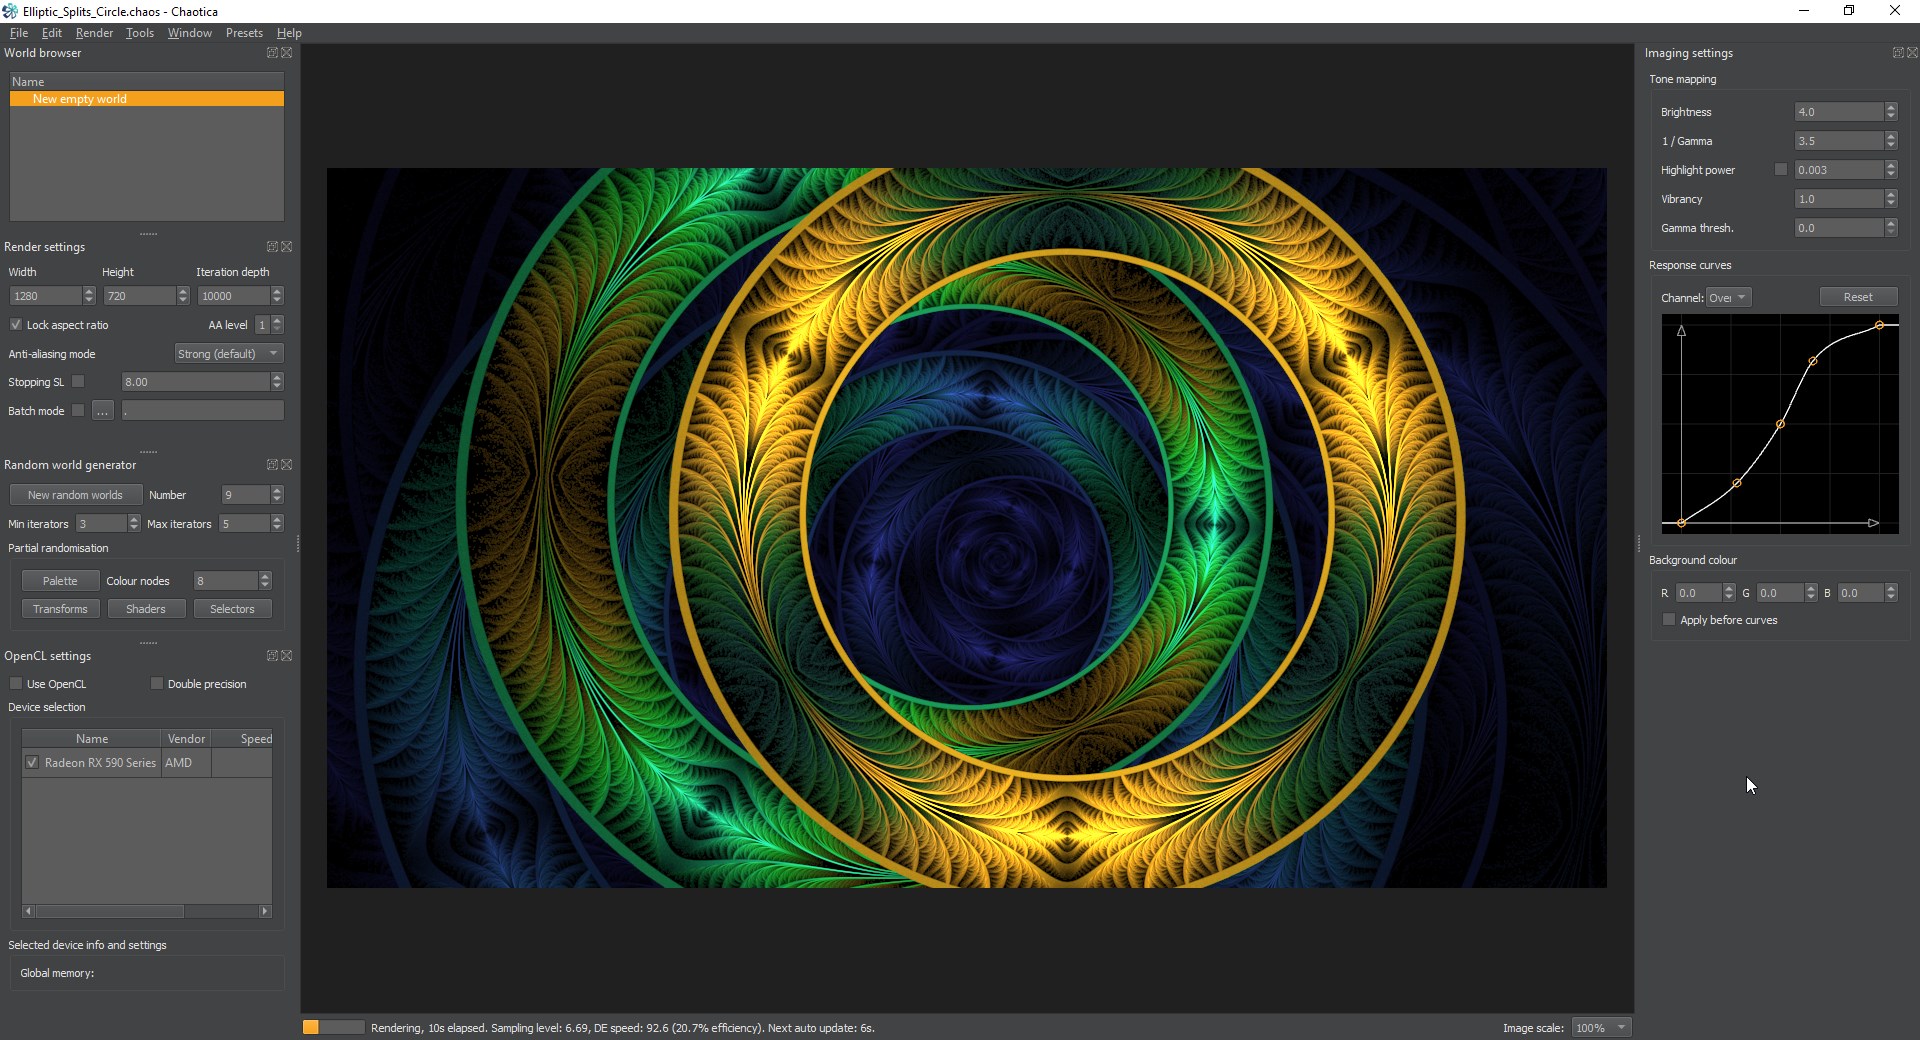
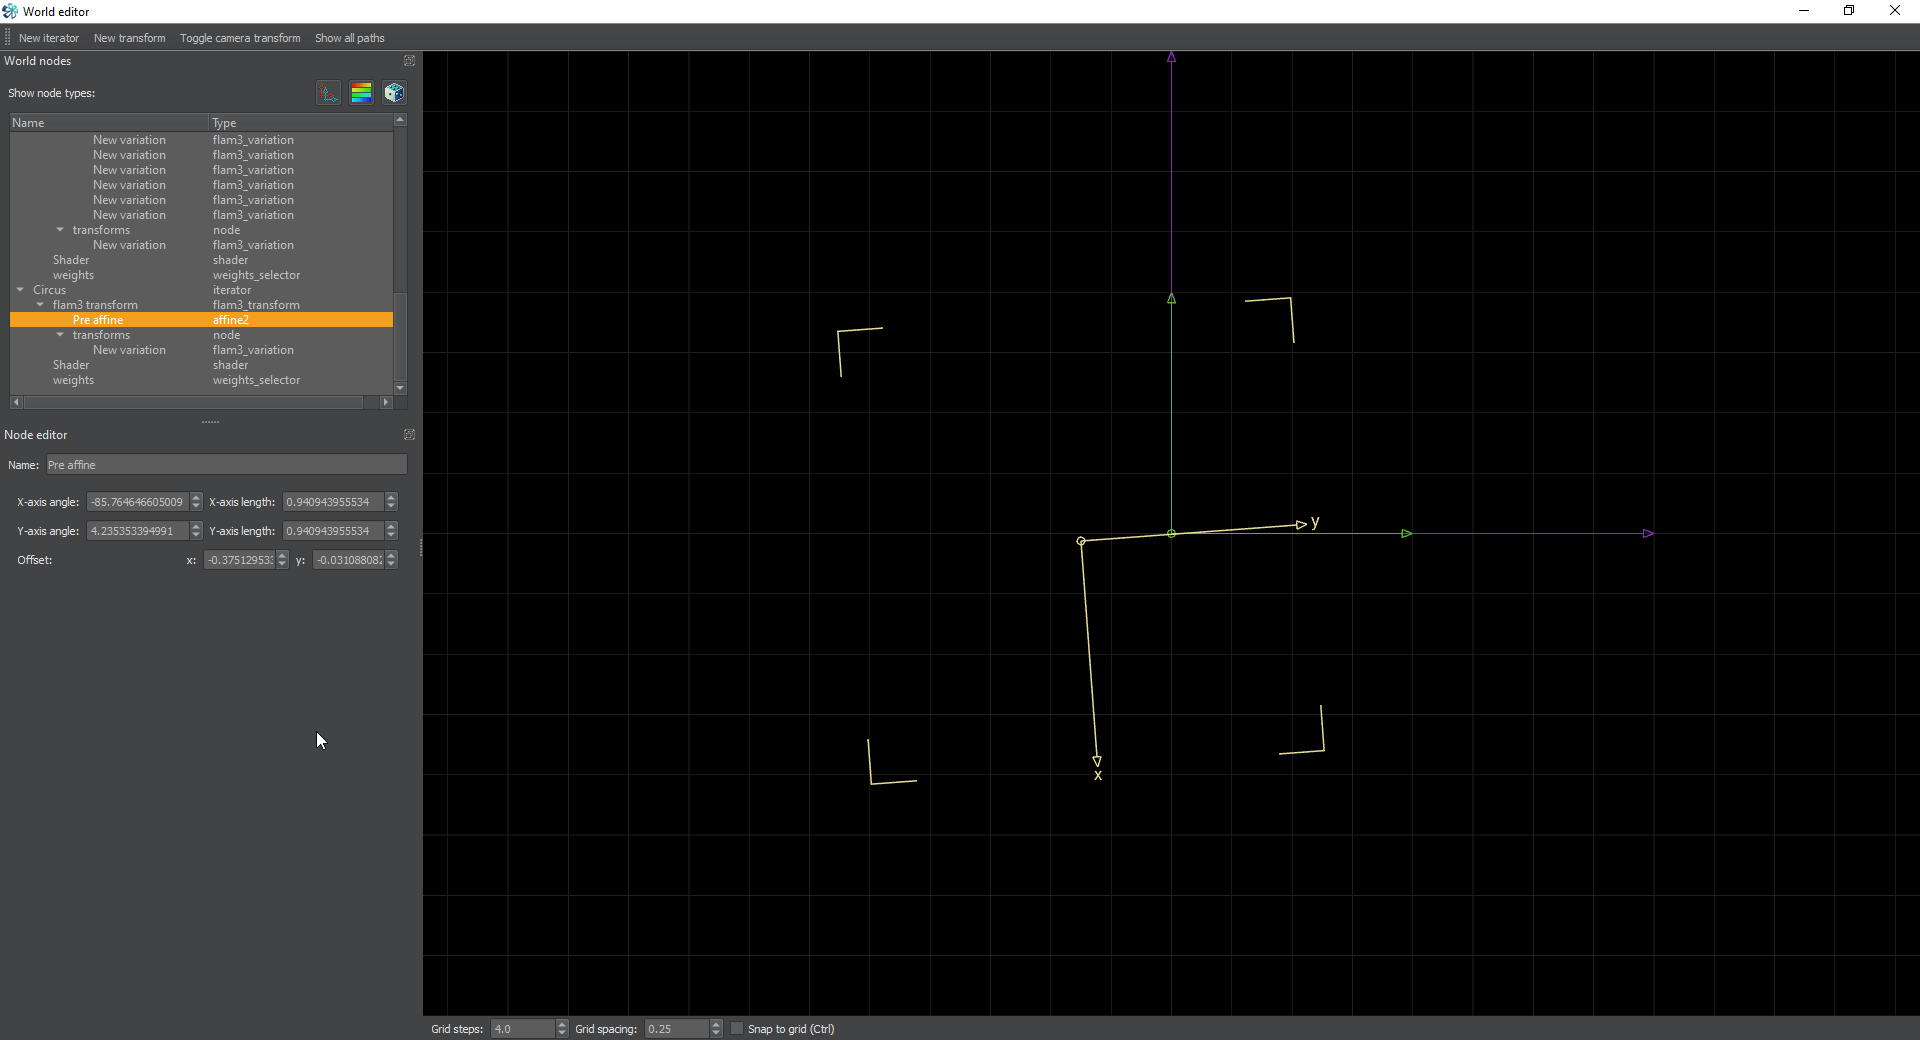
The main focus of this tutorial is to use Circus though. If you’ve been following along, we can set the weights exactly like the glynnsim weights except with the name changed to Circus. The transform will be circus and set the scale to whatever makes you happy. I ended up with 0.81 for that value. Next use the pre-affine to spin, move and size it until you’re happy. Here’s my result.
Finally, get your palette and shaders where you like, and you’ll have some awesome to show off later.
Keep in mind, it’s not about the destination. It’s about the journey and what you learned along the way. -Pugnacious
