Chaotica: Edit the World
Tutorial Jump List
This is part two of a three part series.
- Chaotica: An Introduction
- This tutorial.
- Chaotica: Linear Latitude
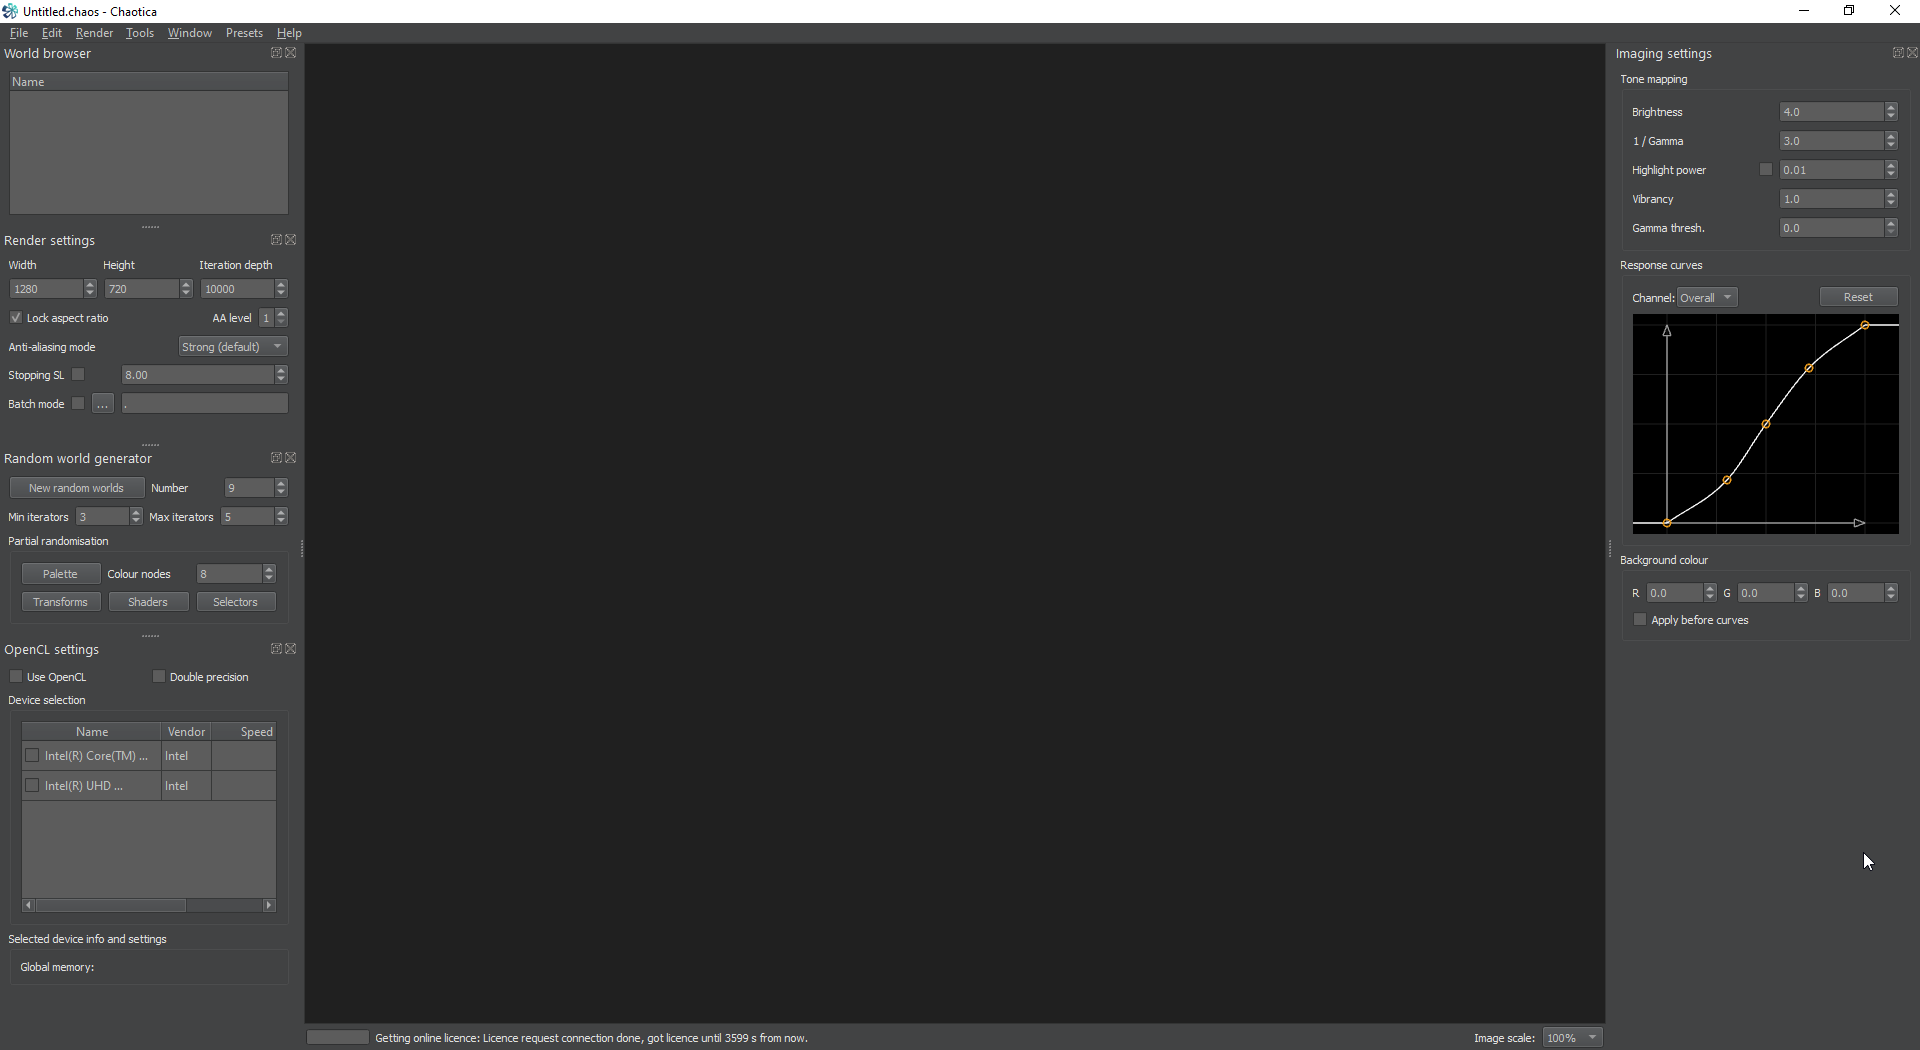
Editor Basics
In this tutorial, we’re going to go over the special windows in Chaotica and what everything does.
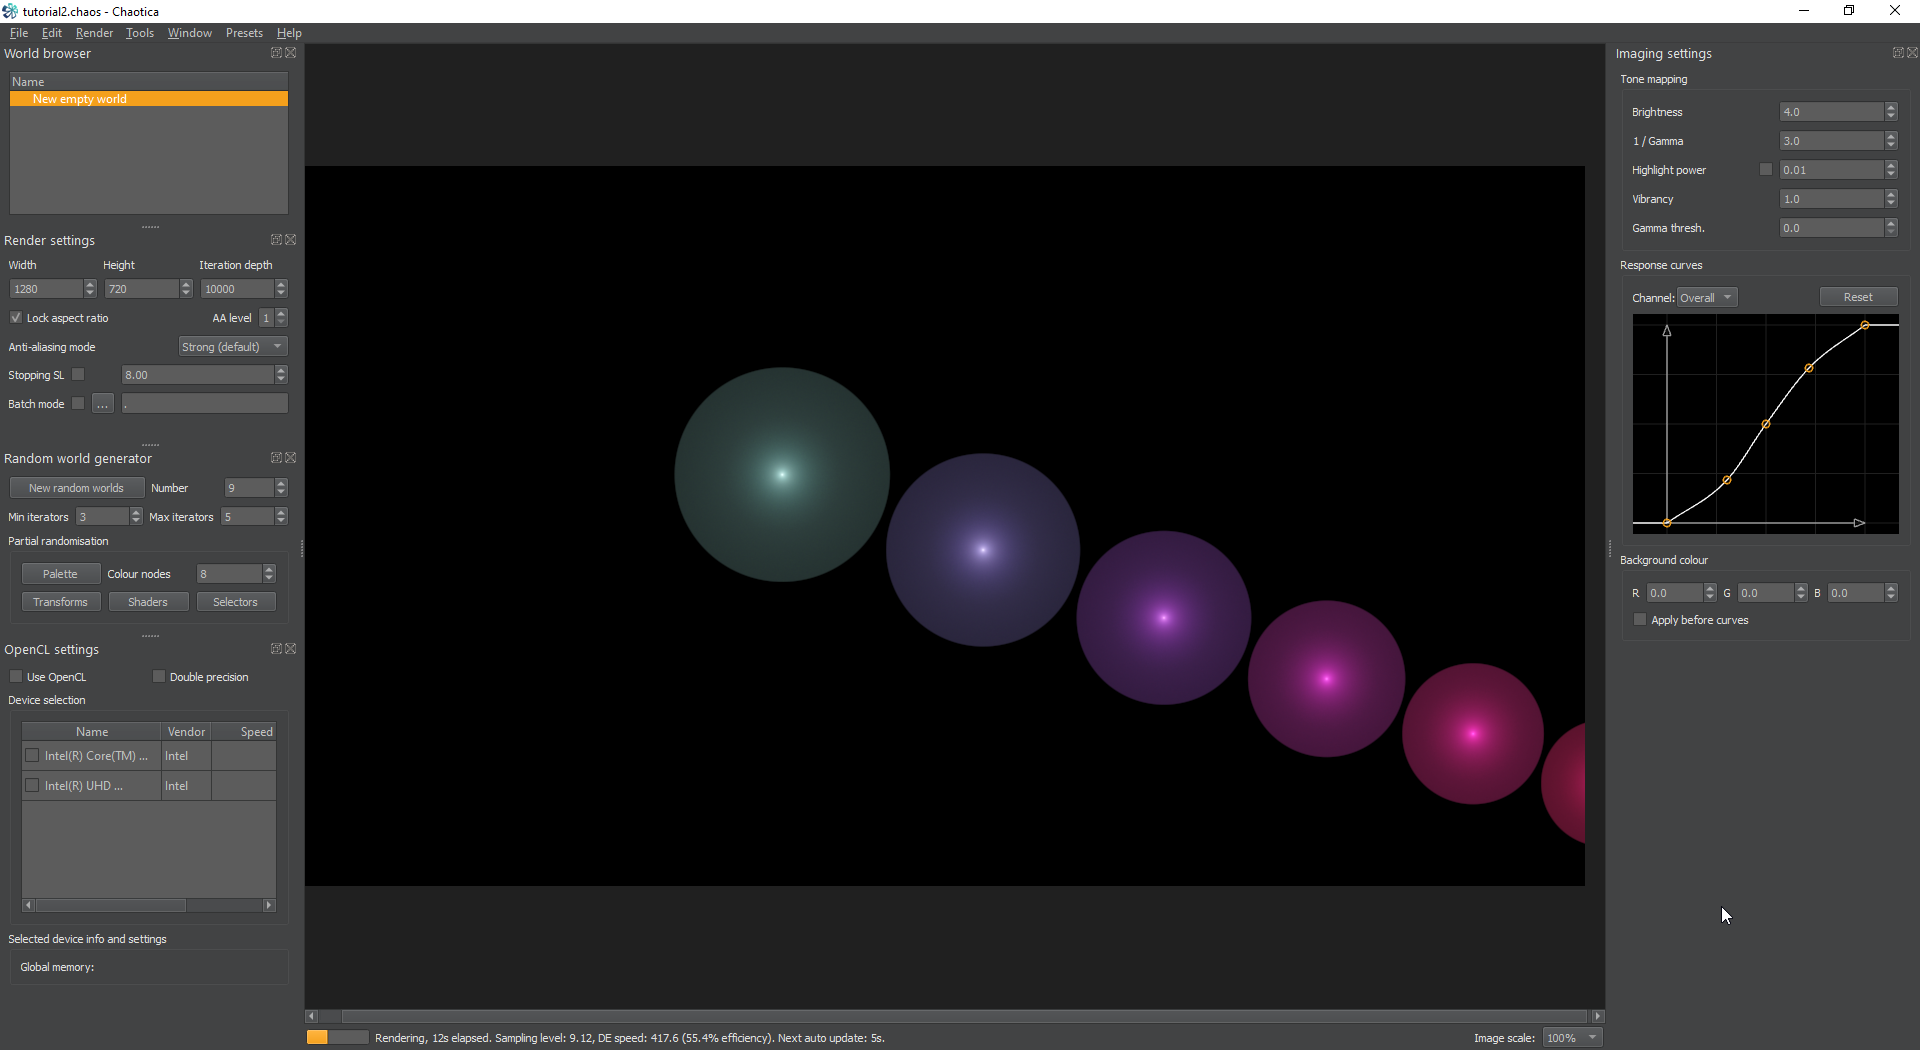
First, let’s setup the basics. Open up the software and create a new empty world from the file menu or by using the hotkey of Ctrl + N.
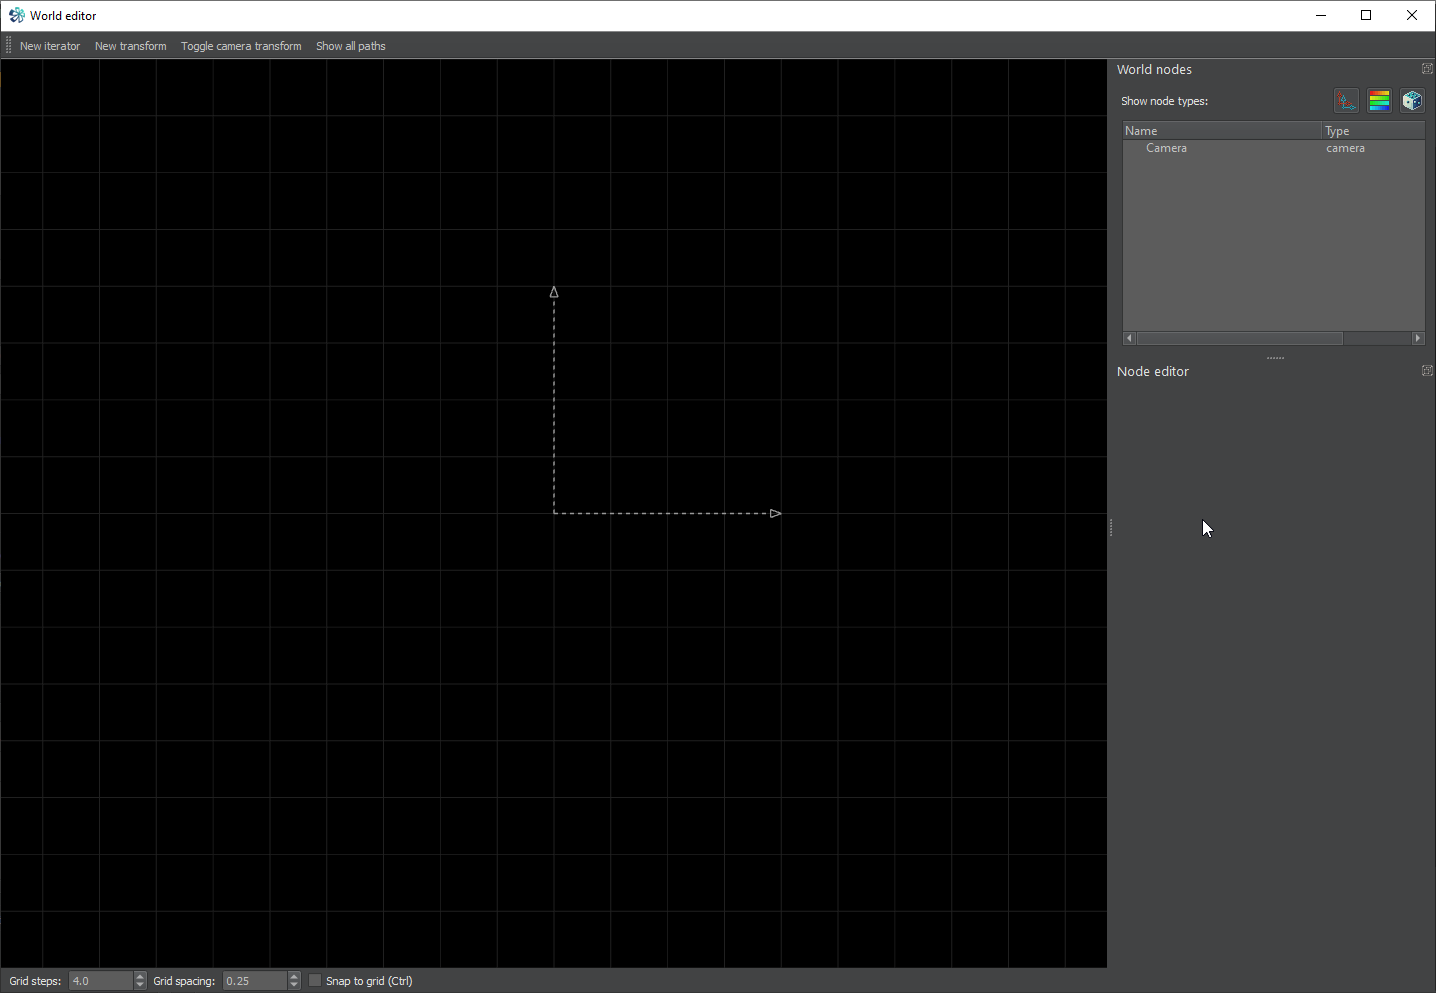
Now, the first thing we’re going to cover is the world editor. Open up the world editor from the Window menu or use the hotkey Ctrl + E.
Iterators
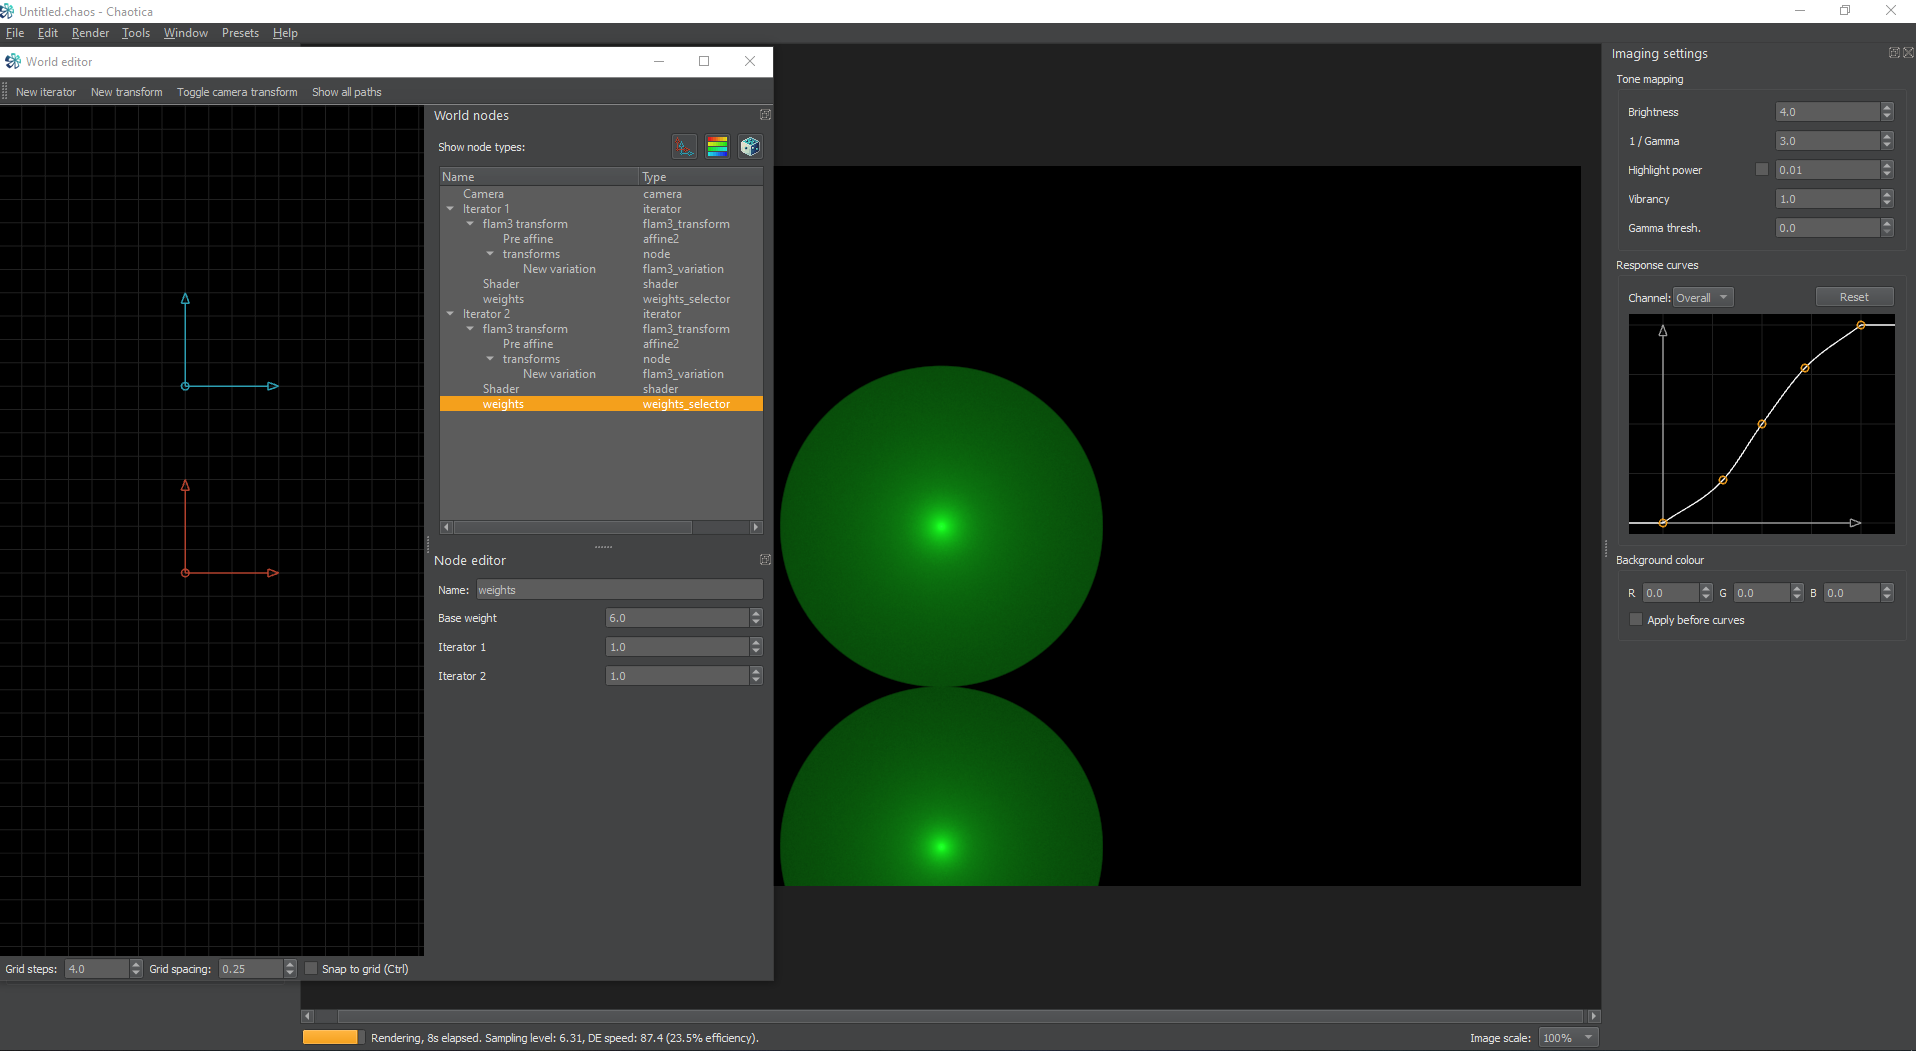
This editor is the screen that will help you change how the iterators interact, and it looks like this.
The left hand side is a grid. This is where your iterators are going to show up and help you visualize where they are in relation to everything else. The right is the world nodes and node editor.
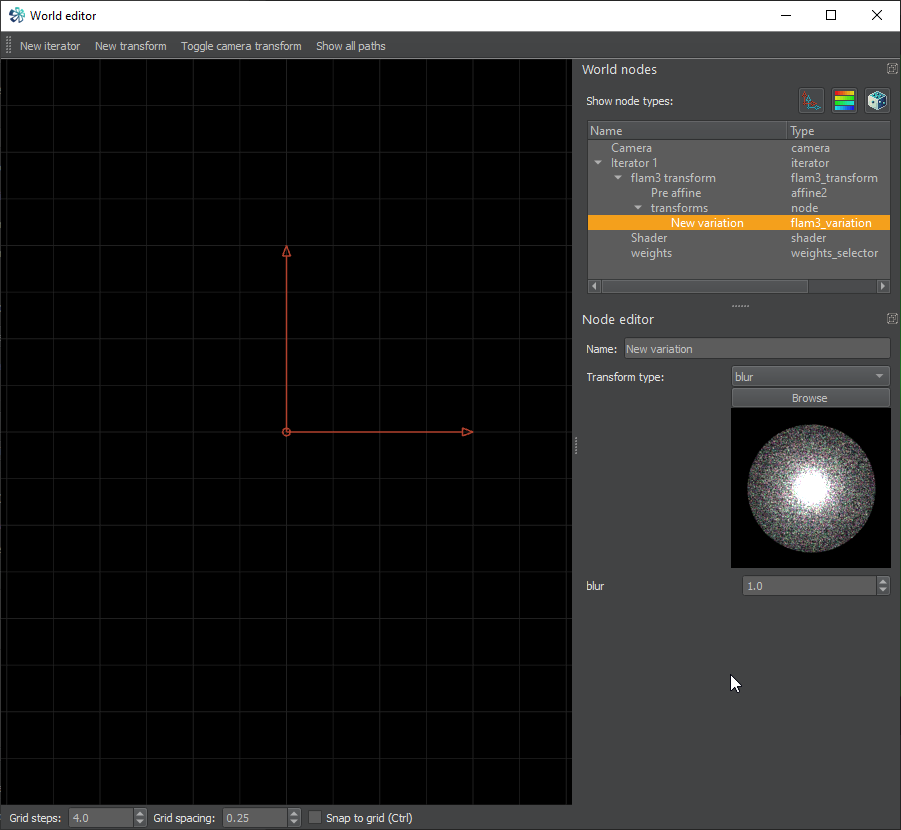
First, create a new iterator from the top menu or by using the hotkey of Ctrl + I. It will look like this.
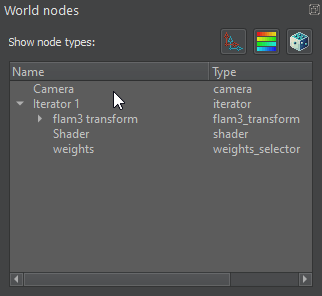
Now, you will see several things. First, let’s focus on the node types buttons. These are the three buttons just above the name and type list. The first, shows/hides the transform nodes. The second shows/hides the shader nodes. The last shows/hides the weight nodes. These buttons merely filter what you’re seeing in the node list below them. Sometimes you will get many iterators and it’s handy to be able to filter things.
Next, let me go into what iterators actually do. When Chaotica renders a fractal, it takes the iterators into consideration. Iterators are containers. They contain nodes of transforms, shaders and weights. Each iterator has an equal chance to “trigger” by default. You can change the weights of the iterators to make them “trigger” more or less often. When the fractal renders, it travels through the iterators and jumps from iterator to iterator based on the weights creating a unique pattern.
Nodes
Next, let me cover the node list. At the top is the camera. If you use the button that says Toggle camera transform, it will open a new iterator. This one is unique. It is outside the normal order and will be applied after all the other iterators. It is unaffected by the randomize transform button as well. This allows you to create a fractal, and then perform final tweaks to it that don’t get changed by the rest of the iterators. This will appear under the camera node.

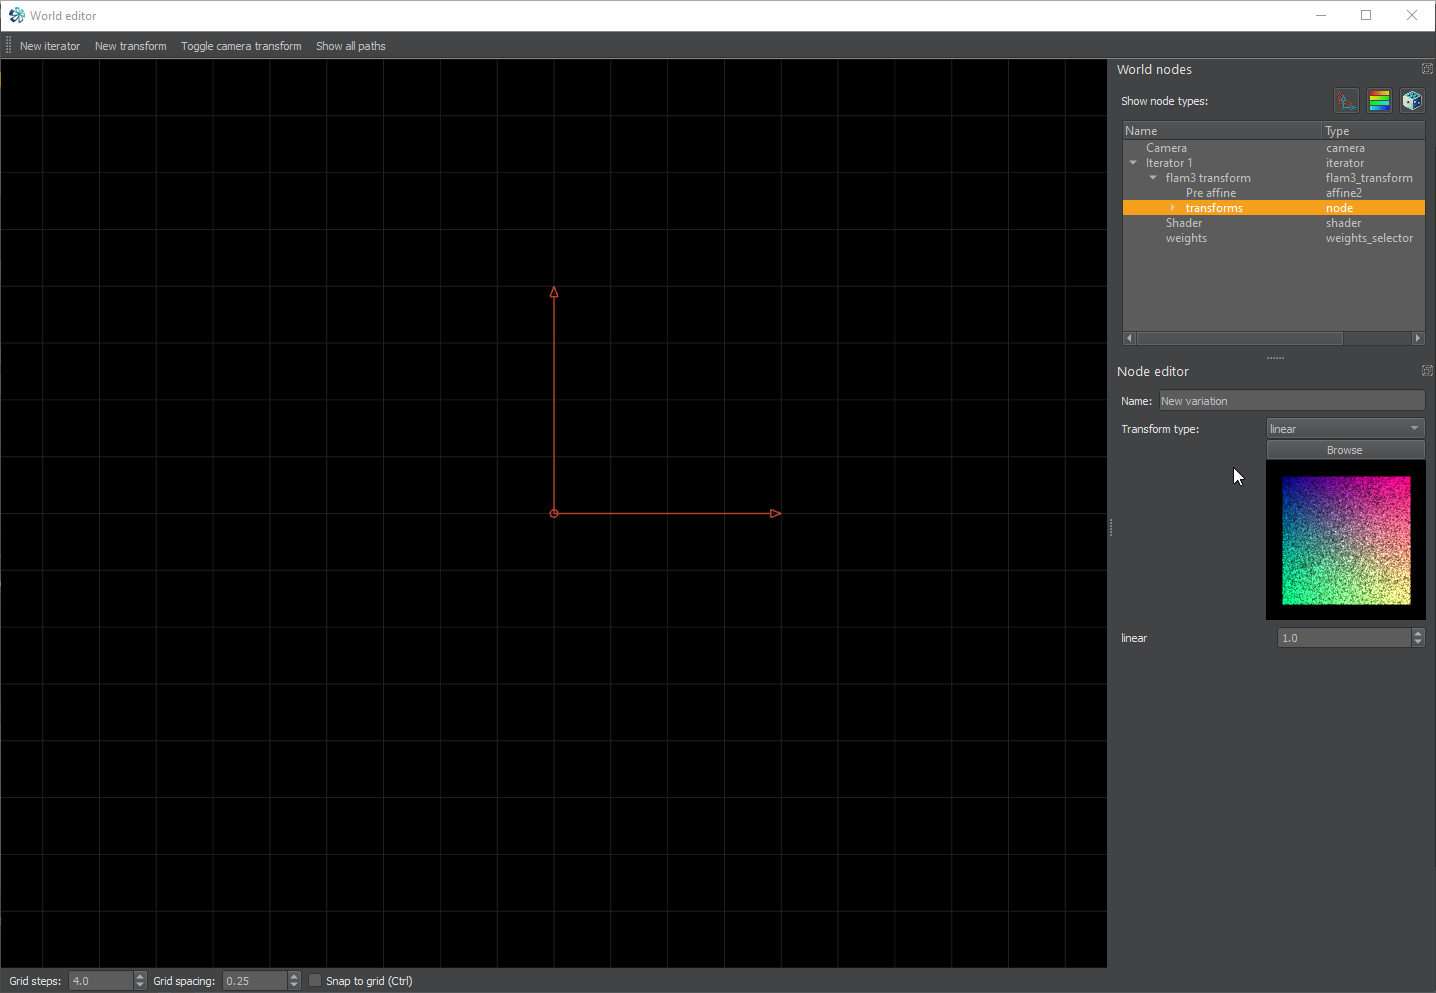
Each node has various stats in the node editor. You can configure lots of properties this way. If you click on the transform node for an iterator, it will have some buttons you can use to add/remove a post affine or add/remove pre/post transforms.
Pre Affine
Let me start with the pre affine. This is the angle you see on the left hand pane. This defines the x and y axis, as well as the origin of the transform. The x and y axis length will also define the “size” of the transform.
Transforms
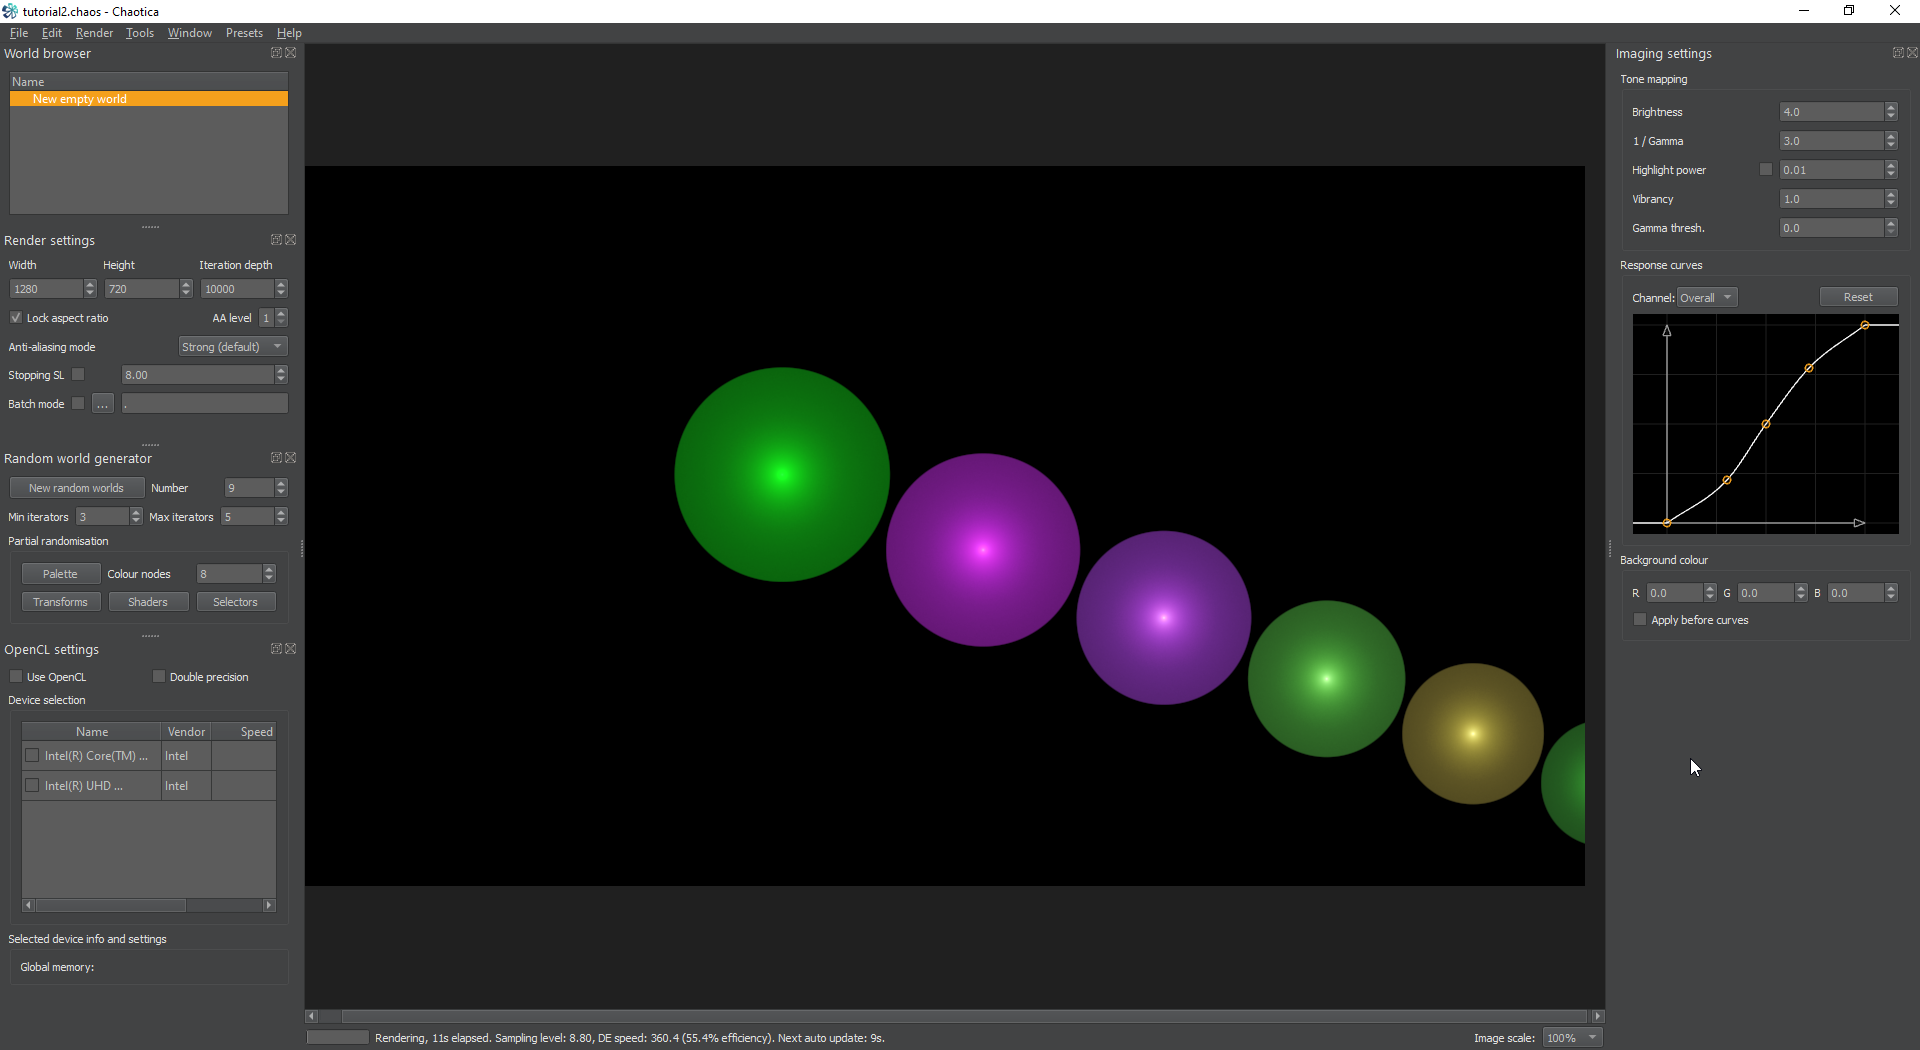
Next click on the transforms node. Nothing is there except a name. You have to add a transform to it, so hit New Transform or the hotkey of Ctrl + Shift + T. This will add a transform in and allow you to select what variation you pick.
For this example, I’m going to create a simple blur. Don’t worry if yours is a different color. It’s random when you start and you can change it later. If your blur is blank, just click the palette button to give it a color.
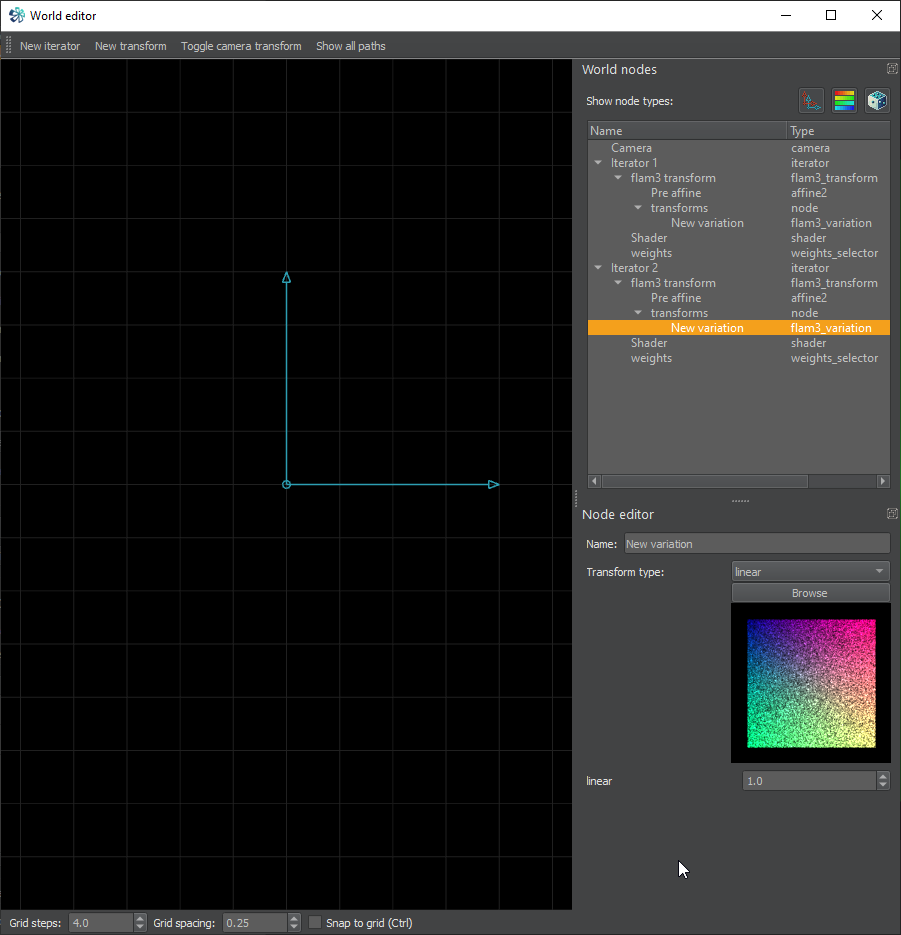
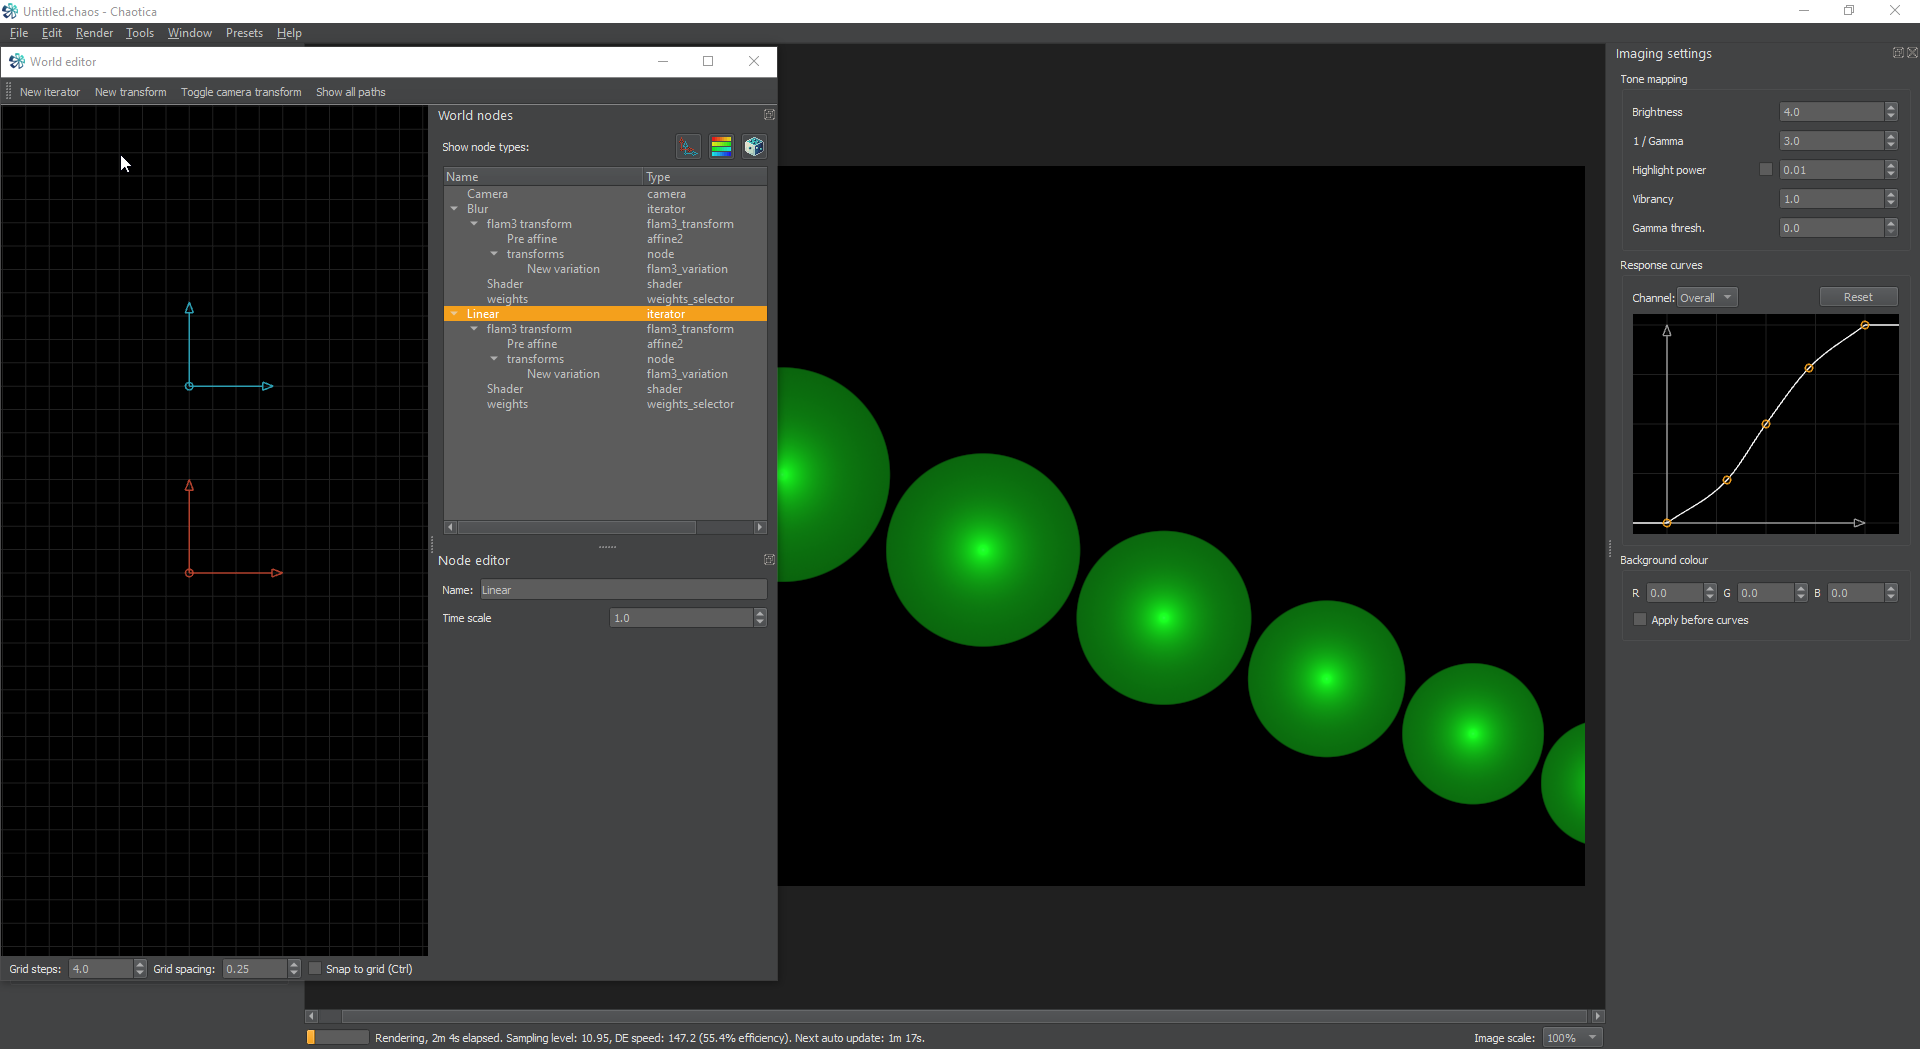
Next, I’m going to add another iterator and add a transform to it. This one, I’m going to leave as linear.
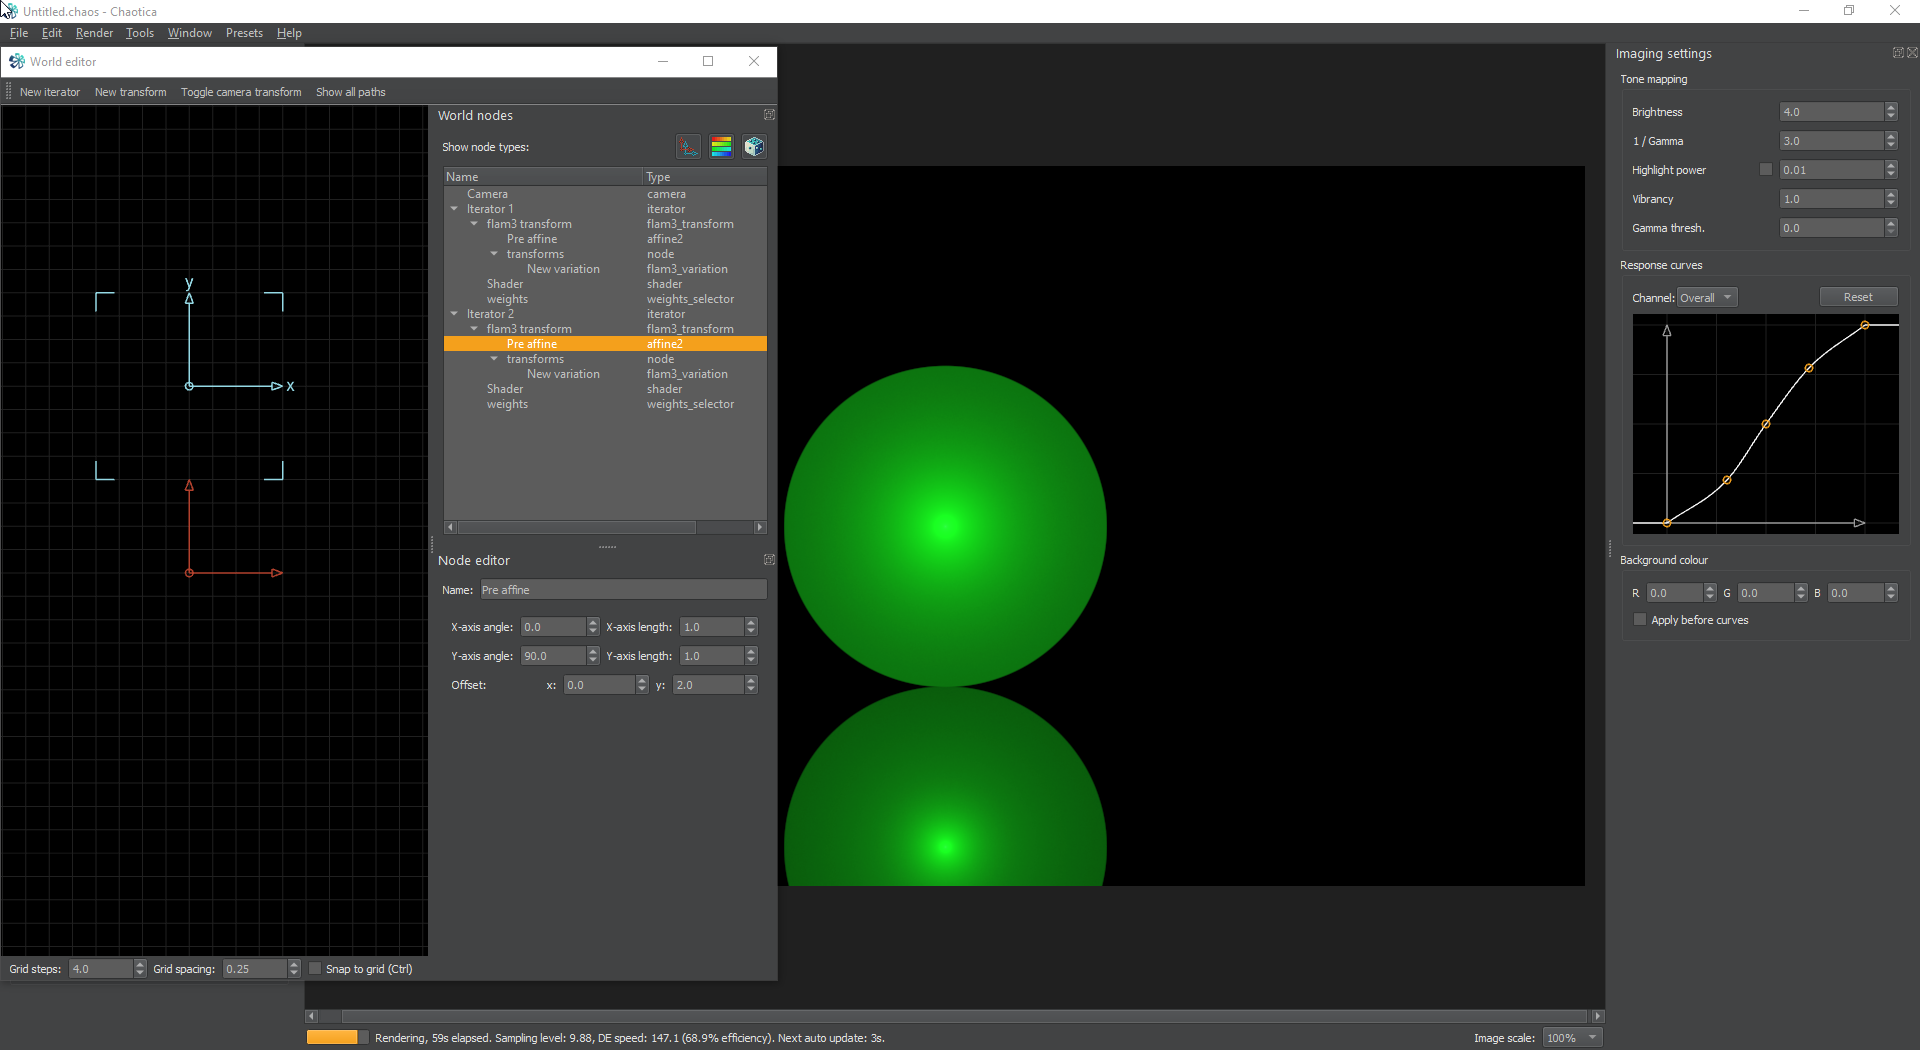
Next, I’m going to go to the pre affine for this iterator and use the Y offset to move the transform by 2. This will take the blur from iterator 1 and “move” it. This isn’t a true move though. What’s happening is, it’s triggering two iterators and they sort of combine.
Camera Controls
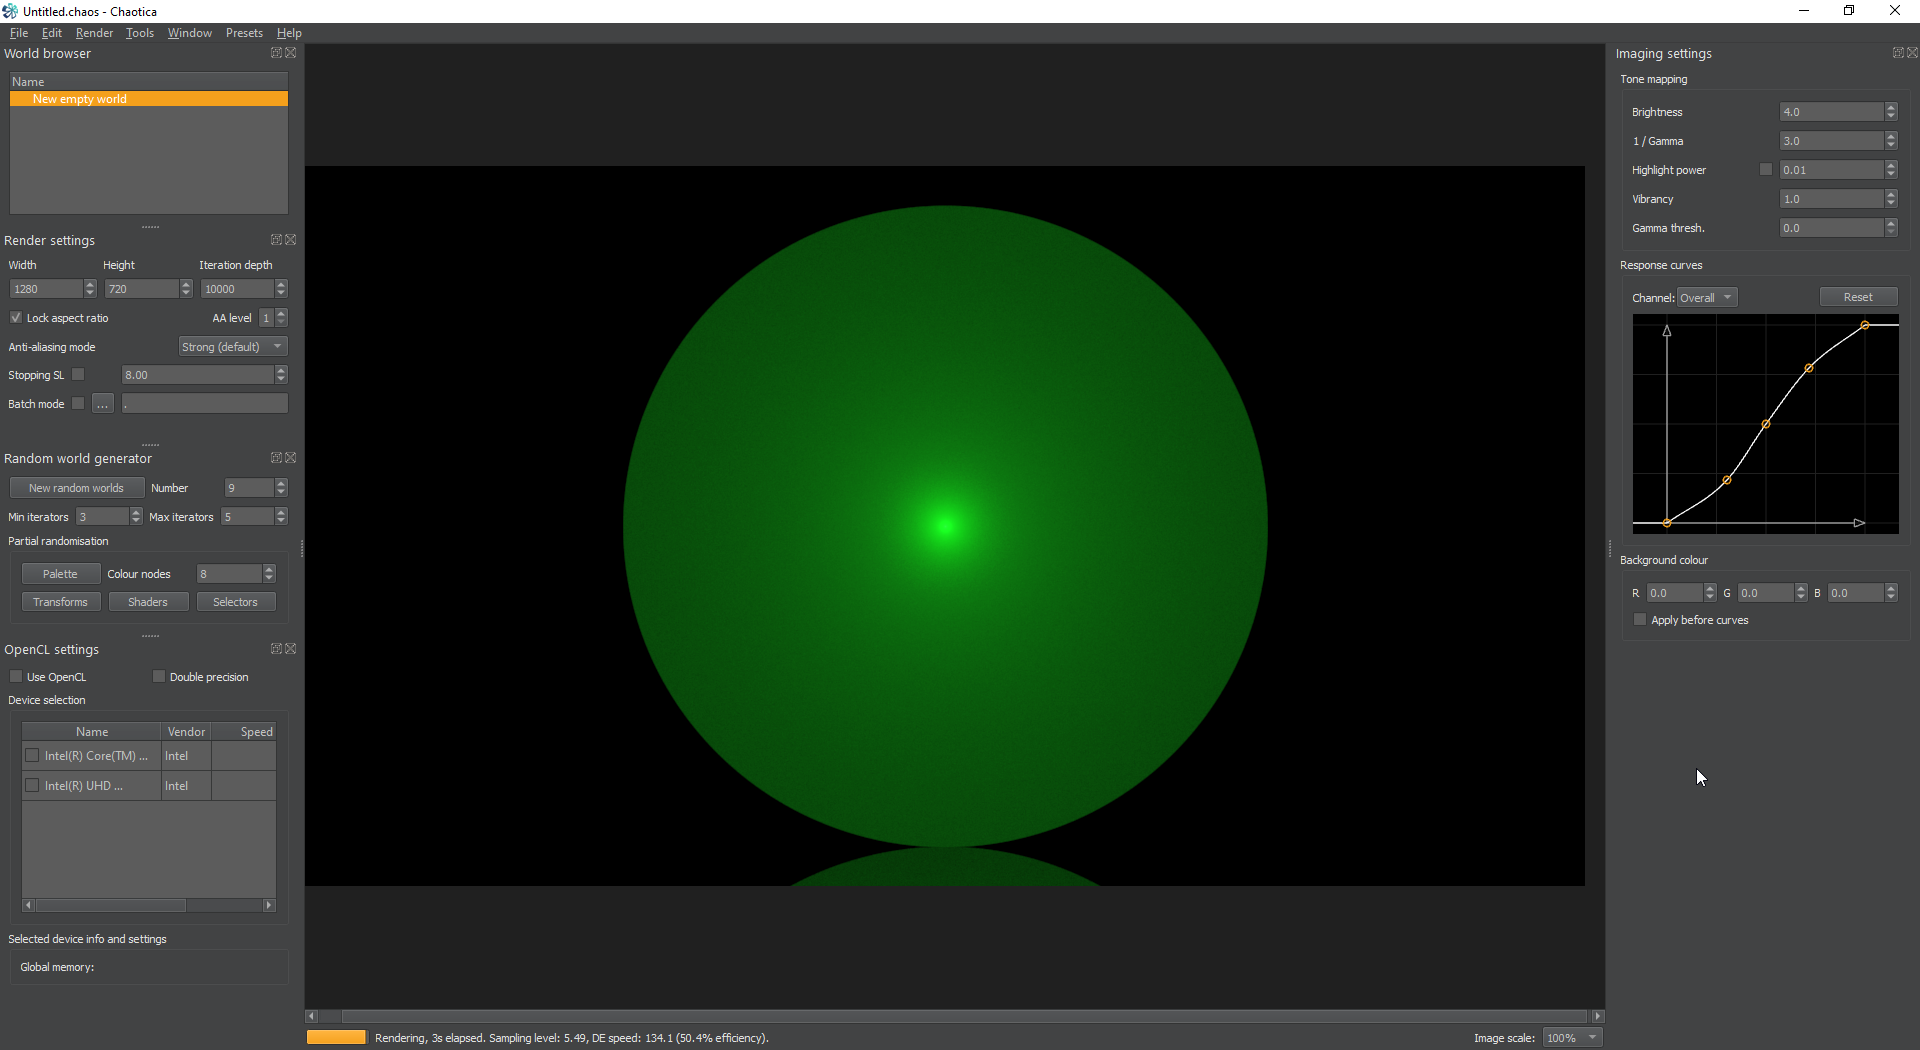
In order to see this a bit better, lets zoom out a bit. I’m going to use the camera controls on the main window’s preview pane.
Alt + left click and drag is pan (move)
Alt + right click and drag is zoom. Drag up to zoom in, and down to zoom out.
Alt + left click + right click and drag is rotate. Drag right to rotate counter-clockwise and left to rotate clockwise.
You’ll notice something if you look. The sphere (blur) gets darker as it goes along. This is due to the weights and how they interact. When you add weights into the picture, the software combines the transforms in a pseudo-random way and the weights control how likely the transforms are to “trigger”. For more details about the math involved check the video here. If you’d rather skip this and come back to it later, that’s also fine.
The simplest explanation is, raising the weight on the linear transform will make the “line” brighter. In this example, I’m going to set the base weight to 6 on the linear iterator.
Next, I want the spheres to get smaller as they “move” so I’m going to change the length of the x and y axis on the linear transform This will make it get smaller as it goes. Every time the iterator triggers, it performs the same action, so each iteration is smaller. I’m going to go into the Pre Affine for iterator 2 and change the x and y axis length to 0.9. I’m also going to rotate it so you can see more of the line, as well as zoom out a bit more.

Naming Iterators
Next, I’m going to name my iterators. This will keep me from having to hunt for what transform I’m working with in the future. It’s a super handy practice and I probably should do this more often. I’m going to name iterator 1 to Blur and iterator 2 to Linear. I just click on the node, change the name and it’s done.
Shading
Now it’s time to play with the shaders. If you click on the shader node for Blur, you’ll see this.
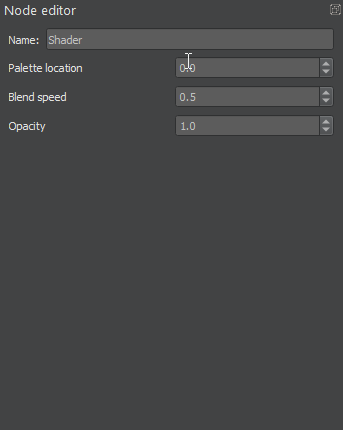
I’ll start with opacity. It’s the easiest to explain. This determines how visible a transform is. You can set it to 0 to turn the transform shader to invisible. This is handy if you want to use a transform to shape others, but not show up initially. If you change it to 0, it will make that first sphere vanish. Neat?
Next, Palette location. This is the location on a palette where this transform is going to get it’s color information. It goes from 0 to 1. 0 being the left side of the palette and 1 the right.
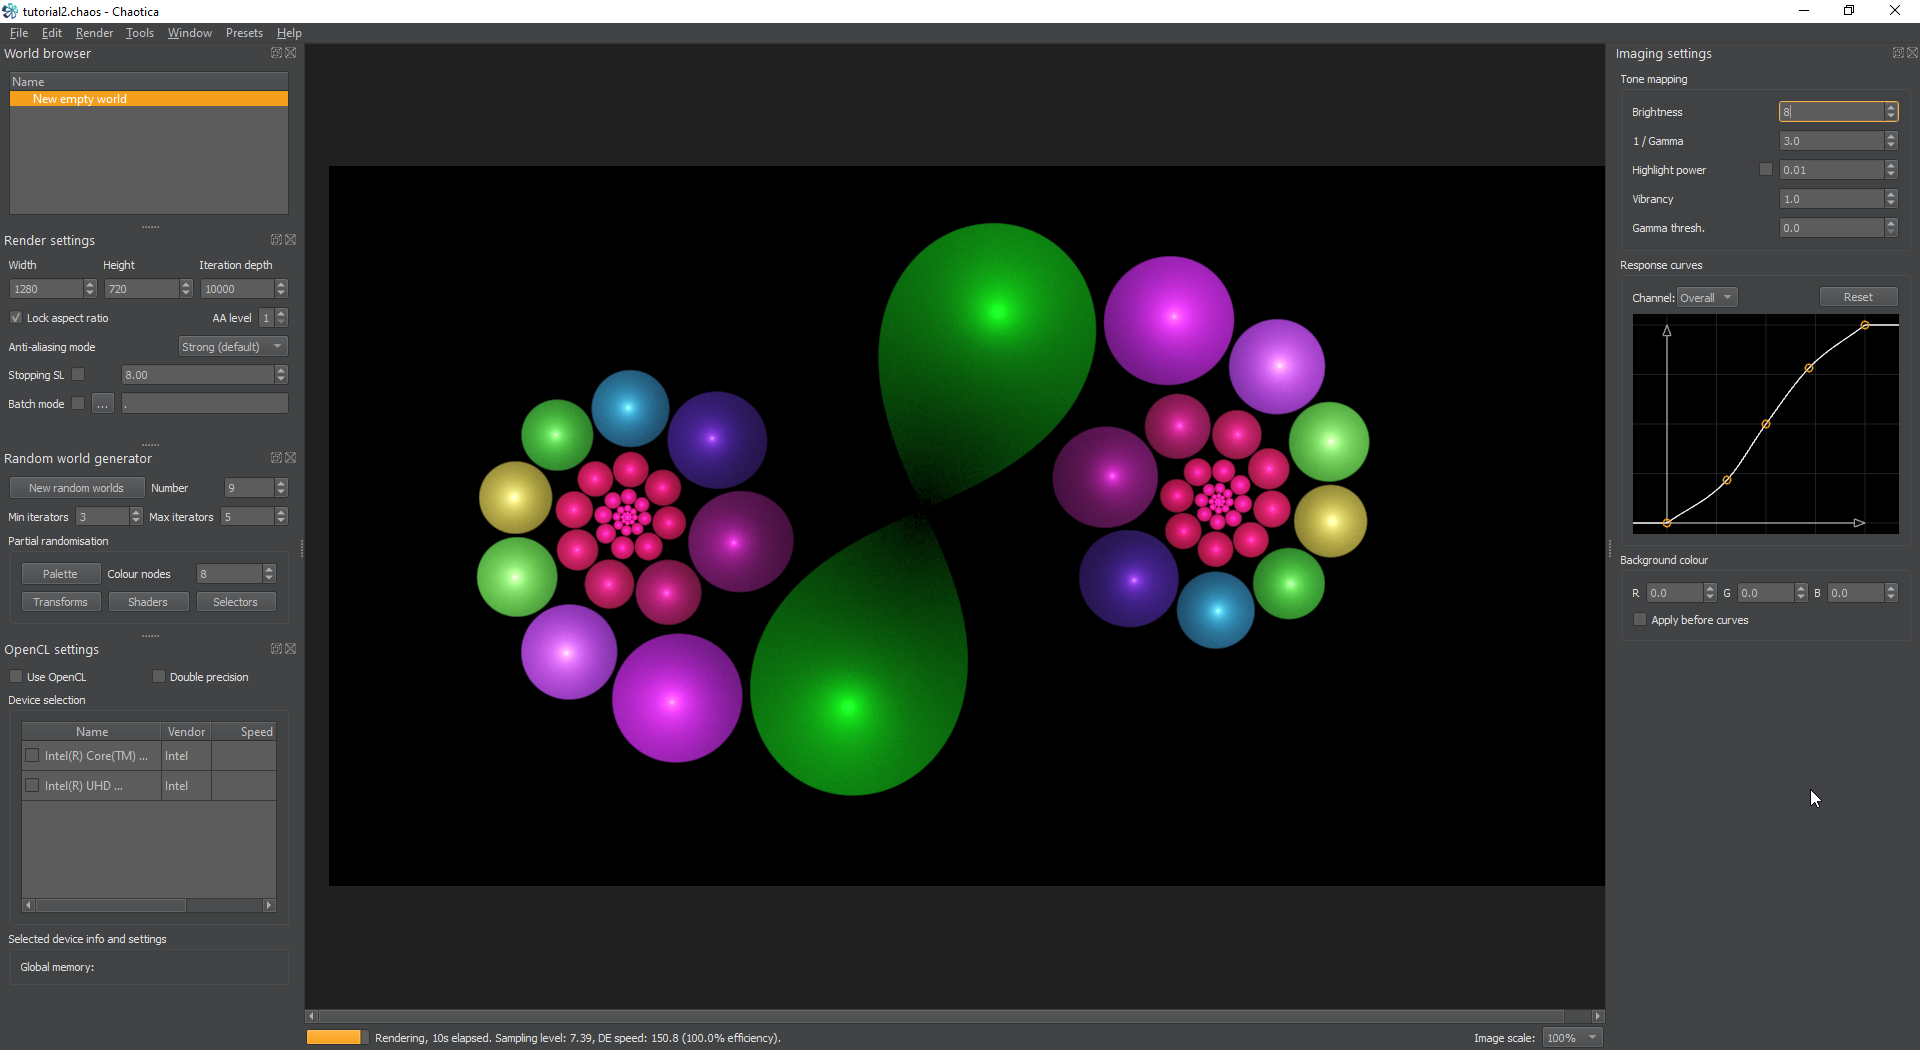
Next is blend speed. This controls how much color the transform blends from the others. It’s hard to define unless you see it in action. So, let’s do just that. I’m going to set it like so.
Blur - Palette Location 0, Blend speed 0.2, Opacity 1
Linear - Palette Location 0.5, Blend speed 0.2, Opacity 1
That displays as the following.
Palette Editor
Next, I’m going to hit Window and open the Palette Editor or you can use the hotkey of Ctrl + P.
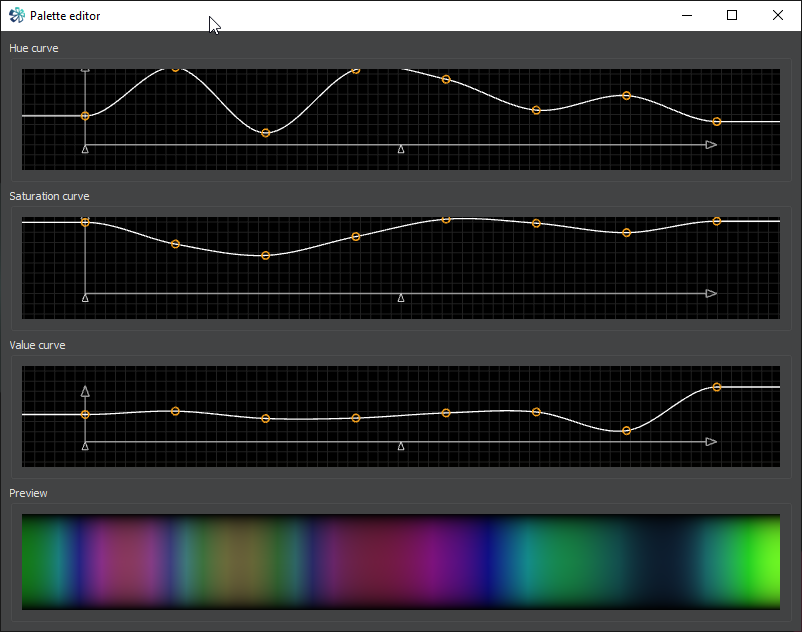
At the bottom is a preview. The other curves are Hue, Saturation and Value.
- The Hue controls the “color” or “shade” at that point on the curve.
- The Saturation controls how saturated the color is. At the top of the scale, it’s washed out with white, and at the bottom, it’s washed out towards black.
- The Value curve, tells us how bright the other two are. Feel free to play with this as much as you like to get a feel for it.
Now, I want my top orb to be the original color and the rest to follow the curve, so I’m going to go back to my Blur iterator, and change the blend speed to 1. That will prevent the other transform from blending with it.
Camera Transform
Next, I’m going to add in a camera transform. So, I’ll go to the world editor, and hit the Toggle camera transform button. This will unlock the camera transform. By default, this already has a transform added to it. It will be linear. In this instance I’m going to change it to e-julia and I’m also going to rotate the pre-affine of the iterator with the linear transform so that the line of blurs rotates. Don’t be afraid to experiment.
Note: You can have multiple post transforms on your camera transform in Chaotica. A post transform, is a transform that’s executed after the main one. That means you can move or resize a transform after it’s been blended with others. Having multiples available enables you to have a chain of transforms that execute after all the others process and the ability to have multiples allows you to go a bit crazy with how they look at the end. I’m not getting into this during this tutorial, but I’ll keep it open for a future one.
You can do anything you like really. Play around, have some fun, and don’t forget that the randomization options are there. Sometimes they can give you inspiration for where to move the fractal next.
Where to go Next?
For the next tutorial, I’ll cover how to design a linear tile in Chaotica using the world editor.
- Chaotica: An Introduction
- This tutorial.
- Chaotica: Linear Latitude