Chaotica: Camera Spiral
Example
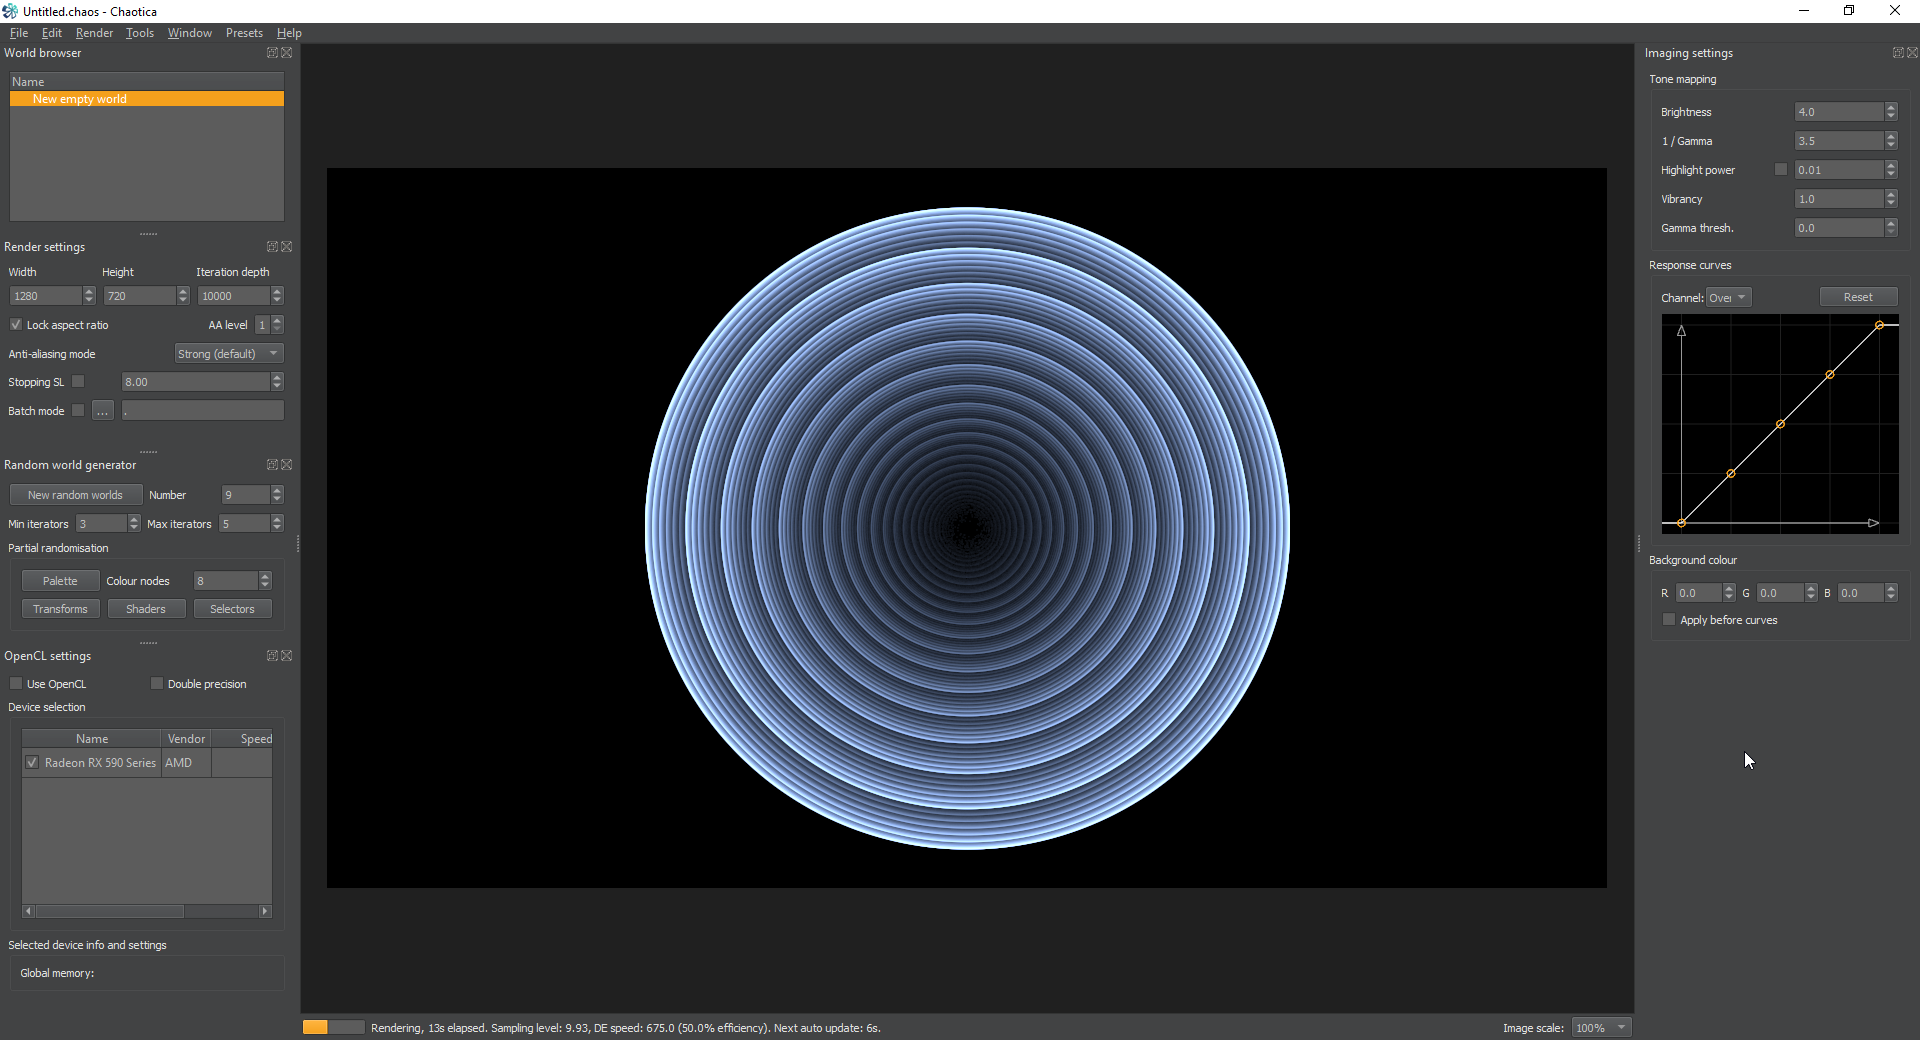
Here’s what we’re going to work towards.

Purpose
This tutorial will show you how to use multiple camera transforms in a chain. We’re going to build a simple fractal, and then use the camera to make it spiral.
Iterator 1
On this iterator, we’re going to add a transform and set it to julian2 with a julian2_power of 6. Don’t worry if it doesn’t look like much until we’re done.


Iterator 2
On this iterator we’re going to set the transform to mobius, spiral it using a value of Im_D of -2 and we’re going to go to the shader node and set it’s opacity value to 0.

Iterator 3
On this iterator we’re going to set a transform of bipolar. We’re going to then change the x and y axis length to 0.5 and then set a post transform of circlecrop and set the circlecrop_zero value to 1 to remove the crop ring. Then finally we’re going to go into the shader node and set the opacity to 0.


Recap
Ok, so we’ve created a neat spiral orb thing. This is literally just something I tossed together using random transforms. The next part of the tutorial is the main focus. I’m writing this bit to give you background and to let you know that you can use this on almost anything. It doesn’t have to be a circle, and you can pick whatever looks good to you. I would suggest to save a copy of this as it is right now, and come back after the rest of the tutorial and experiment with different ways to wrap this circle. Keep in mind that none of the following is needed to make it look good. It’s just one way to do it and this method is used to show you options for wrapping other things than a circle into a spiral.
The Plan
Ok, now that we have a basic image to work with, what are we going to do next? It’s important to have a plan. We’re going to spiral this, but in order to spiral it, we need to bend it into a specific shape. In order to create the spiral, you need a hole in the middle, as well a blank area around the outside. I’m going to take it a step further and make it more interesting in this image by first creating a tiled strip and then bending that around into a donut before spiraling it. Keep in mind that this is only one way to do it and there are many others.
Camera Transform
This is where it gets fun. Enable the camera transform. Leave linear on there and turn on post transforms. I’m going to break each step down into it’s own section and provide images so you can see how each step transforms the final image. Keep in mind that pre and post transforms operate in a top-down way. That means that it’s like coding a sequence of changes.
arcsech
I’m going to use arcsech to make it more interesting and wrap the image into a half plane.


mirrorx
This will mirror the image using the x axis as it’s center.


mobius
Now we’re going to use mobius to flip this 90 degrees. Set the value of Im_A to 1 and Im_D to -1.


crop
Next we’re going to crop the image so it’s a perfect 1 unit. This prepares it to be tiled and isn’t always needed. It isn’t even needed here but I find it helps to double check sometimes. Especially if you aren’t sure your tile is already 1 unit by 1 unit. Make sure you set the crop_zero value to 1 to eliminate any ghosting.


tile_hlp
Next we’re going to use tile_hlp to set this up to be tiled. This transform isn’t always needed, but sometimes it can prove invaluable.


tile_log
This will do the actual tiling. Make sure you set the tile_log_spread to your personal preference. On this transform since we are sending it to an unpolar we have to do a little math. Unpolar needs multiples of pi/3 in order to line up right. So i’m going to set the value of this to 1.047197551196.


unpolar
The next transform should be set to unpolar and have a value of 3. You can change this value if you want, but I used 3 and if you pick something else, you’ll need to tweak the next two transforms to make it line up right.


circlecrop2
Next we’re going to use circlecrop2 to clean up the inner and outer edges and make it more uniform. I used 0.3 for the inner and 0.815 for the outer, but depending on your preference feel free to change this.


cpow3
Lastly we’re going to set a new transform up as cpow3 and set the cpow3_d value to 2.77. This transform is very useful and can do a lot of things. In this example we’re just going to adjust the d value, but you could adjust the others and play with them. Feel free to experiment. This is what we end up with.


Final Tweaks and Thoughts
Next simply give it a shader and palette scheme that you’re happy with. This is what I ended up with.
Feel free to tweak things and play with things. Hopefully you see how this type of thing can lend itself to some really amazing images. Some things to try would be to send the whole thing to an ejulia or mobius or julian2 or even a bipolar. Feel free to play around. The possibilities are endless. Happy Fractaling!